
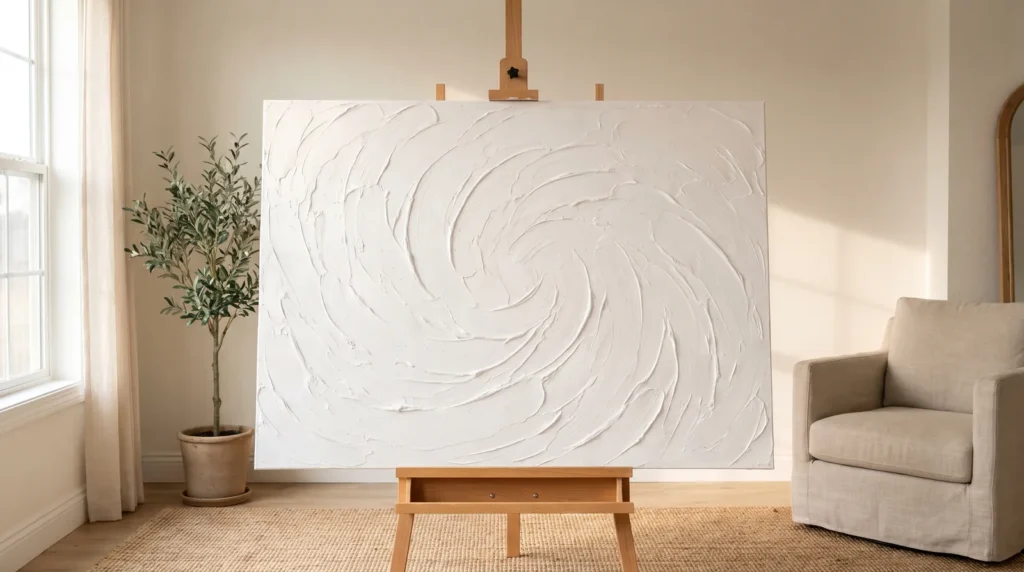
Morning light falling across deep, circular plaster ridges above a linen sofa, with long shadows on a chalky white surface: that’s the kind of diy textured canvas art that looks like a thousand-dollar gallery piece, and you can make one in an afternoon.
Grab an old shirt and a cup of coffee, because this gets messy, and that’s half the fun. Making large minimalist textured wall art is one of my favorite ways to spend a Saturday. I also know how frustrating it is when a piece you love cracks overnight, so these tips are as much about avoiding that as they are about making something beautiful.
Here are the tricks I use most, from setting up to fixing mistakes.
Quick Summary
- Support your canvas: Heavy paste causes stretched canvas to sag. Always slide a rigid backing behind the fabric before you start spreading.
- Choose the right medium: Joint compound is cheap but can crack. Acrylic modeling paste stays flexible and lasts much longer.
- Build in layers: Keep each layer to about a quarter inch. Thin layers dry evenly and don’t trap moisture.
- Let it dry naturally: Keep heat guns and hair dryers away from wet art, because fast drying causes cracks.
Getting Set Up
Before spreading any mud, get the canvas ready. A floppy canvas is the most common reason textured art cracks.
1. Ditch the flimsy frames
You don’t need to buy a brand new canvas. Go to your local thrift store and find the biggest, ugliest painting they have. The frame will be older, heavier, and made of better wood than the cheap multipacks at the craft store.
2. The water spritz trick
Thrifted canvases are often loose and dimpled. Fill a spray bottle with warm water and mist the whole back of the raw canvas. As the cotton dries, it shrinks and pulls tight like a drum.
3. Cardboard backing is your best friend
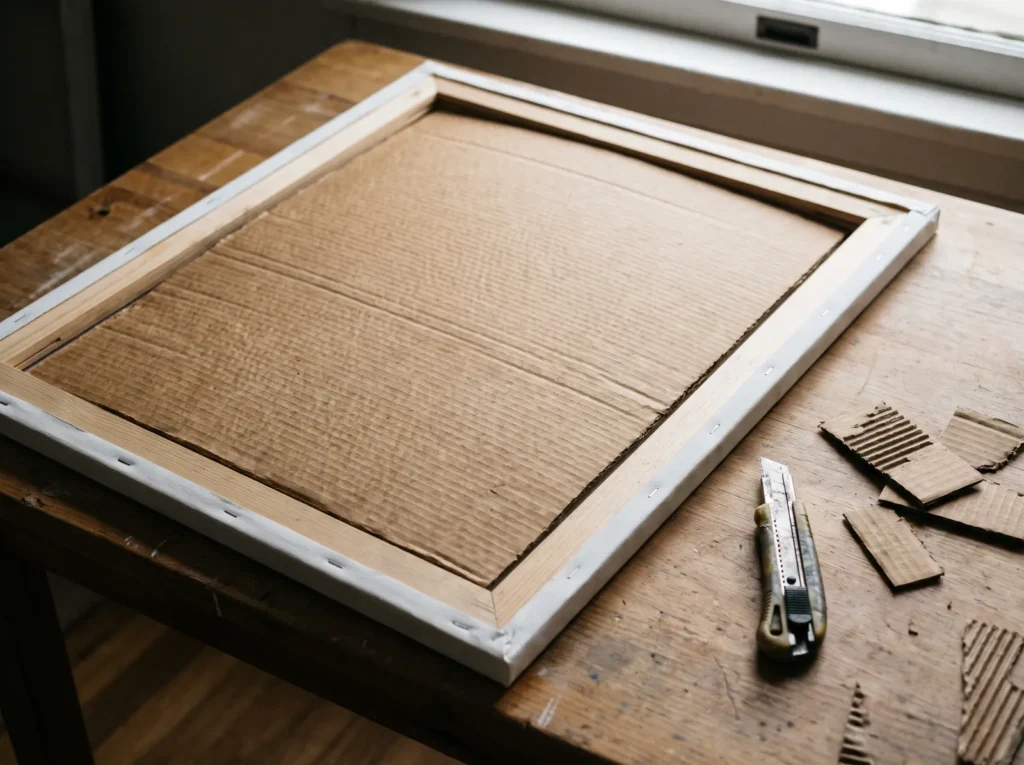
This project puts a lot of heavy paste on the fabric, and pressing hard in the middle will stretch it out of shape. Cut a piece of heavy cardboard or rigid foam insulation and wedge it snugly between the stretcher bars at the back, so you have a solid surface to press against.
4. Don’t skip the gesso
If your thrifted canvas has an old oil painting on it, new texture won’t stick well. Paint a thick layer of acrylic gesso over the old art; it contains chalk and pigment and leaves a slightly gritty, absorbent surface that wet paste grips nicely.
5. Sanding the slick factory finish
If you skip the gesso, at least scuff the surface with a 120-grit sanding block until it looks dull and lightly scratched.
Picking Your Material
Choosing the paste is where a lot of first projects go wrong, so here’s a quick look at the options.
6. Joint compound is cheap but thirsty
Joint compound is a popular choice for diy textured canvas art because a huge bucket costs very little. But drywall mud is mostly water and gypsum, and as the water evaporates it shrinks. Put it on too thick and it cracks like a dry riverbed, so keep it to thin, sweeping textures.
7. Spackle is for fluffy clouds
Lightweight spackle feels like marshmallow fluff because it’s whipped with air. It dries fast and won’t weigh your canvas down, and I like it for soft, stippled textures. It doesn’t hold crisp geometric lines very well, though.
8. Plaster of Paris is a race against time
Raw Plaster of Paris is best avoided here. Mixed with water, it warms up as it sets, and you have only about twelve minutes before it turns rock hard. It’s also brittle, so it can snap off a flexible canvas.

9. Acrylic modeling paste is the most reliable
For diy plaster art on canvas that lasts, acrylic modeling paste is the best choice. It’s marble dust in an acrylic binder, so it stays flexible once dry and copes with a bit of canvas movement without cracking. It costs more, but it’s worth it for a piece you want to keep.
10. The baking soda myth busted
You may have seen videos of people mixing baking soda into acrylic paint for texture. It’s best avoided: baking soda is a salt, and over time it can react with humidity and make the paint bubble or yellow. Proper texture mediums are worth the small extra cost.
Everyday Tools for Ridges
You don’t need expensive art store tools. Some of the best texture makers are already in your kitchen drawers and garage.
11. The notched trowel geometry
In the tile section of the hardware store, pick up an inexpensive metal notched trowel. Its square teeth pull neat, parallel ridges through wet paste for a clean, architectural look.
12. Cake scrapers for smooth sweeping arcs
Plastic cake icing smoothers are great for art. They’re wide and flexible and bend nicely against the canvas, which makes them perfect for big, sweeping rainbows of smooth paste.
13. Your old credit card is a palette knife
Cut an old gift card or hotel key card in half. The stiff plastic edge is fantastic for scraping down harsh peaks or pushing mud into tight corners.
14. The humble kitchen fork
Want a tight, cross-hatched linen look? Drag a metal dinner fork through a thin layer of wet spackle. Wipe the prongs on a damp rag after every single pull.
15. The wet sponge stipple
For a porous, aged-stone look, use a natural sea sponge. Dampen it, wring it out completely, then dab it into the wet paste and lift straight up. It leaves lovely organic craters.

Making the Swirl
Now it’s time to apply the paste and create those deep, circular ridges that catch the morning light.
16. The lazy susan spin trick
Drawing a perfect circle freehand is very hard. Instead, put the canvas flat on a lazy susan, hold your notched trowel still near the center and turn the canvas slowly with your other hand. You’ll get a smooth, even spiral every time.
17. The string and nail compass
If your canvas is too big for a turntable, make a simple compass. Tap a small finishing nail into the center of the canvas frame, tie string to it and tie the other end to your palette knife. Keep the string tight as you drag the knife round for a smooth arc.
18. Thick peaks need a thin foundation
Rather than putting a thick glob of paste straight onto bare canvas, where it may pop off as it dries, start with a skim coat. Spread a very thin layer over the whole canvas with a flat putty knife and let it dry for an hour, so the thicker ridges have something to cling to.
19. Stop touching it while it dries!
It’s tempting to touch it, but leave the canvas lying flat. Stood against a wall while wet, the heavy paste slowly slides down and your circles sag into ovals. Let it dry flat for at least 24 hours.
Fixing Mistakes
Things will sometimes go wrong, and that’s fine, because almost anything can be fixed. To avoid the most common problems in the first place, see 25 DIY Plaster Art Canvas Mistakes and How to Fix Them.
20. Filling the dreaded hairline cracks
If you spot a tiny crack the next morning, don’t worry. Rub a small drop of plain white acrylic paint into it with your finger; it works like a flexible glue and fills the gap almost invisibly.
21. Sanding down a total disaster to start over
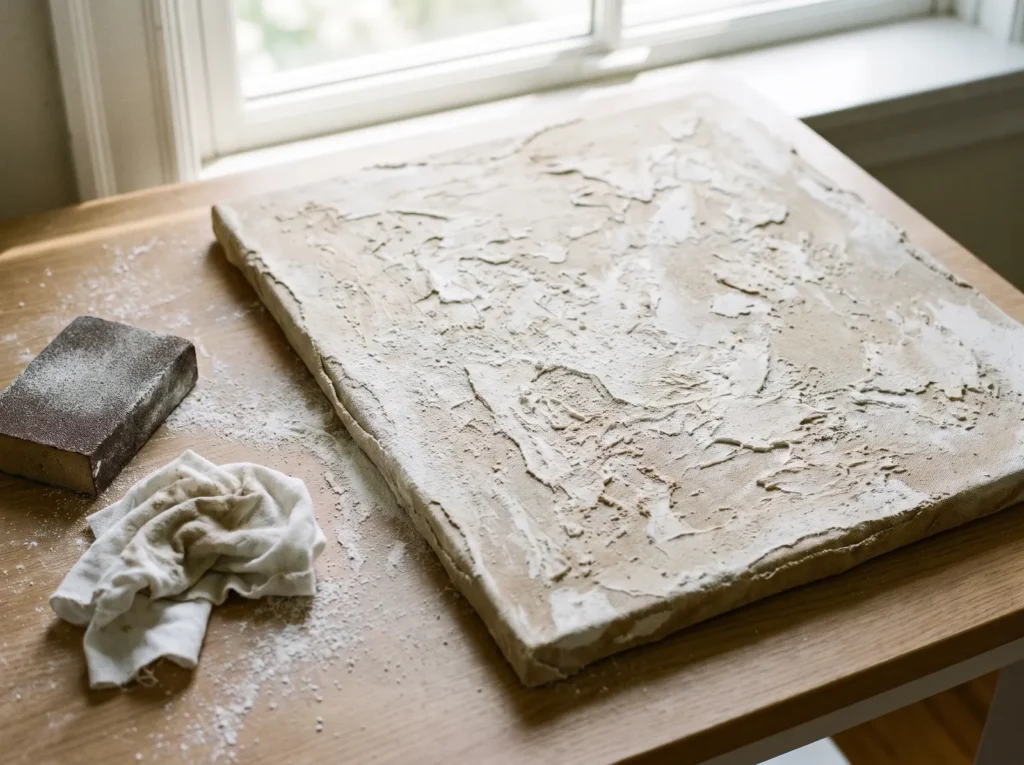
Sometimes you just don’t like what you made, and that’s completely fine. Wait until the paste is bone dry, sand down the highest peaks with a coarse sanding block and wipe off the dust. You now have an interesting textured base for your next attempt.
And that’s it: you’re officially a texture artist. Start with one of the simpler ideas, enjoy the mess, and see where it takes you.
Frequently Asked Questions
Do I need to seal my textured canvas art once it dries?
Yes, especially if you used joint compound or spackle. Unsealed drywall mud stays porous and chalky, collects dust and can’t be wiped clean. Once it’s fully dry, brush or spray on a clear matte acrylic medium to lock in the dust and give you a durable, wipeable surface.
How long does joint compound take to dry on a canvas?
It depends on how thick the layer is and how humid your room is. A thin skim coat dries in about two hours, while deep ridges can take up to 48 hours to dry fully. Skip the hair dryer, because hot air dries the top while the bottom stays wet, and that’s what causes cracks.
Is large textured canvas art too heavy to hang with command strips?
A thick layer of joint compound on a 24 by 36 inch canvas can easily weigh over ten pounds, which is too much for adhesive strips. Fit D-rings to the wooden stretcher bars and hang the piece on sturdy wall anchors or a hook screwed into a stud.

