
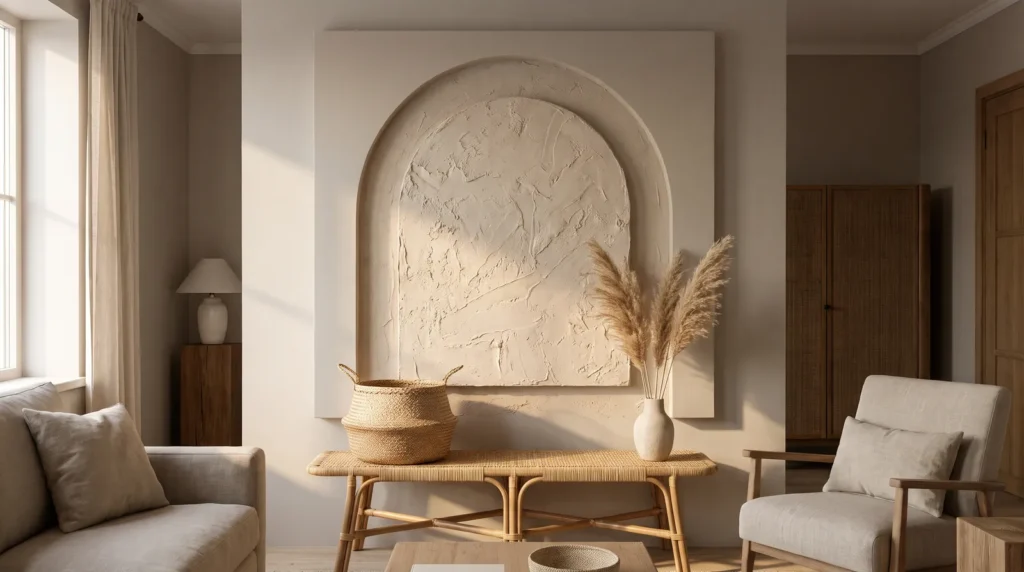
Picture a large piece of neutral boho wall art leaning against a raw brick wall in a design shop: one deeply sculpted arch in warm bone plaster, casting long, soft shadows across a velvety greige background. It looks expensive, and the price tag often agrees, at several thousand dollars. It’s easy to assume that price pays for rare Italian limestone or imported artisan clay. Usually it doesn’t.
Very often, that canvas is covered in about $40 of ordinary hardware store joint compound.
That’s good news, because it means you can make something very similar yourself. You don’t need a big budget for real depth, just a sense of how heavy materials behave on a canvas. These 19 minimalist ideas cover why one big piece works so well, how to prepare the base, how to handle color and light, and how to make and hang it.
Key Takeaways
- Support the weight. Joint compound can crack off a loose canvas, so keep it tight and braced.
- Seal the canvas first. Raw cotton pulls water out of wet plaster and leaves it brittle and chalky.
- Let light create the shape. A one-color piece relies on light from the side to bring out the shadows in the trowel marks.
Why One Big Piece Beats Clutter
1. Anchor the room with one massive statement
Rooms with plain walls can feel a little empty, and it’s tempting to fill them with lots of small frames. Try the opposite: a single large neutral boho wall art panel above a console table calms a living room and gives it one clear focal point.
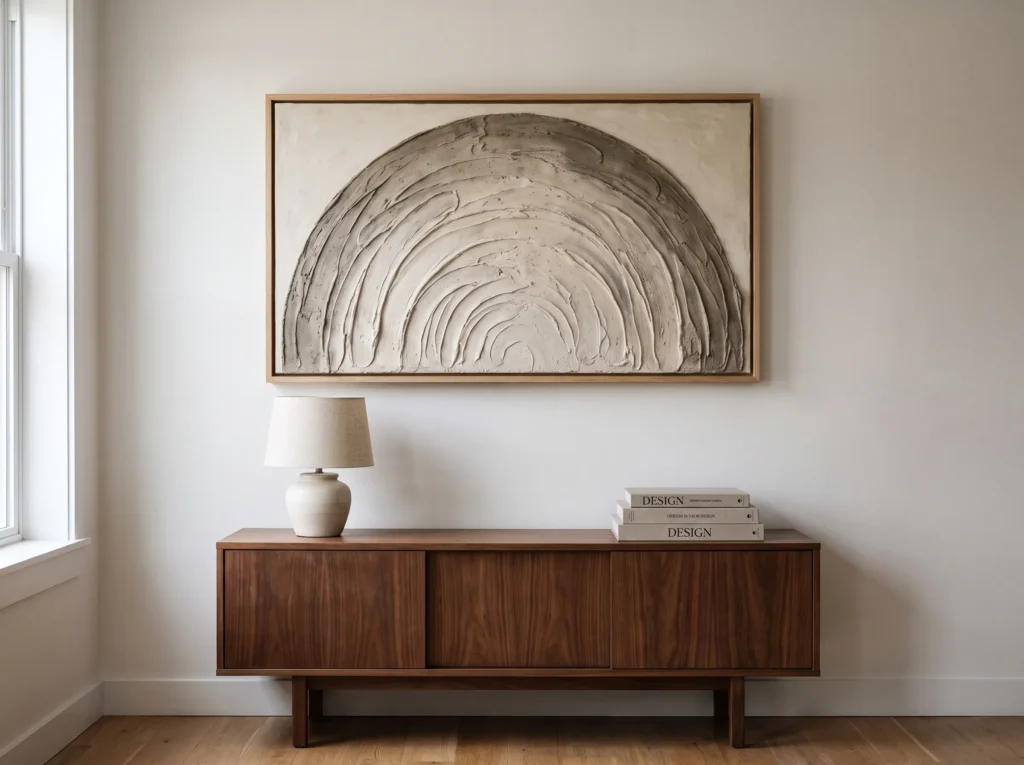
2. Ditch the gallery wall entirely
Gallery walls of small prints can look busy rather than calm. A minimalist boho bedroom needs some breathing room around the art, and empty wall space matters just as much as the plaster itself.
3. Center a high-relief semi-circular arch
A centered, raised arch brings a sense of order to a room and gives plain drywall some architectural interest. It echoes the arches of Mediterranean and desert-modern homes, and the symmetry feels grounding.
4. Replace busy patterns with tactile warmth
Plain builder-grade rooms don’t need more pattern; they need texture. Sweeping impasto joint compound adds warmth, and its chalky peaks catch the light and soften the hard lines of modern furniture.
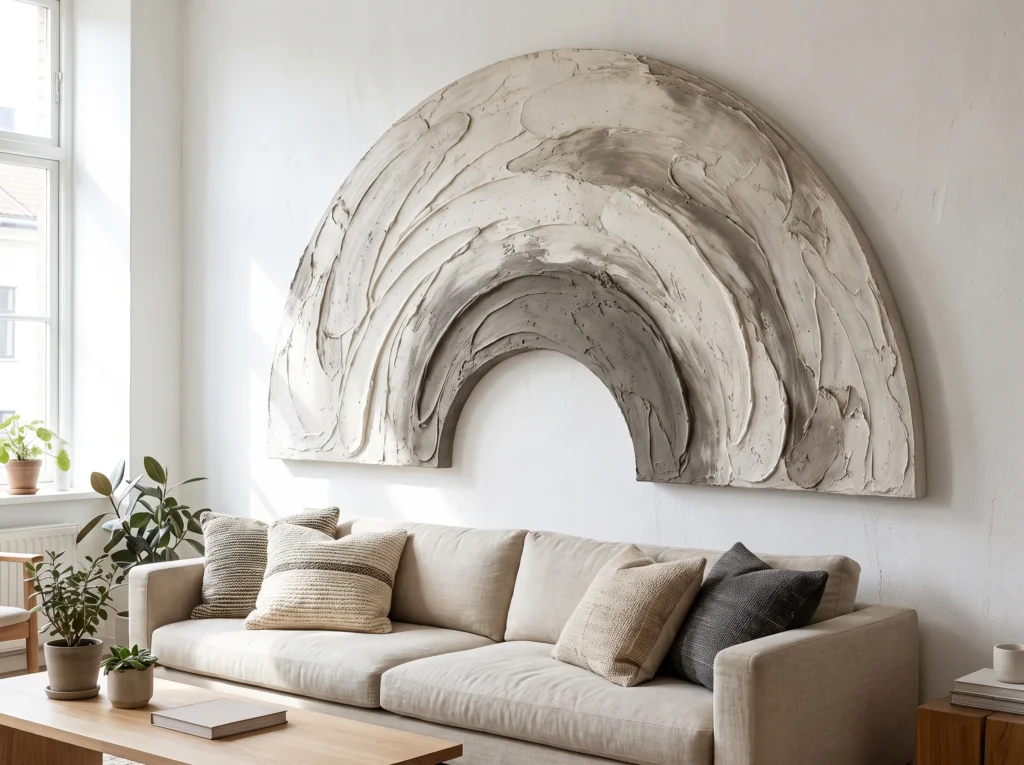
5. Frame it in raw oak
A frameless canvas covered in thick plaster can look unfinished. A thin raw oak floating frame around the edge contains the organic texture and gives it a crisp, finished border.
Preparing the Base
6. Prime the cotton canvas to stop moisture wicking
Raw cotton canvas soaks up water like a sponge, so wet joint compound spread straight onto it dries too fast, shrinks, curls and can pop off. Seal the canvas with a good acrylic primer first.
7. Mix sweeping impasto joint compound
Drywall mud straight from the bucket is a little too soft for high relief and tends to slump. Leave the lid off for about two hours so some water evaporates, until it’s like thick buttercream.
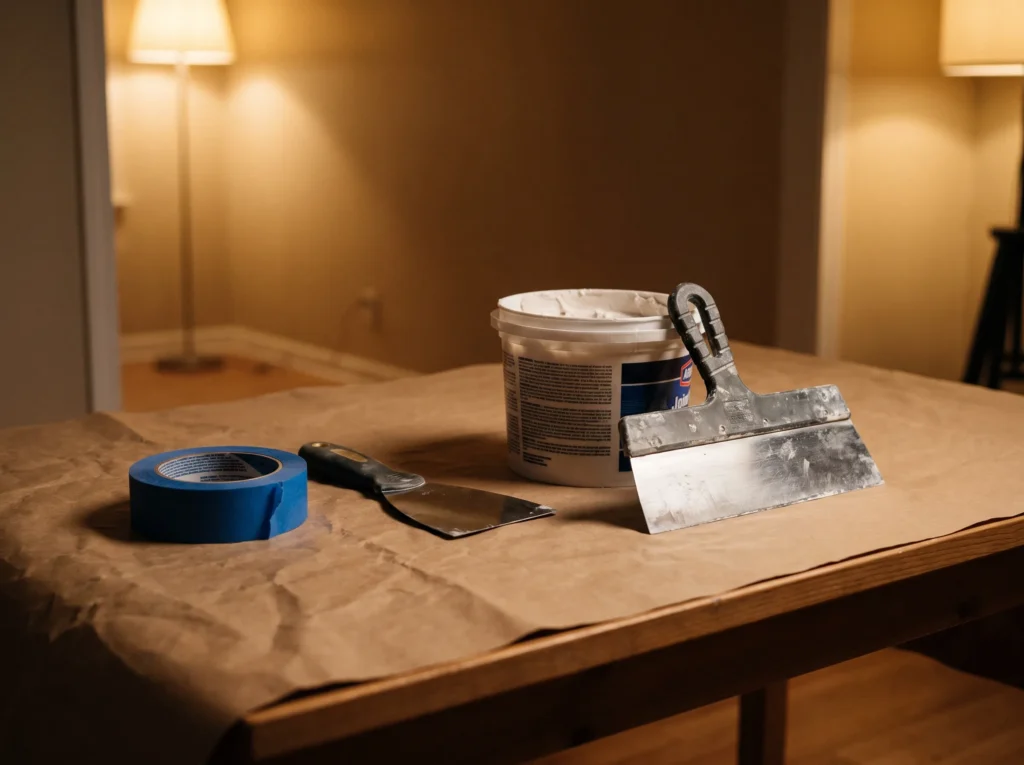
8. Build the foundation thin to support thick peaks
Heavy texture needs something to grip, so start with a base coat. Scrape a paper-thin layer of compound across the whole canvas and press it into the weave of the fabric. That thin layer works as an anchor for the heavier arch you’ll sculpt on top.
9. Skip flat canvas prints
Flat printed canvases from big box stores lack real depth and can make a carefully styled room feel a bit like a hotel lobby. A piece with physical texture casts its own small shadows and feels much more alive.
10. Keep the colors soft
Bright, colorful boho decor like dyed yarn macrame can clash with a calm, minimalist look. Wabi sabi style favors raw materials, so keep the focus on the sculptural shape of the plaster.
Color, Depth and Light
11. Layer warm bone over deep velvety greige
One-color art can look flat, so use two close neutrals. Paint the background a soft, velvety greige and trowel the raised arch in a chalky warm bone. The gentle contrast between them creates a surprising sense of depth.
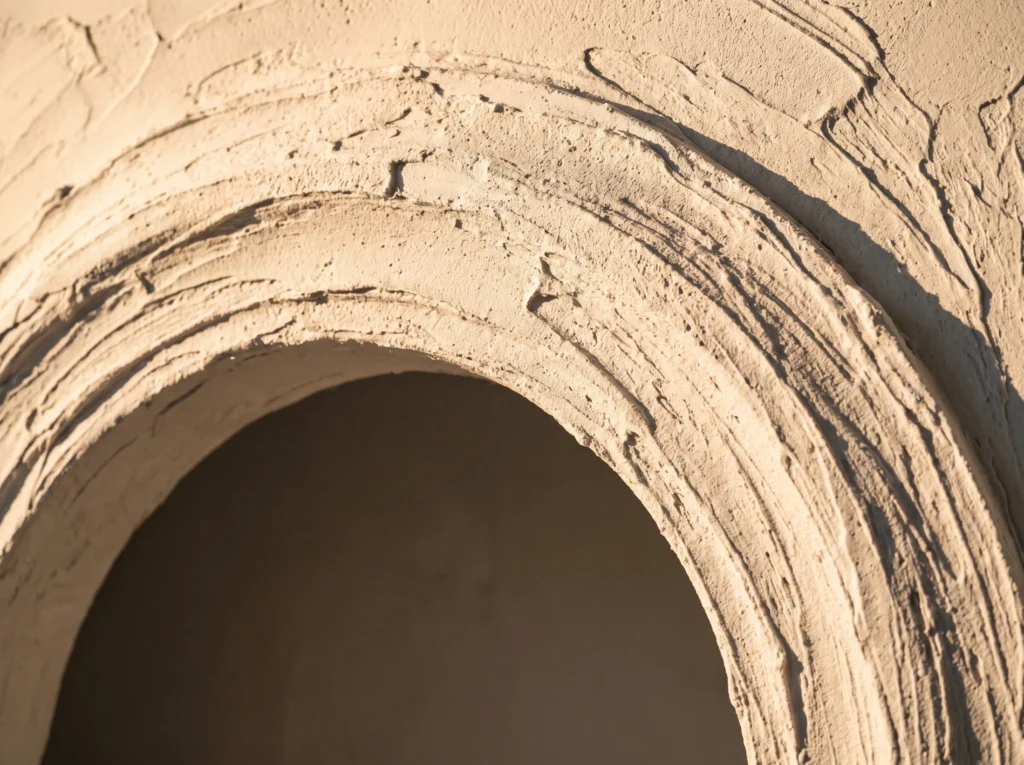
12. Rely on shifting shadows instead of bright paint
Layering neutral boho wall art in bone and greige adds cozy warmth without bright paint. As the sun moves across the room, the shadows in the trowel marks shift and stretch, so the piece looks a little different from morning to evening.
13. Achieve a matte chalky finish with basic materials
You don’t need expensive Venetian plaster for a high-end look, because joint compound dries to a lovely matte, chalky finish on its own. Skip latex house paint over the raised arch, since it adds a slight sheen; leave the bone-colored plaster raw instead. To protect a raw finish from dust without making it shiny, see 21 Tips on How to Seal Plaster Canvas Art Safely.
14. Position the art to catch raking natural side-light
Lighting is part of the artwork. On a dark wall, textured art loses its effect, so hang it on a wall at right angles to a large window. Daylight then skims across the surface from the side and brings out every sweeping trowel mark.
Making and Hanging Your Piece
15. Carve sweeping trowel marks at a shallow angle
Holding the trowel upright tends to scrape the compound off. Hold the blade almost flat against the canvas instead, and pull it in long, continuous arcs. Let the compound skip and tear slightly to leave small, natural-looking pits.
16. Let the compound cure naturally
Patience is what prevents cracks here. Don’t aim a hairdryer or space heater at wet joint compound: forcing it to dry makes the top layer shrink faster than the wet layer underneath, and that difference opens up large fissures you can’t control.
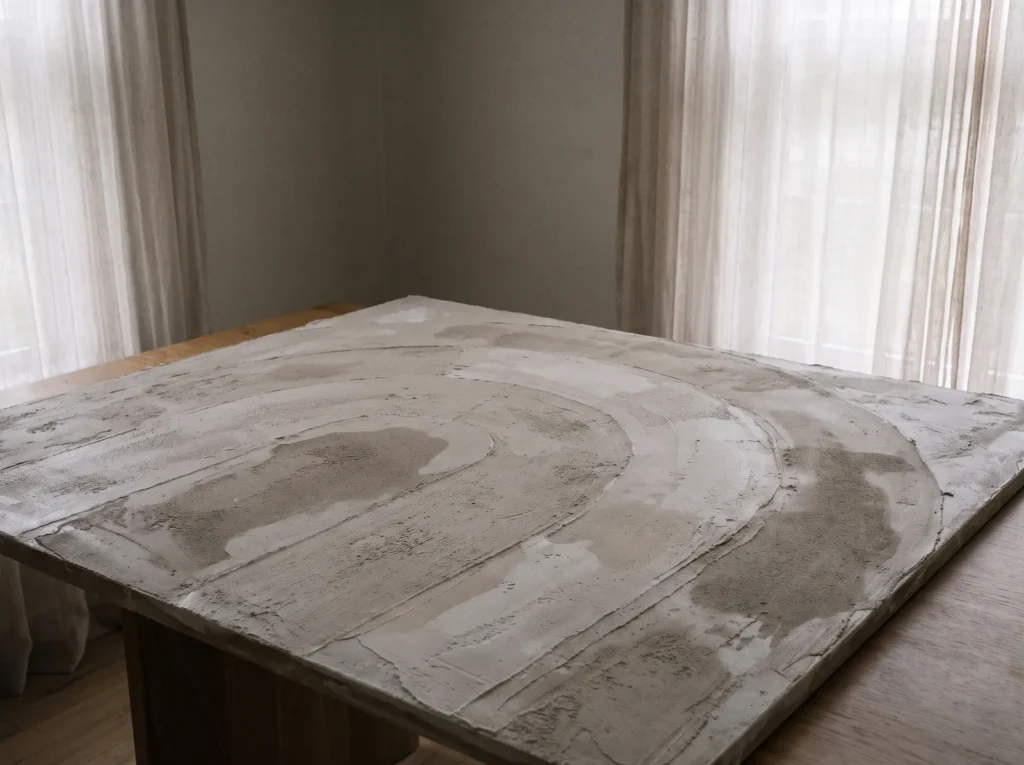
17. Smooth the edges for a finished look
Rough edges on the arch can look messy. Once the compound is firm but not fully dry, trace the outer curve gently with a slightly damp sponge. It softens the line between the raised bone plaster and the flat greige background and gives a cleaner finish.
18. Hang heavy panels on a French cleat
A large canvas covered in plaster is heavy, and a single nail can pull out of drywall. A metal French cleat spreads the weight across a wide section of wall and keeps the art flat and secure.
19. Reinforce the back of the canvas
Canvas stretches under wet plaster, so to stop the middle sagging, cut a piece of rigid MDF to fit inside the stretcher bars and wedge it snugly against the back of the canvas before you start. It gives the heavy plaster a solid surface to sit on.
Frequently Asked Questions
Will the joint compound crack and flake off my canvas?
It’s likely to crack on a loose, unprimed canvas, because raw cotton pulls moisture out of the compound and leaves it chalky and brittle. Stretch the canvas tight, seal it with acrylic primer and wedge a rigid MDF board behind the fabric before you start.
Will this just look like a messy Pinterest fail when I try it?
Most messy results come from rushing the drying or using thin, watery compound. Let the compound sit open for a few hours to thicken, spread a very thin base coat first so the arch has something to grip, and keep your trowel angles shallow and deliberate.
How do I hang something this heavy without ruining my rental walls?
Skip ordinary picture wire, which can pull the nail down and damage the drywall. A wide metal French cleat spreads the weight safely across a larger area, and the few small screw holes are easy to fill with spackle when you move out.
Do I need to buy expensive specialty plaster to get that matte bone look?
No. Specialty plasters are designed for large wall finishes, not flexible canvases. Basic hardware store joint compound dries to the matte, porous finish you want; just leave it unpainted so the raw, chalky texture softens the light.
One large textured piece can change the feel of a whole room. Prep your canvas well, keep the palette soft and let the raw materials do the work.
