
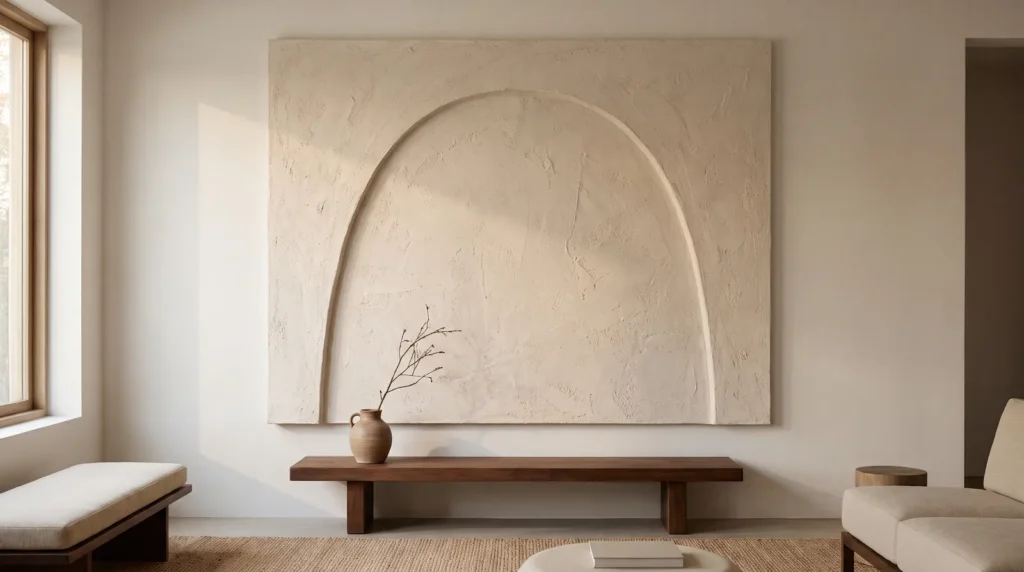
Japandi textured wall art blends the calm simplicity of Japanese design with the warmth of Scandinavian style: soft neutral color, raw plaster texture and gentle, organic shadows. It looks expensive, but it’s surprisingly easy to make at home.
The main thing to avoid is the classic first attempt: heavy joint compound spread on a cheap stretched canvas. The fabric sags, the plaster dries too quickly and the surface ends up covered in fine cracks.
A rigid board, a simple sand-and-compound mix and a little patience solve all of that. These 13 easy ideas take you from the base to the finish, then show you how to frame and hang the piece without any power tools.
The Short Version
- Use a rigid base. Solid MDF instead of flexible canvas stops the plaster from cracking.
- Add some sand. Fine sand mixed into joint compound gives a raw, natural texture.
- Hang it at 57 inches. Place the center of the artwork about 57 inches from the floor.
- Use a French cleat. Adhesive strips can’t hold heavy plaster safely; a cleat can.
Start Here If You Are a Beginner
If this is your first textured piece, you don’t need to try all 13 ideas at once. Start small and build confidence.
- Pick a small size first. A 12×16 inch board is easy to handle and dries faster than a large panel.
- Use premixed joint compound. It’s forgiving, cheap and easy to smooth out if you change your mind while it’s wet.
- Begin with ideas 1, 4 and 5. A rigid board, a simple sand-and-compound mix and one asymmetrical arch teach you the core skills.
- Plan for drying time. Thin layers usually dry overnight; thick texture can take two to three days.
- Expect imperfection. Japandi and wabi-sabi style welcome uneven edges, so small mistakes often look intentional.
Preparing the Base
1. Swap Canvas for a Rigid MDF Board
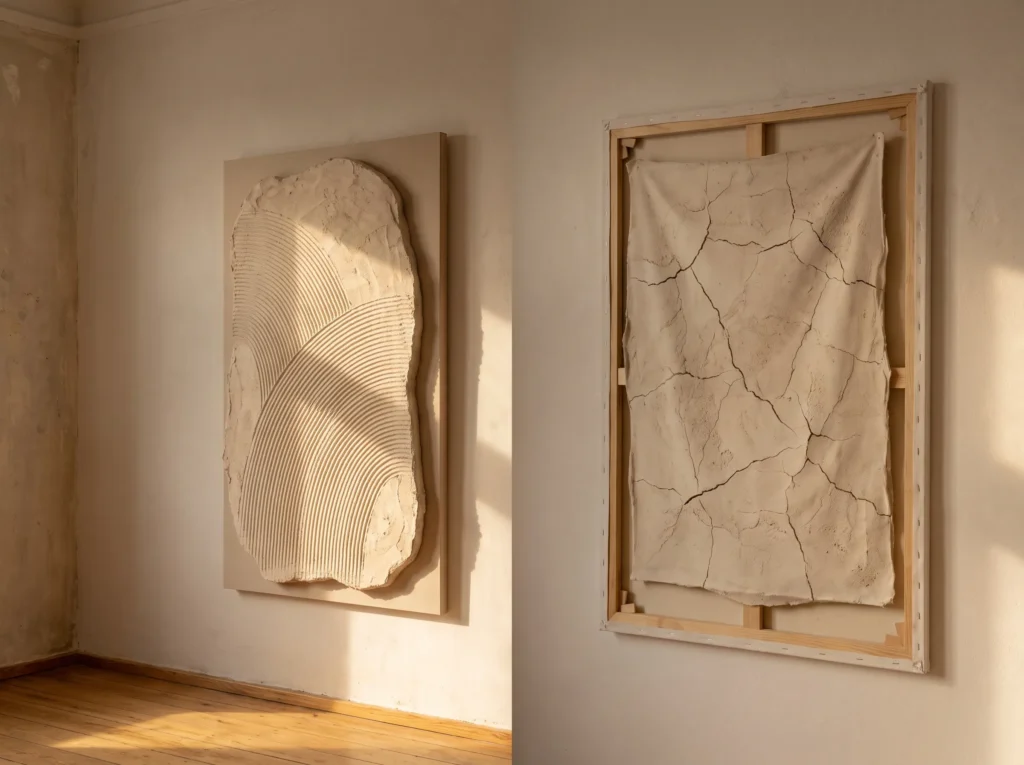
Store-bought cotton canvases bounce when you press a trowel into them, and that movement is what cracks heavy plaster. A sheet of half-inch MDF from the hardware store is completely rigid, gives the plaster a stable surface to grip, and won’t warp under the weight of wet paste.
2. Seal the Board First
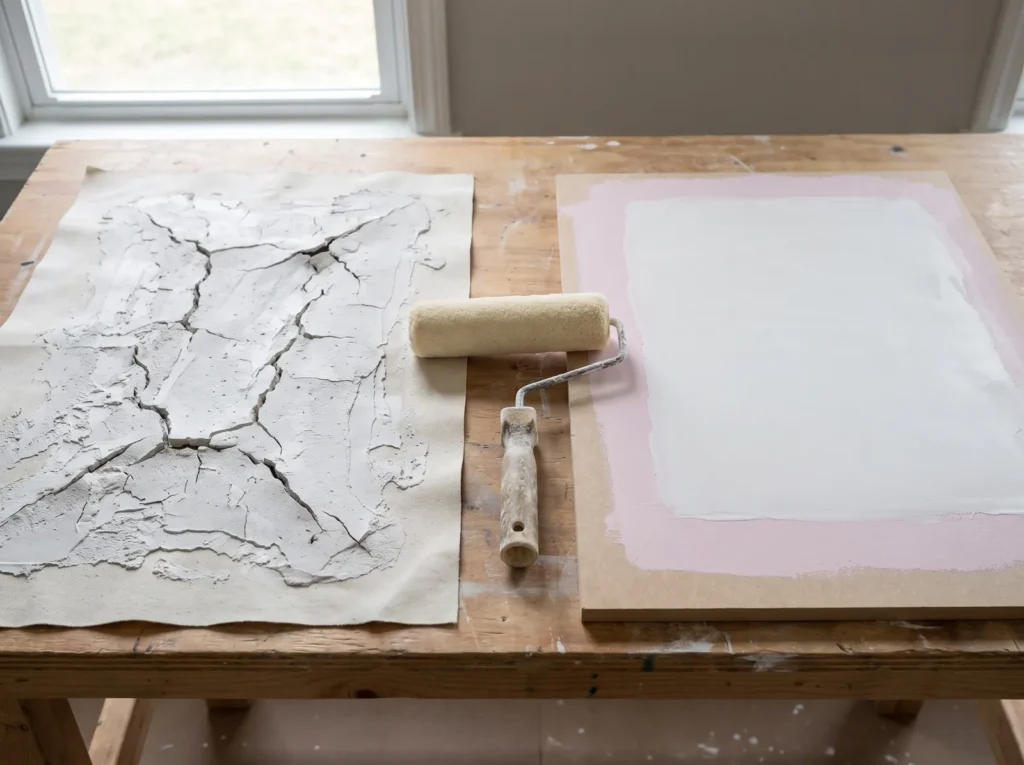
Bare MDF and cheap canvas are porous and soak up water like a sponge. Spread wet joint compound straight onto an unsealed surface and the base pulls the moisture out, so the compound dries too fast and cracks. Roll a coat of PVA drywall primer over the board first; the plaster then dries slowly and sets hard.
3. Add a Thin Base Layer
Spread a thin base layer of compound across the primed board with a wide putty knife. It’s just a grip coat for the design that goes on top, so keep it thin and let it dry overnight.
Making the Wabi-Sabi Plaster Finish
4. Mix Joint Compound With Fine Sand
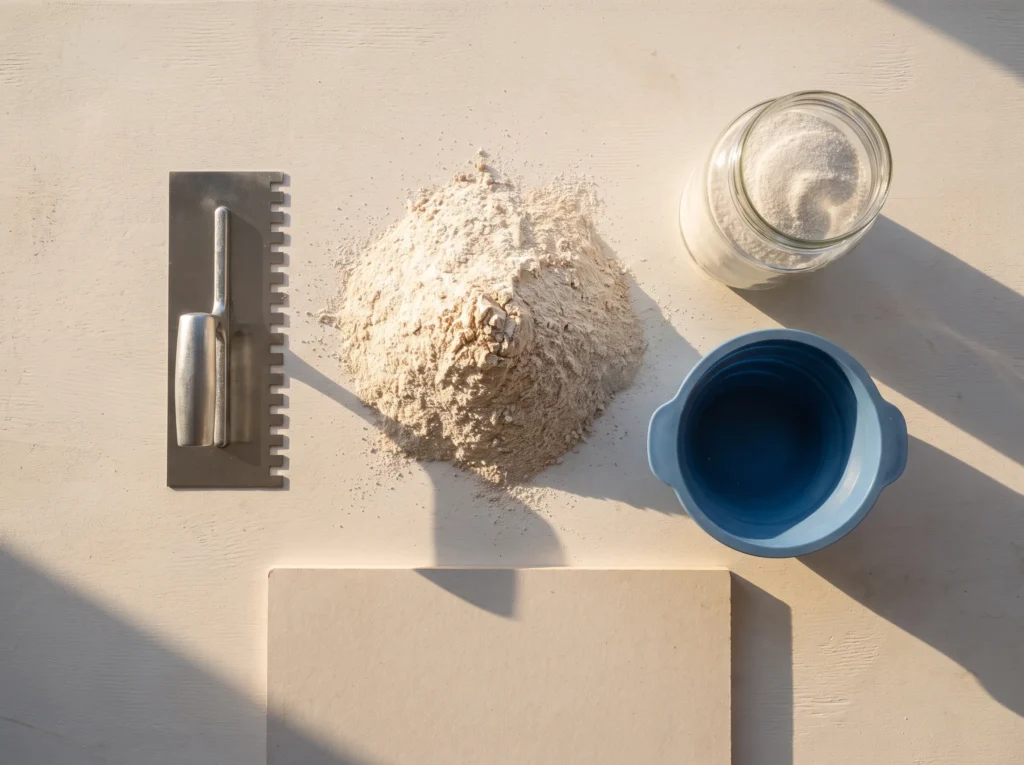
Plain compound can look a little flat and plastic once it’s dry, while Japandi style favors natural, earthy texture. Put your joint compound in a mixing bowl and fold in about half a cup of fine silica sand. The grit catches the light and makes the surface look like raw concrete or old clay.
5. Trowel a Simple, Asymmetrical Arch
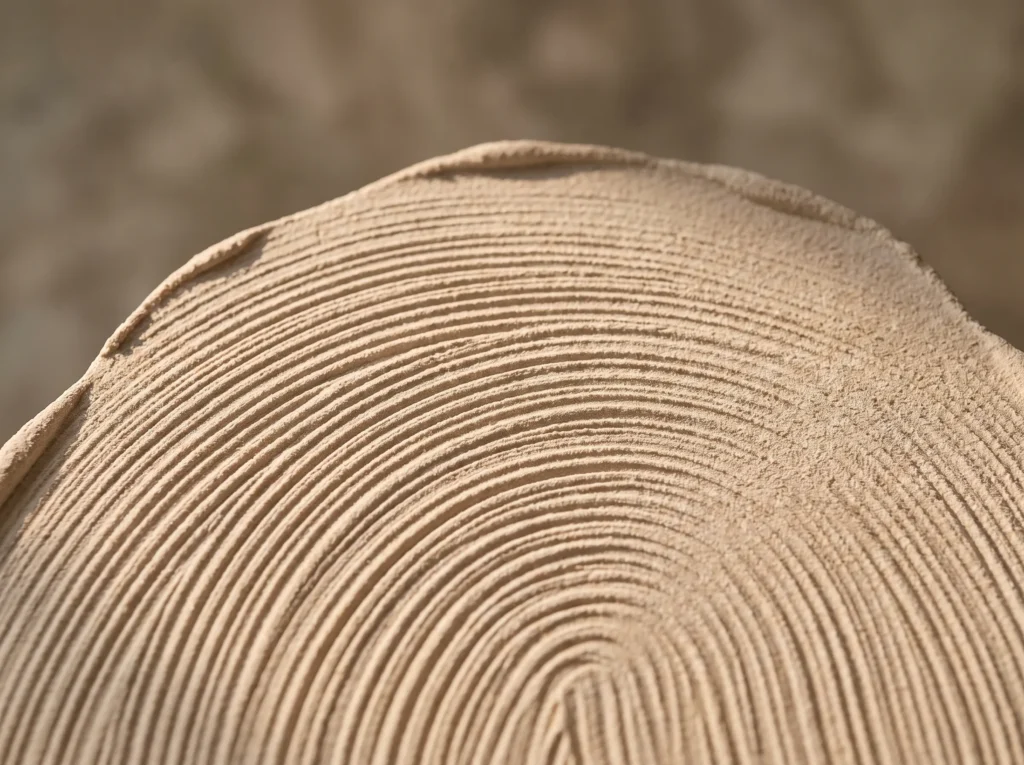
Wabi sabi textured wall art is all about calm, sweeping lines. Press a square-notched tile trowel into the wet compound and pull your arm in one slow, sweeping arc across the board, without stopping halfway. You’ll get neat ribbed arcs with crisp shadow lines. Placing the arch slightly off-center keeps it feeling relaxed.
6. Add a Soft Matte Wash
Gloss spoils the natural look, so keep everything matte. Once the arcs are completely dry, mix matte beige acrylic paint with water and brush the thin wash over the plaster. It sinks into the grooves and darkens the shadows while the high points stay pale, which makes new plaster look gently aged.
Framing Without Power Tools
7. Use Pre-Glued Oak Edge Banding
If you’d like a wood frame but don’t own a miter saw, look for a roll of pre-glued light oak edge banding at the hardware store. It’s real wood veneer with heat-activated glue on the back, and it gives the look of an oak frame with no power tools.
8. Iron the Veneer Onto the Edges
Cut the banding to length with sturdy scissors and hold it against the edge of the dry board. Run a hot household iron slowly along the strip to melt the glue, then press a block of wood against the warm veneer so it bonds firmly to the MDF. It takes less than an hour.
9. Space Triptych Panels Three Inches Apart
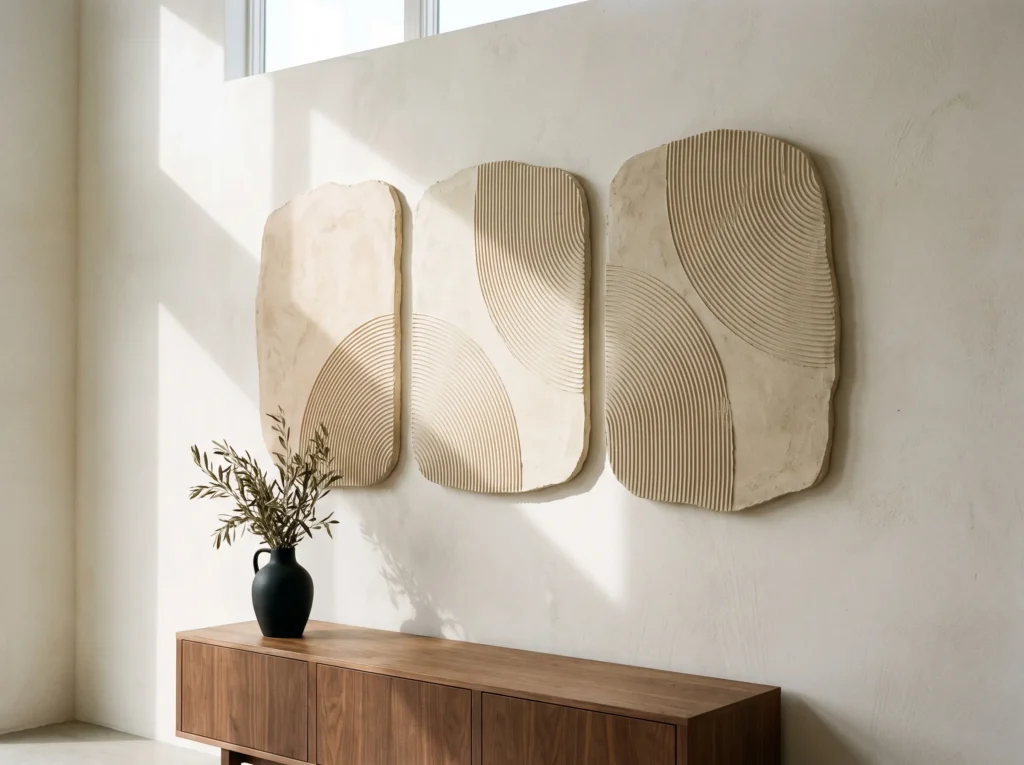
Splitting a large design into three panels makes it much easier to handle. When you hang them, keep the gaps even: cut two scrap-wood blocks exactly three inches wide and use them as spacers between the panels as you go.
Hanging Heavy Art Safely
10. Hang It on a French Cleat
Thick plaster on MDF is heavy, and adhesive strips won’t hold it safely. Aluminum French cleats are a much better option: screw one bracket to the back of the art and the matching one to the wall with heavy-duty toggle bolts. The two halves interlock and spread the weight evenly.
11. Hang It at 57 Inches
Art often ends up hung too high, where it feels disconnected from the furniture below. Many galleries place the center of a piece about 57 inches from the floor, which is roughly eye level, and it works well at home too.
12. Use the Two-Thirds Sofa Rule
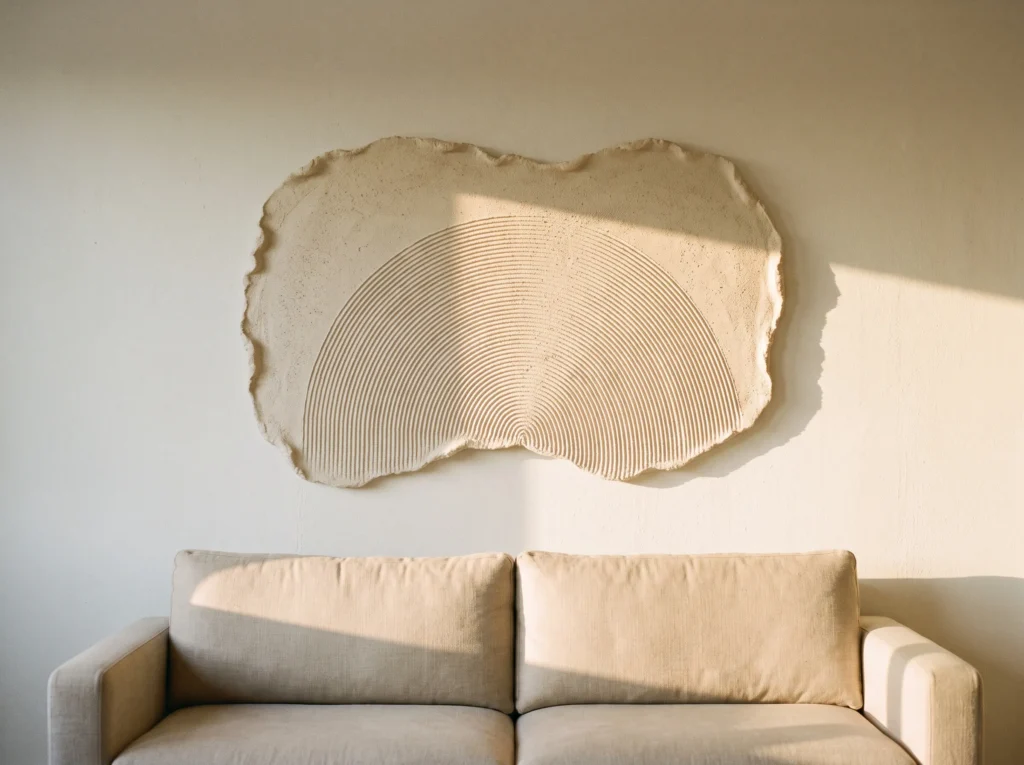
A small 18 by 24 canvas over a big sectional tends to look lost. Measure the width of your sofa and aim for artwork about two-thirds of that width. It keeps large neutral 3D wall decor in proportion with the furniture below.
13. Light It From the Side
Flat overhead lighting hides texture, so recessed ceiling lights alone can make the ridges disappear. A plug-in brass wall sconce slightly above and to one side of the artwork sends light across the plaster and makes every ridge stand out.
Your Questions, Answered
Will this end up looking like a Pinterest fail?
Not if you prepare it properly. Most failed pieces skip the primer or use a flexible canvas that cracks the wet plaster. A rigid MDF board, PVA primer and a little sand in the compound give you a solid, stone-like finish.
Will heavy plaster damage the walls in my rental?
Regular nails won’t hold plaster on MDF safely, so use an aluminum French cleat with toggle bolts. The bolts spread the load behind the drywall, and when you move out you just unscrew them and fill the small holes with spackle.
I don’t have a saw. How can I frame it?
You don’t need a workshop. Pre-glued oak veneer edge banding can be cut with household scissors and ironed onto the edges of your board for a neat wood finish without any power tools.
What if my sofa is too big for a standard canvas?
Over a large sectional, a single standard piece can look small. Make a triptych instead: three textured panels spaced three inches apart stretch the artwork to about two-thirds of the sofa’s width without needing a huge board.
Making your own Japandi textured wall art is mostly about restraint and patience. Give each layer time to dry, measure your spacing carefully and let the natural materials do the talking. To avoid other common problems, see 25 DIY Plaster Art Canvas Mistakes and How to Fix Them.

