
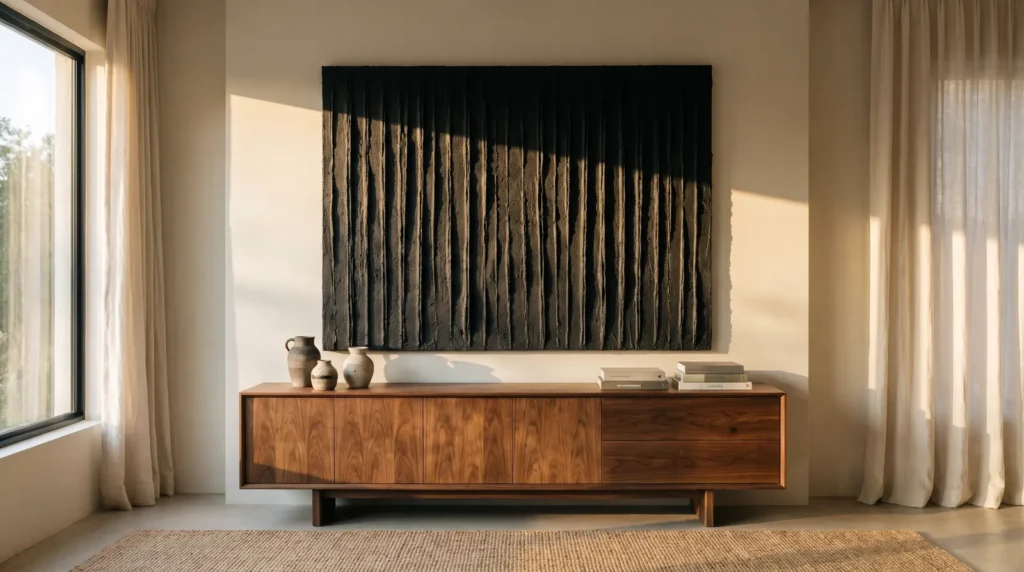
When people make textured art, they often worry most about which brand of joint compound to buy. For black plaster wall art, though, the material matters less than how you light and frame it. Hang a heavily textured black piece on a flat white wall under ordinary overhead lights and the shadows wash out, leaving a dark, lumpy square instead of a striking piece of art. The gallery look comes down to three things: directional lighting, secure mounting and a simple wood frame that costs less than a takeout dinner. Here’s how to make a large black textured piece look expensive.
Quick Summary
- Light it from the side. Overhead lights flatten the texture, while a warm 3000K beam from the side creates rich shadows.
- Mount it securely. Heavy plaster panels need a proper fixing, ideally an aluminum French cleat screwed into the wall studs.
- Frame the edges. A simple DIY white oak frame makes the piece look gallery-ready.
Using Light for Drama
1. Aim a 3000K Spotlight Across the Surface
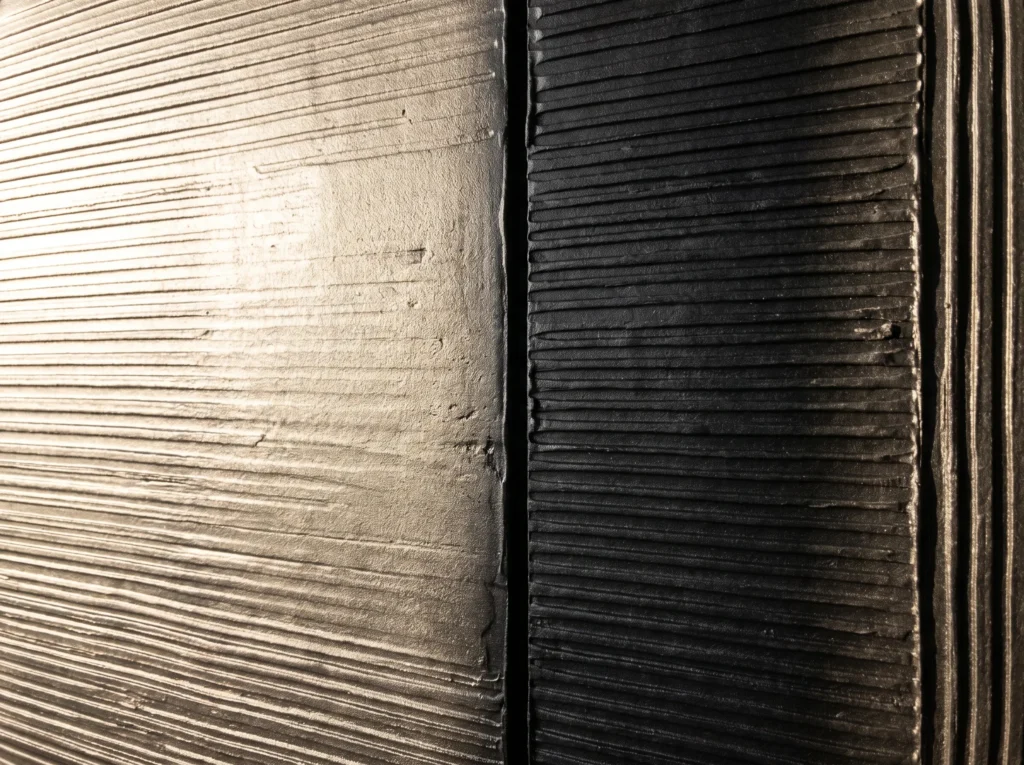
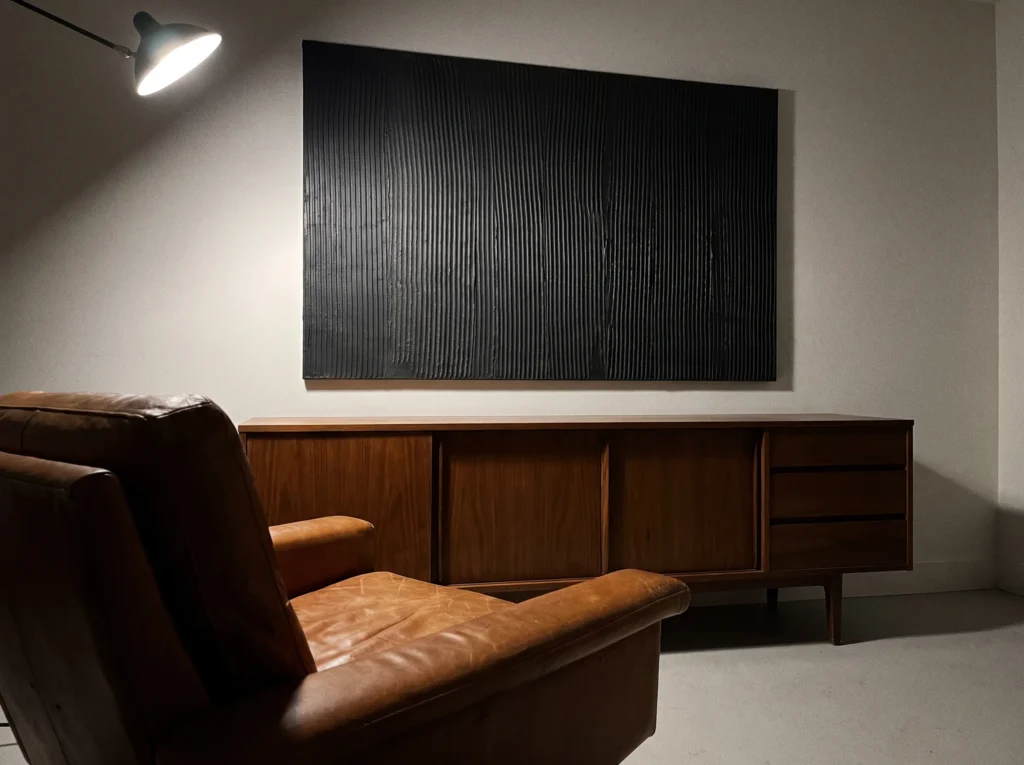
Plaster texture only shows up through shadow; without it, a black piece just looks like black paint. To bring out the shadows in black plaster wall art, aim a 3000K spotlight across the texture. That warm color is close to late-afternoon sun, so it feels rich and inviting. Mount a ceiling spot or floor uplight at a low angle so the beam skims across the surface, and the raised ridges will cast long, deep shadows into the grooves.
2. Block the Harsh Glare of South-Facing Windows
Natural light is lovely, but strong direct sun works against a moody piece. Bright sunlight from a south-facing window floods the surface, fills in the shadows and flattens the ridges. Hang the art on a wall that gets soft, indirect daylight, and let your directional lights do the rest.
3. Flank the Canvas With Matte Black Sconces
A matching pair of matte black sconces on either side of the canvas adds a balanced, finished look and echoes the dark tones of the art. Place them about six inches from the outer edges of the frame and angle the bulbs inward so they wash the plaster with warm light.
Making the Wood Border
4. Build a Raw White Oak Frame for Under Twenty Dollars
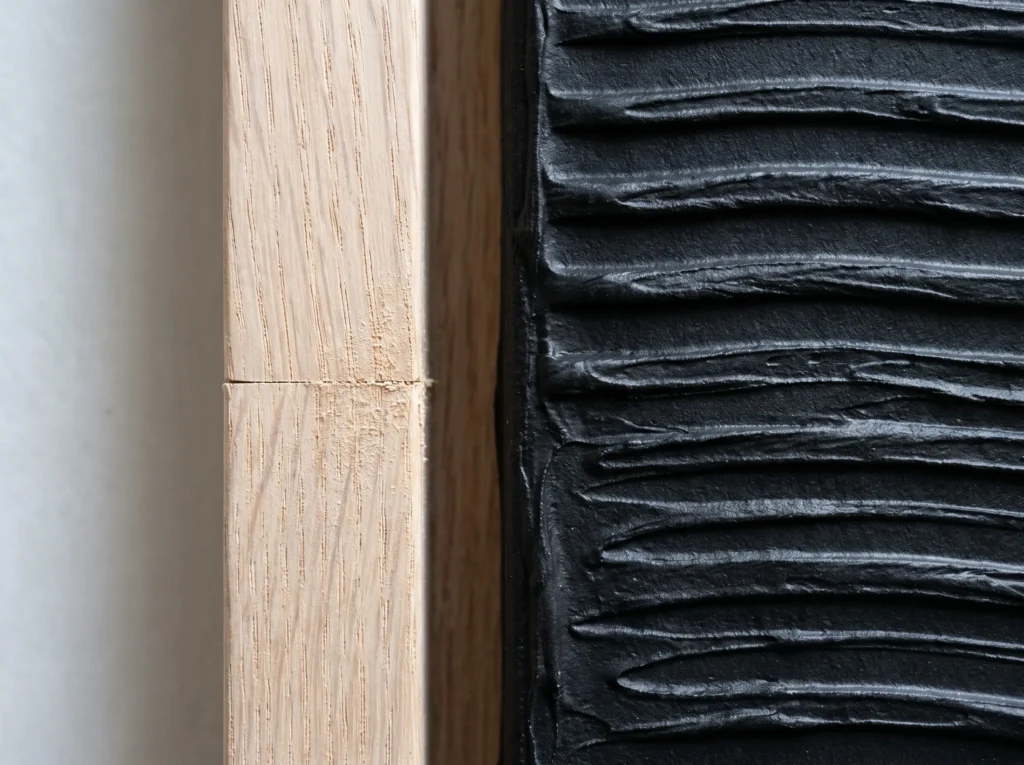
Unframed canvas can look a little unfinished. Framing black plaster panels in raw white oak gives them a gallery look, and the pale, warm wood makes a lovely border against the deep black texture. You don’t need custom framing: standard one-by-two inch white oak boards from the hardware store, cut to size and fixed around the canvas edge, cost under twenty dollars.
5. Finish the Build in a Single Afternoon
You don’t need a big workshop for this; it’s an afternoon project. All you need is a miter box, wood glue and a brad nailer. Cut the corners at 45 degrees, run a thin bead of glue along each joint, and nail the boards to the canvas’s wooden stretcher bars. It’s a satisfying weekend job that makes the piece look far more expensive.
6. Hide the Raw Canvas Edges Completely
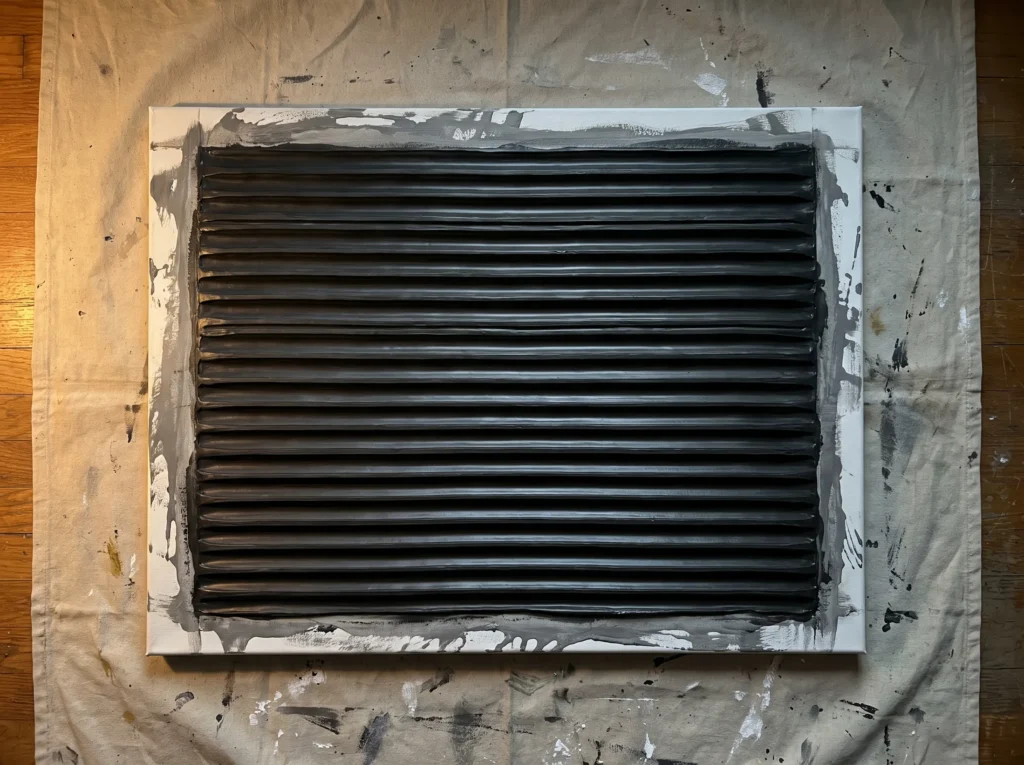
The framing step is easy to skip when you’re tired, but it makes a big difference. When you spread wet joint compound, some always drips down the sides and dries into uneven gray lumps. A flush wood frame hides those edges completely and gives the piece a crisp, architectural finish.
Hanging Heavy Art Safely
7. Ditch Standard Drywall Anchors
Plaster is heavy, and a large canvas coated in thick joint compound can easily weigh thirty pounds. Ordinary plastic drywall anchors are made for light picture frames and can pull straight out of the wall under that kind of weight. Using the right hardware protects both your wall and your hard work. For other common mistakes to avoid, see 25 DIY Plaster Art Canvas Mistakes and How to Fix Them.
8. Distribute Weight With Aluminum French Cleats
Heavy DIY black plaster canvas art needs sturdy hardware, and an aluminum French cleat is the best option. It’s a two-part interlocking bracket: one half screws to the back of the wood frame and the other into the wall studs. Slide the art down and the two halves lock together, holding it securely and flat against the wall.
9. Hang the Center Exactly at 57 Inches
Art is often hung too high. For good balance, place the center of the piece about 57 inches from the floor, which is roughly average eye level and the height many galleries use. Measure 57 inches up, mark the wall and line up the center of the canvas with the mark.
Styling It in Your Room
10. Contrast the Dark Surface With Warm Wood Tones
A large black square can feel heavy, so balance it with warmth. Mid-century design does this well: pair the dark texture with a walnut credenza or teak side tables, and the warm wood grain softens the black.
11. Pair It With a Cognac Leather Chair
A cognac leather lounge chair is a classic mid-century partner for black plaster wall art. The warm, orange-brown leather makes a lovely contrast with the matte black, and placing the chair slightly off-center below the canvas creates a relaxed reading corner.
12. Skip the Flat White Walls
On a stark white wall under overhead lights, a black textured piece loses its shadows and can look like a hole in the wall. A deeper wall color softens the contrast: olive green, warm charcoal or rich terracotta all help the art feel part of the room rather than floating on its own.
13. Treat the Piece Like a Sculptural Object
Minimalist black 3D wall art isn’t really a painting; it’s a physical object, so treat it like a sculpture. Keep the decor around it simple and let the texture speak for itself, perhaps with a couple of ceramic vases or a trailing pothos nearby. The goal is a quiet, intentional corner where light and shadow do the work.
Common Questions
Is this going to be way too heavy for my apartment walls?
No, as long as you use the right hardware. A large plaster canvas can get heavy, but properly mounted it’s well within what normal drywall can handle. Skip push-in plastic anchors, find the studs with a stud finder and screw an aluminum French cleat into them. If there isn’t a stud in the right spot, heavy-duty toggle bolts spread the weight safely behind the drywall.
Will a giant black canvas make my small room look like a cave?
Only if the lighting is poor. Dark colors absorb light, which can make a small room feel closed in, so add warm, focused light. A 3000K spotlight on the canvas turns it into a bright focal point and adds a sense of depth. Warm, reflective materials nearby, like a cognac leather chair or brass accents, bounce light back into the room.
Do I need expensive power tools to build this frame?
No. You can buy one-by-two inch oak boards at most hardware stores, and many will cut them to your measurements if you ask at the lumber desk. At home, a simple manual miter box, wood glue and an inexpensive brad nailer are all you need, so it’s very doable for a confident beginner.
Do I have to hire an electrician to hardwire that spotlight?
No. Battery-powered LED picture lights give you lovely directional light without any wiring. They screw onto the top of the wooden frame, wash light down the canvas and often come with a remote. You could also hide a plug-in floor uplight behind a plant or armchair to cast shadows upward.

