
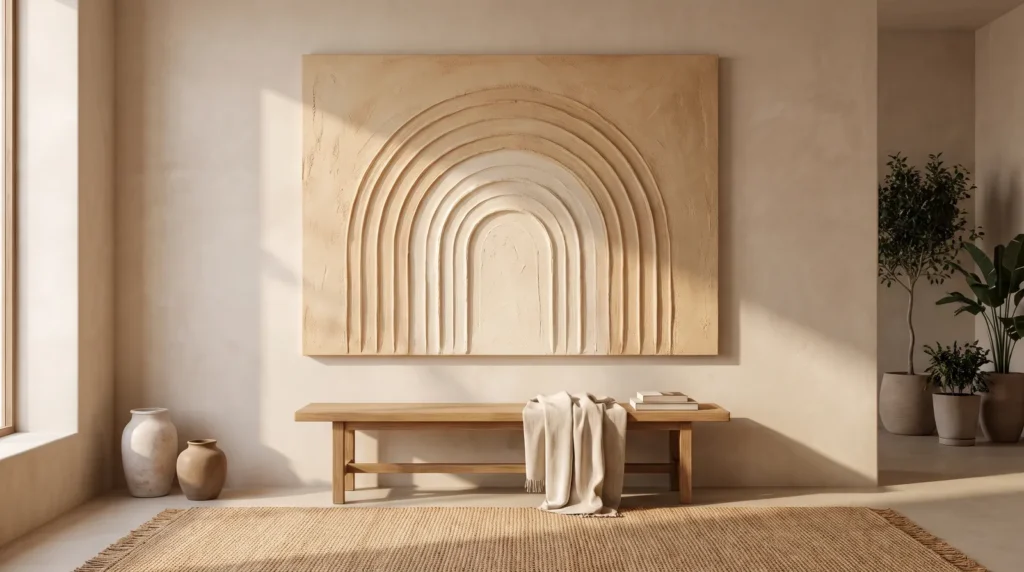
Arches have been around for a very long time, from Roman aqueducts to the horseshoe arches of Moorish courtyards in Andalusia, and they still bring a calm, grounded feel to a room today. Textured arches canvas art captures that shape in plaster: deep, parallel ridges that catch the light and cast soft shadows. The good news is that it doesn’t take a big budget. Below you’ll find a real under-$40 shopping list and 14 ideas, from choosing the base and shaping a smooth arch to a few designs to try and how to finish and hang the piece.
At a Glance
- Use a firm base. For larger pieces, a rigid MDF or birch panel stops the plaster from cracking. For a small canvas, brace the back.
- Give yourself more working time. A little retarder gel keeps the paste workable while you perfect the arch.
- Use a pivot for smooth curves. A nail and string give you an even arch every time.
- Pick the notch for the shadow you want. V-notches cast sharp shadows; U-notches cast soft ones.
What This Costs: A Real Under-$40 Budget
Here is a basic shopping list for one 16×20 inch arch canvas, using typical US craft and hardware store prices. Prices vary by store and region, so treat these as a guide.
- Stretched canvas, 16×20 inch: about $6 to $8 each in a multi-pack
- Premixed all-purpose joint compound, small tub: about $6 to $9
- Acrylic gesso, 8 oz: about $6 to $8
- Plastic palette knife and spreader set: about $5 to $7
- Clear matte spray sealer: about $8 to $10
That comes to roughly $31 to $42, and most of the supplies stretch to two or three pieces. Some ideas below use upgrades such as a birch panel, marble dust, a cleat hanging system or a wall sconce. Those are optional extras that improve the result, but you can make a beautiful arch canvas with just the basic list above.
Choosing Your Base and Materials
1. Use a Rigid Base
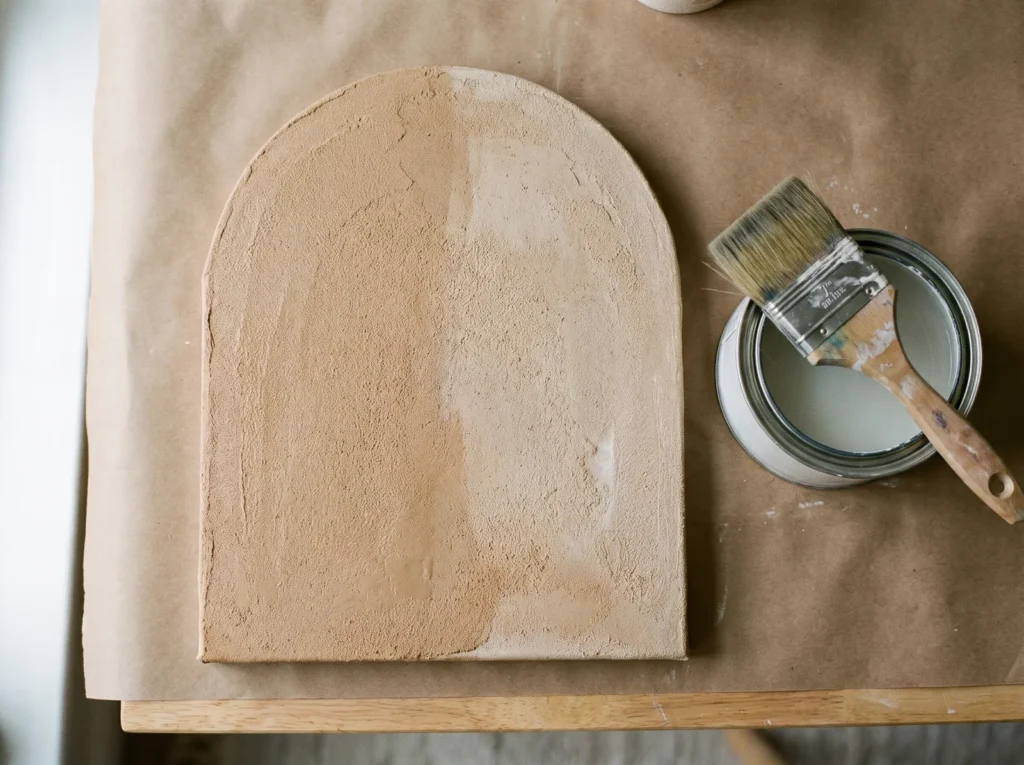
Heavy plaster and flexible cotton don’t always get along. As the humidity in your room changes, a stretched canvas tightens and loosens slightly, and thick plaster on top can crack. For a small 16 by 20 inch canvas from the budget list, wedge stiff cardboard behind the fabric so it can’t flex. For larger pieces of textured arches canvas art, a gallery-depth birch panel or thick MDF board is the safer choice.
2. Mix In Marble Dust
Marble dust gives the surface a soft glow. Pick up a small jar of fine marble dust from an art supply store and mix a handful into your acrylic paste. The tiny crystals catch the light and give neutral boho arch art a subtle shimmer that plain spackle can’t match.

3. Add Retarder Gel for More Time
A smooth arch takes a little time, and if the paste starts to dry while you’re still combing it, the ridges tear and look ragged. Stirring an acrylic retarder gel into the mix keeps it workable for longer, often around forty extra minutes, so you can work calmly.
4. Use a V-Notch Trowel for Crisp Shadows
The tool you choose sets the look of the piece. Instead of a plastic comb, try a metal V-notch adhesive trowel. Its sharp, angled teeth cut deep grooves, and when your diy plaster arch canvas art is on the wall, those grooves hold crisp, dark shadows for a bold, architectural look.
Shaping the Arch
5. Draw the Arch With String and a Nail
Freehand arches are hard to get even, and small wobbles are easy to spot. A simple compass solves it: tap a small nail or awl into the bottom center of your board, tie non-stretch string to it, tie the other end to your notched trowel, and keep the string tight as you sweep.

6. Pull Each Arch in One Stroke
Once you start dragging the trowel along the string to form the arch, keep going. Stopping halfway leaves a visible ridge in the wet medium, so aim to finish the whole sweep in one smooth motion. Plant your feet, keep your wrist steady and turn your upper body as you pivot.
7. Use a U-Notch for Softer Ridges
For a softer look, perhaps in a bedroom, swap the V-notch trowel for a U-notch one. The rounded grooves look like gentle rolling hills, and the shadows they cast are soft and gradual, which suits minimalist arch decor in a quiet, sunny room.

8. Why to Skip Plaster of Paris
Plain Plaster of Paris isn’t a good fit for this project. It heats up as it sets and hardens within minutes, which doesn’t leave enough time to spread it and pull a clean arch. Use a heavy body acrylic modeling paste or a slow-setting joint compound instead.
More Arch Designs to Try
9. Overlapping Arches
Two overlapping arches add lovely depth. Spread your base layer and pull a large arch on the left side of the panel, then let it dry for a full 24 hours. Once it’s hard, add paste on the right side and pull a smaller arch that overlaps the first. The difference in height between the two layers creates real dimension.
10. Mirrored Top and Bottom Arches
Try flipping the usual shape. Pull an upside-down arch at the top of the panel, sweeping downward, then a regular arch at the bottom sweeping up, with a gap of plain space between them. The two shapes draw the eye to the center of the piece.

11. One Large Off-Center Arch
A centered arch is classic, but an off-center one feels more relaxed. Move your nail about three inches to the left of center, so the arch runs off the left edge of the panel and leaves a wide, smooth area on the right. It looks simple and deliberate.
Finishing and Hanging
12. Seal With Matte Polyurethane
Plaster and acrylic paste are porous and will soak up dust, cooking oils and moisture. Gloss sealers spoil the earthy look, so use a completely flat, water-based matte polyurethane. Spray it on, or brush it very gently with a soft synthetic brush, for an invisible protective coat. For a step-by-step guide, see 21 Tips on How to Seal Plaster Canvas Art Safely.
13. Hang It on a Cleat
Heavy wooden panels tend to tilt forward on a wire and picture hook. An aluminum French cleat holds them flat: fix one half to the top back of the panel and the other half into the wall studs, and the piece will sit flush against the wall.
14. Light It With a Side Sconce
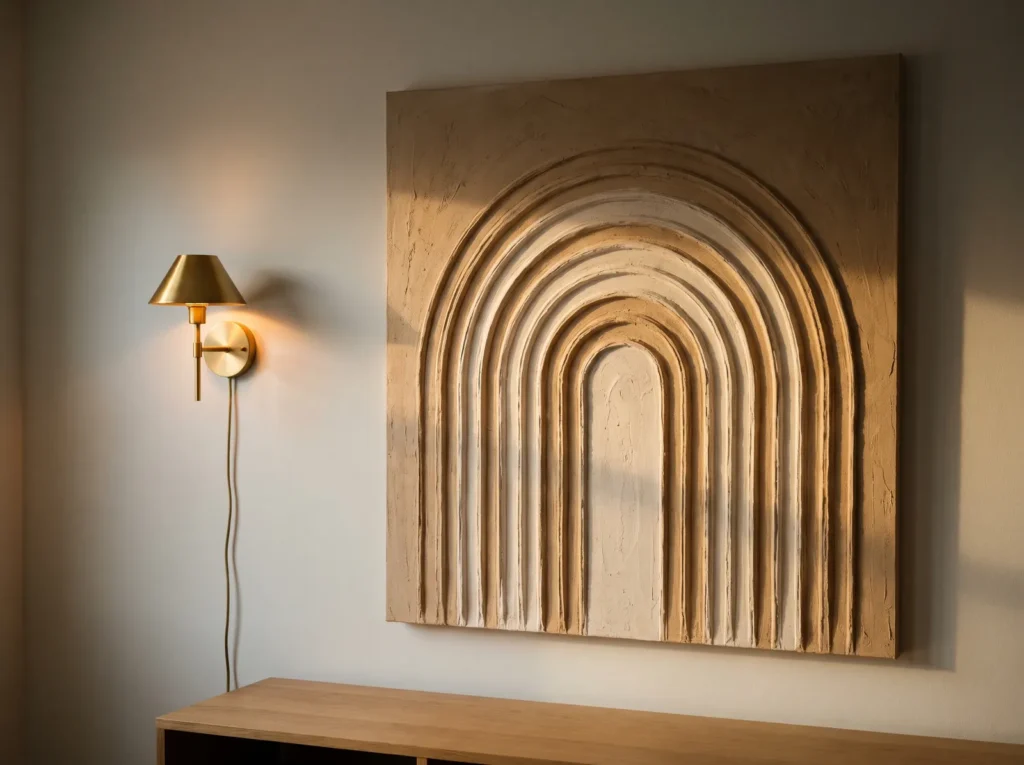
Lighting finishes the look. Flat overhead downlights wash texture out, so add light from the side instead. A brass sconce, hardwired or plug-in, about twelve inches to the left or right of the piece will make the ridges cast long shadows.
Quick Answers
Can I add color to the wet medium?
Yes. Avoid tinting with ordinary wall paint, though, because the extra water can weaken the binder in acrylic paste. Use concentrated liquid acrylic inks or raw earth pigments instead: a few drops of burnt umber or raw sienna mixed into the wet paste gives an even, natural color.
How do I fix jagged edges on my arch?
Jagged edges usually happen when the trowel catches on a dry spot. Don’t try to fix them while the paste is wet, as that tends to make things worse. Let the piece dry for 24 hours, sand the rough ridges smooth with 120-grit sandpaper and wipe off the dust. Then spread a fresh thin layer over the area and pull a new sweep.
Why did my textured piece crack after a week?
Fine cracks appear when the water leaves the paste faster than it can set, usually because the piece was in direct sun or near a fan. Once you’ve pulled your final sweep, move the board to a cool, shaded room with steady humidity and let it dry slowly over several days.

