
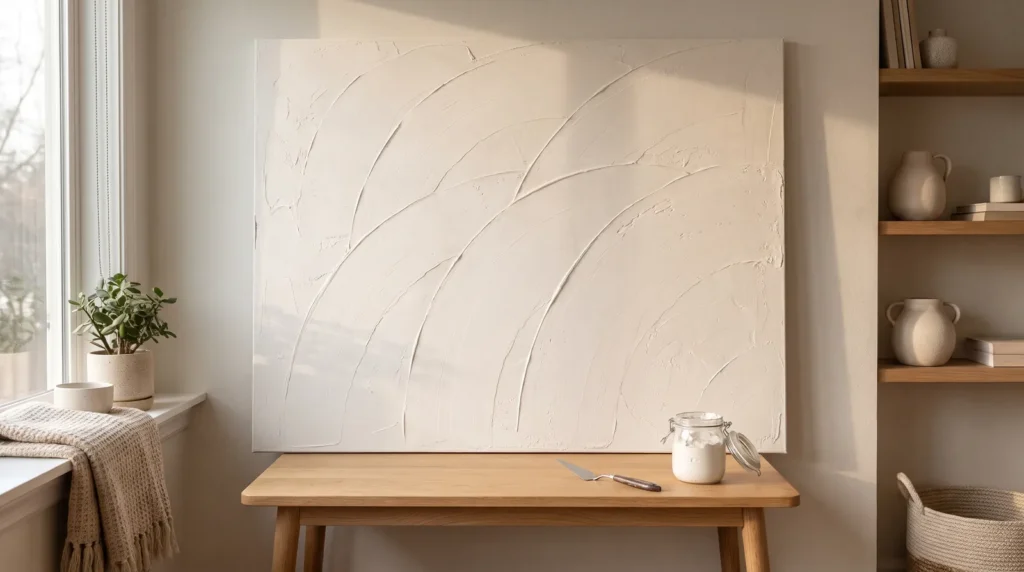
Most first attempts at textured art start the same way: wet joint compound on a cheap, flexible canvas. It often ends badly within months, as the texture cracks, the canvas sags, and a fun weekend project turns into white flakes on the floor.
If you want to learn how to make textured canvas art that holds up, the secret is to get the base right before you think about the design. Minimalist texture is all about simple shapes and the shadows they cast, and you don’t need an $800 gallery piece to get that look. These 25 tips start with materials and preparation, then move on to techniques, color, drying and cleanup.
In a Nutshell
- Use a rigid base. Plaster cracks on a flexible surface, so brace the canvas or use an MDF board.
- Add a little flexibility. PVA glue mixed into hardware store compound helps it cope with changes in temperature.
- Let shadow do the work. Deep grooves from a notched trowel matter more than the paint you add.
- Protect your plumbing. Plaster rinsed down the sink can harden in your pipes and lead to costly repairs.
Choosing Your Medium
The materials you choose decide whether your minimalist plaster canvas art lasts for years or cracks within months.
1. What Joint Compound Can and Can’t Do
Standard joint compound is heavy and holds a lot of water, and it was designed for rigid drywall rather than flexible cotton. It also shrinks as it dries. If you choose it for budget-friendly textured wall art, that’s fine, as long as you plan around those limits.
2. Add PVA Glue for Flexibility
To make joint compound behave more like artist’s paste, mix one part white PVA glue into four parts compound. The glue adds a flexible bond, so the dried texture bends slightly instead of cracking.
3. Why MDF Beats Canvas
Cotton canvas is the traditional choice, but it struggles with heavy texture. A raw MDF panel is often the better option: wood doesn’t bounce, so it gives you a solid, flat surface that can take a lot of moisture without warping.

4. Brace a Canvas With PVC Board
If you’d rather use a stretched cotton canvas, stop the fabric from flexing. Cut a sheet of rigid PVC foam board and wedge it snugly between the stretcher bars behind the canvas so it acts like a solid wall.
5. Use Modeling Paste for the Longest Life
If you want the piece to last as long as possible, use a heavy gel medium or artist’s modeling paste. It costs quite a bit more than joint compound, but light modeling paste is much lighter and stays flexible after it dries.
Building a Strong Base
Preparation is the step people are most tempted to rush, but it’s what keeps the texture from cracking.
6. Prime With Gesso
Raw canvas soaks up water fast. Apply wet plaster straight onto unprimed cotton and the fabric pulls moisture out of the paste too quickly, which leads to spiderweb cracks almost immediately. Paint on a thick coat of acrylic gesso first to prevent it.
7. Tape the Edges
Clean edges make minimalist art look finished. Wrap the sides of the frame with good painter’s tape so the texture stays on the front, then peel it off once everything is dry.
8. Start With a Flat Base Coat
Before carving any shapes, spread a thin, even layer of your medium over the whole surface, much like a crumb coat on a cake. It gives the next layers something to grip.

9. Watch the Room Temperature
Plaster cures as its water evaporates, so the room matters. High humidity keeps it wet for too long, while strong heat drives the moisture out too fast. A steady room temperature of around 70 degrees Fahrenheit gives the most even cure.
10. Or Use Cardboard as a Brace
If you can’t find PVC board, thick corrugated cardboard works too. Cut it to fit inside the frame, press it against the back of the canvas and tape it firmly in place.
Texture Techniques
The tools you drag through the wet medium shape how the light falls across your large textured canvas art, so it’s worth trying a few.
11. The Notched Trowel
This is one of the most useful tools for organic modern texture. Pick up a square-notched tile trowel from the flooring aisle; dragged through wet paste, it leaves evenly spaced, architectural lines.
12. The Minimalist Arch
For a smooth sweeping arch, tuck your elbow against your hip, keep your wrist steady and turn your whole upper body in a slow half-circle. Moving from your body rather than your fingers gives a much smoother curve.
13. The Acrylic Cake Scraper
For wider, softer grooves, try a rigid acrylic cake scraper from a baking shop. Its straight edge glides over the plaster smoothly.
14. The Wabi-Sabi Stipple
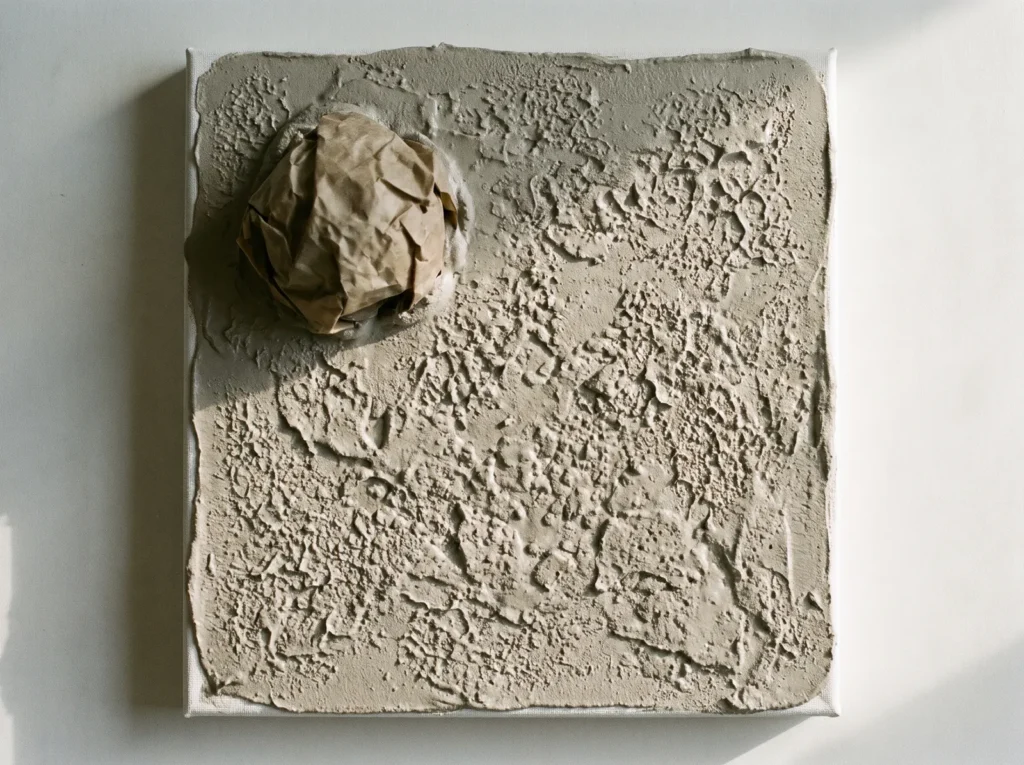
Imperfection is part of the charm. For a raw, concrete-like finish, crumple a sheet of heavy parchment paper, press it randomly into the wet base coat and lift it straight up. The small peaks it leaves behind look like weathered stone.
15. The Crosshatch Technique
Drag a wide-toothed comb across the canvas horizontally, wait about ten minutes, then drag it vertically. The crossing lines create a woven, textile-like surface that catches the light beautifully.
16. Edge Blending
Very sharp ridges can look a little harsh. Dip a soft, wide watercolor brush in clean water and sweep it lightly over the highest peaks. The water softens the plaster slightly and rounds the edges into gentle, weathered slopes.
17. Leave Empty Space
You don’t need to cover the whole canvas with heavy texture. Leaving large areas smooth and flat makes the textured parts stand out, and that contrast is what gives minimalist pieces their calm, balanced feel.
Adding Color
In minimalist textured art, the texture does most of the work, so color is best used lightly to bring out the shadows.
18. Mix Color Into the Paste
Instead of painting the piece afterward, stir liquid acrylic paint into the wet joint compound so the color goes all the way through. If the art ever gets chipped, the color underneath will match.
19. The Wash Technique
Once the texture is completely dry, thin a dark beige acrylic paint until it’s almost as runny as ink and brush it over the ridges. The color settles into the low valleys; then wipe the high peaks clean with a damp rag. It deepens the shadows and makes the texture stand out.

20. Keep It Matte
Gloss reflects light and makes plaster look less like stone. Stick to ultra-matte acrylic paints so the surface stays dry-looking and chalky.
21. Color Blocking
If you’d like a second color, let it follow the shapes you carved. For example, paint the inside of an arch soft charcoal and leave the outside raw white.
Sealing and Care
Once the carving is done, the drying stage needs a little patience.
22. How Long It Takes to Dry
Leave it alone while it dries: no fans, no hair dryer. Moving or warm air dries the top while the bottom stays wet, and the trapped moisture can crack the surface. Let it air dry for at least 48 hours.

23. The Tap Test
To check whether it’s fully dry, tap the thickest part with your fingernail. It should sound sharp and hard, like tapping a ceramic plate. If it sounds dull, give it another day.
24. Never Wash Plaster Tools in the Sink
This is the most important cleanup rule: don’t wash your tools in the sink. Joint compound can settle in the U-bend under your sink, harden there and cause a blockage.
25. The Dry Cleanup Method
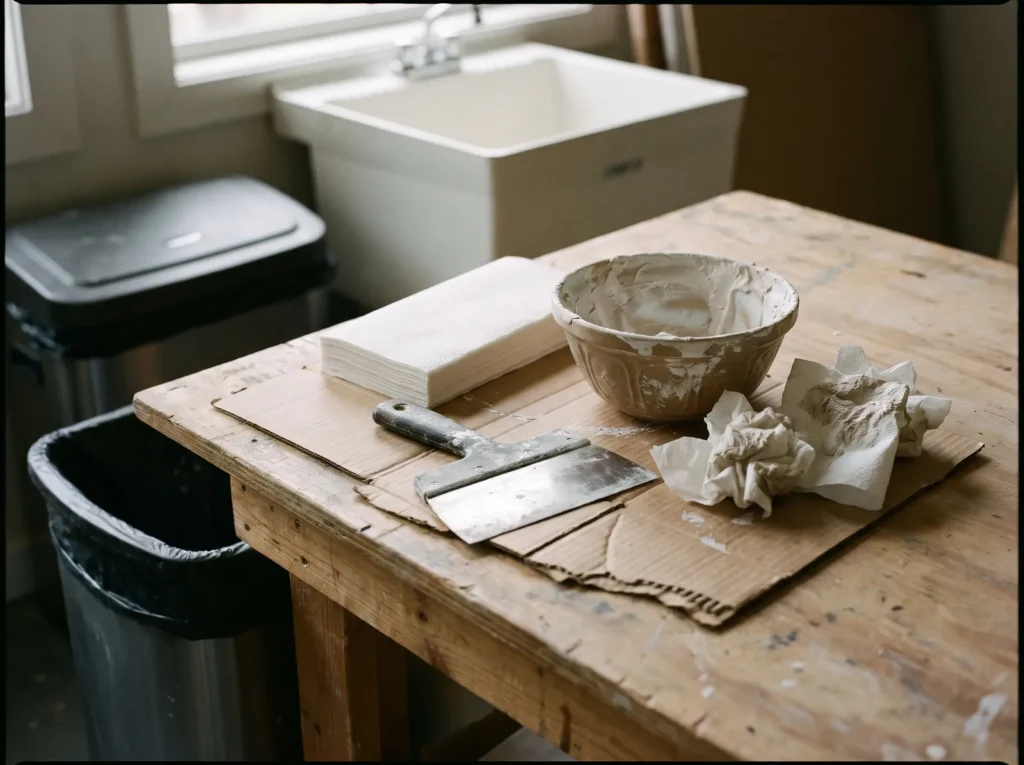
Wipe every putty knife, trowel and mixing bowl clean with dry paper towels and put the towels in the trash. Once the tools look clean, rinse them in a bucket of water, and empty the bucket outside onto soil rather than down a drain.
Frequently Asked Questions
Why did my textured canvas crack after a few days?
Usually for one of three reasons: the canvas flexed because it had no rigid backing, the plaster went on too thick in one layer, or the room was so warm that the water left too quickly. Build thick texture in several thin layers and let each one dry. For more on avoiding cracks, see 25 DIY Plaster Art Canvas Mistakes and How to Fix Them.
Can I use regular wall spackle instead of joint compound?
Lightweight spackle has air whipped into it, so it dries quickly and rarely cracks, which makes it fine for small projects. On large pieces, though, it lacks the dense, stone-like feel and can feel a bit like styrofoam. Joint compound or artist’s modeling paste gives a more convincing, high-end finish.
How do I protect the finished piece from dust?
Because the surface is porous and matte, it picks up household dust easily. Once the art is fully dry and painted, spray it with two coats of a good non-yellowing matte acrylic sealer. After that, you can dust the grooves with a clean, dry paintbrush every few months.

