
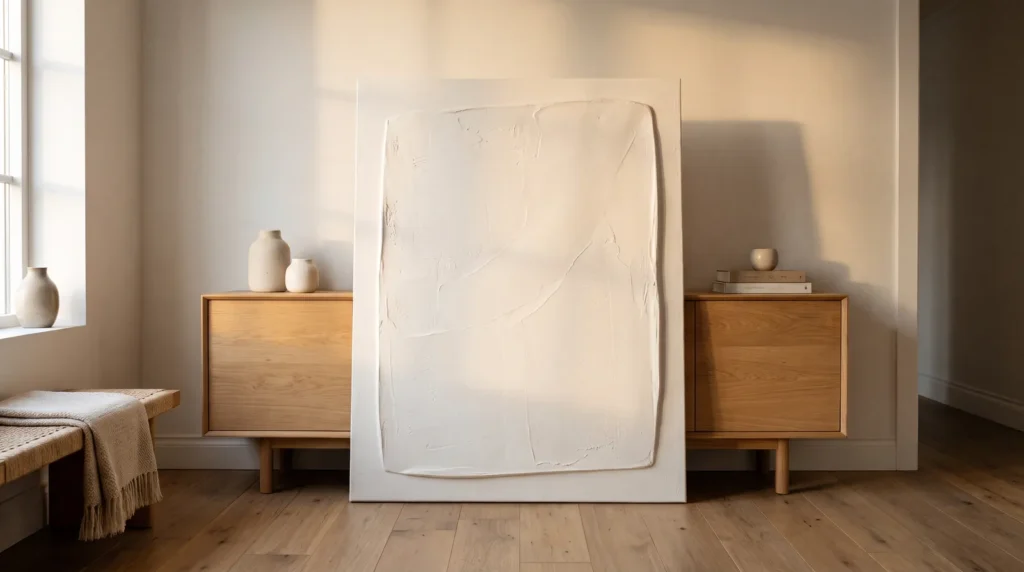
Most homemade plaster art canvas pieces don’t look cheap because of the idea behind them. They look cheap because of a few small, fixable details: a canvas that sags, edges that are messy, a finish that’s slightly shiny, or texture that’s been overworked.
The encouraging part is that each of those problems has a simple fix. This guide walks through 25 of the most common mistakes, grouped from preparation to hanging, so you can spot them before they happen and end up with a piece that looks deliberate and polished.
Key Takeaways
- Standard stretched canvases sag under heavy plaster. Use a rigid panel or a canvas board to prevent cracking.
- Pastes behave differently. Light modeling paste is flexible, while all-purpose joint compound needs to be built up in thin layers.
- Drying and curing aren’t the same thing, and drying a piece with heat often causes deep cracks.
- Unsealed plaster collects dust. A good matte acrylic varnish keeps your artwork looking fresh for years.
Preparation and Canvas Blunders
1. Using a standard stretched canvas
Plaster is heavy. Spread thick wet paste over a cheap stretched canvas and the fabric sags in the middle; then, as the paste dries, it shrinks and hardens while the canvas keeps flexing, and the plaster cracks. A rigid canvas board or wood panel avoids this. If you do use a stretched canvas, fill the back snugly with rigid foam board to stop the sag.
2. Skipping the gesso primer layer
Raw canvas absorbs moisture unevenly, so wet plaster on an unprimed surface loses its water too quickly and can flake off weeks later. Brush on a thick layer of acrylic gesso first; it gives the plaster a slightly gritty surface to hold on to.
3. Leaving the canvas loose
A good stretched canvas usually comes with a small bag of wooden wedges. Keep them: they are canvas keys. Tap them into the inside corners of the frame with a hammer to pull the canvas tight before you start your 3D plaster art.
4. Working directly on the floor
Working on the living room floor makes it easy to drag a sleeve through wet plaster, and it also skews your view of the piece. Raise it up instead: lay the canvas flat on a sturdy table covered with a heavy drop cloth.
5. Ignoring the frame depth
Thick plaster creeping over the edges of your canvas looks messy. If you plan to mount your finished piece in a floating wood frame, tape off the outer half-inch of the canvas edges. This leaves a clean border and ensures the artwork actually fits into the frame housing.

Medium and Material Failures
6. Buying the cheapest spackle available
Spackle is made for filling small nail holes in drywall. It’s airy and brittle and tends to crumble when it’s applied thickly. Light modeling paste gives a flexible, professional finish, and if you’re on a tight budget, an all-purpose joint compound such as USG Sheetrock All-Purpose is the next best choice.
7. Mixing Plaster of Paris blindly
Plaster of Paris sets through a chemical reaction that makes it warm up and harden within minutes. Once set, it’s completely rigid, so a design on canvas can crack if the canvas gets bumped. Acrylic-based modeling pastes, which stay slightly flexible, are a better choice.
8. Adding water to thin the paste
When joint compound feels too stiff, it’s tempting to add tap water, but too much water weakens the binder and makes a runny mix that shrinks a lot as it dries. For a smoother consistency, stir in a little fluid acrylic medium instead.
9. Tinting with cheap craft paint
Watery, inexpensive acrylic paint can weaken the paste and dries chalky and dull. For a custom terracotta or taupe, mix in a dollop of heavy body acrylic instead; it holds its shape and gives rich color.
10. Assuming all joint compounds are equal
The hardware store sells lightweight, topping and all-purpose compounds. Lightweight compound is great for walls but doesn’t hold crisp, sculpted ridges well on canvas, so for heavy texture, choose the green-lid all-purpose type.
11. Reusing dried out compound
If you open a half-used tub and find a dry crust around the edge, don’t stir it back in. Those hard bits drag through smooth arches and leave scratches. Scrape the crust out and throw it away.

Application and Sculpting Errors
12. Applying a single massive thick layer
An inch of wet paste dries on the surface while the inside stays wet, and the trapped moisture eventually pushes through the dry crust. Build minimalist plaster wall decor in thin layers of about a quarter inch, letting each one set before adding the next.
13. Sculpting immediately after applying
Wet joint compound slumps, so ridges combed through fresh, runny paste slowly melt back into a flat puddle. Trowel on your base layer, wait about twenty minutes until it’s slightly tacky, and then carve your design. The ridges will stay tall and sharp.
14. Only using a tiny putty knife
A small two-inch putty knife limits what you can make. Metal icing scrapers give smooth sweeps, large notched trowels make even architectural lines, and even a sturdy plastic comb can carve fine grooves.
15. Overworking the texture
It’s easy to make a lovely sweeping arch, notice one tiny flaw and end up muddying the whole section trying to fix it. Try to leave it alone. Small imperfections are part of the charm of organic modern texture.
16. Making perfectly symmetrical arches
Nature doesn’t do perfect symmetry, so if you’re making a textured rainbow or arch, skip the compass and freehand the curve. Let the lines vary slightly in thickness. A little organic wobble makes the piece look like an expensive boutique find rather than a mass-produced print.

Drying, Curing, and Structural Flaws
17. Force-drying with a hair dryer
When you want to hang your new art tonight, a hair dryer is tempting. But heat shrinks the top layer quickly while the bottom stays wet, and fine cracks spread across the canvas. Let it air dry naturally in a cool, dry room.
18. Confusing surface dry with deep cured
A canvas can feel dry after six hours while the inside is still damp. Sealing or painting it then traps the moisture, so wait a full 48 hours before adding any topcoat.
19. Moving the canvas while wet
Lifting a wet, heavy canvas by its edges makes the middle bow, which can loosen the wet plaster from the primer. Leave the artwork flat on the table until it’s completely dry.
20. Ignoring micro-cracks
Sometimes, despite your best efforts, a tiny hairline crack appears while the piece dries. Instead of painting over it, mix a little of your paste with a drop of water to make a thin slip and rub it gently into the crack with your finger.
21. Sanding aggressively
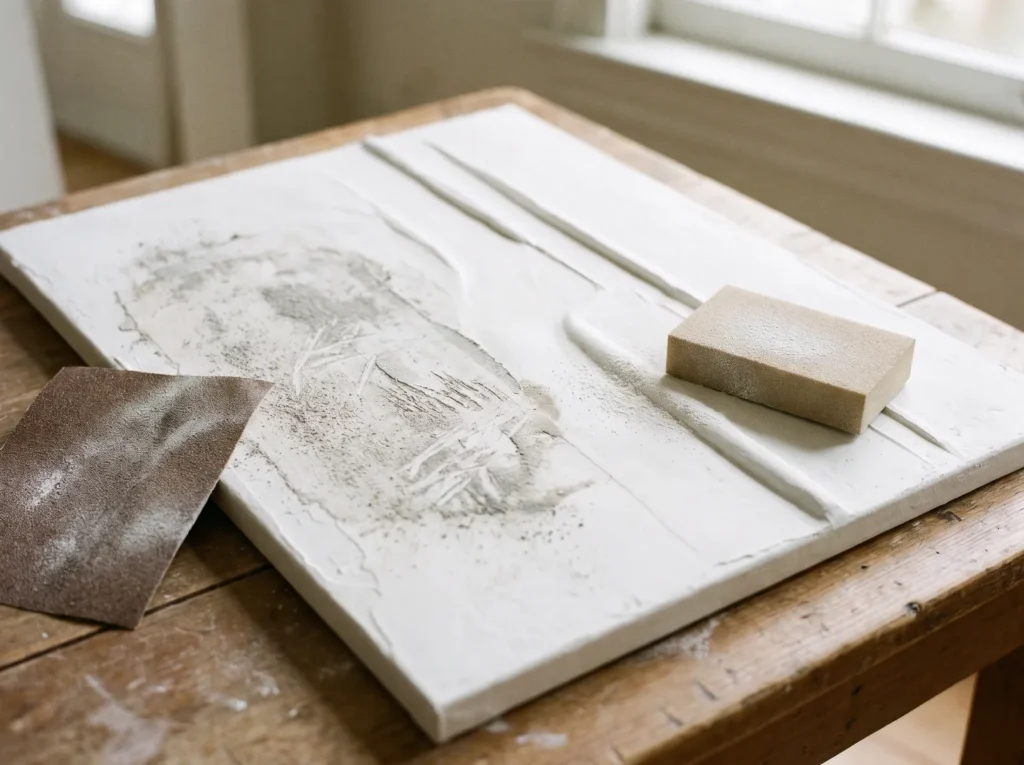
Coarse sandpaper scrubbed over the canvas wipes out crisp lines and makes a lot of dust. Use a fine-grit sanding sponge instead, and gently buff the sharpest peaks with light, circular movements.
Finishing, Sealing, and Hanging Missteps
22. Leaving the plaster raw and unsealed
Dried joint compound is very porous and soaks up dust, cooking oils and humidity. Left raw, a white canvas can turn dingy within months, so seal the surface to protect it.
23. Painting with a glossy topcoat
A shiny finish quickly makes plaster look like plastic, because gloss reflects light and shows every small bump. Brush on a good matte acrylic varnish instead to protect the plaster and keep its chalky, stone-like look.
24. Hanging with standard picture wire
A large plaster art canvas can weigh fifteen pounds or more, and thin picture wire between two D-rings can pull the frame inward and warp it. A heavy-duty metal French cleat spreads the weight evenly across the top of the frame.
25. Dusting with a wet rag
On cleaning day, skip the damp cloth, which can soften unsealed plaster or leave water marks in the grooves. A dry microfiber duster or a soft, clean makeup brush sweeps away dust and cobwebs gently.
Frequently Asked Questions
Can I mix acrylic paint directly into the plaster?
Yes, you can mix acrylic paint into modeling paste or joint compound. Use heavy body acrylics rather than fluid craft paints to maintain the thick consistency of your medium. Keep in mind that the white base of the plaster will lighten your paint, turning most colors into soft pastels.
How long does a plaster canvas take to dry?
While the surface may feel dry to the touch within a few hours, a heavily textured canvas requires 48 to 72 hours to fully cure. High humidity or very thick application layers can extend this curing time. Always let it dry flat to prevent the wet paste from sliding.
How do I keep my plaster art from cracking?
Prevent cracking by using a rigid support like a wood panel instead of a stretched canvas. Apply your paste in thin layers rather than one massive mound. Allow the artwork to air dry naturally at room temperature, as force-drying with heat causes rapid shrinkage and deep fissures.

