
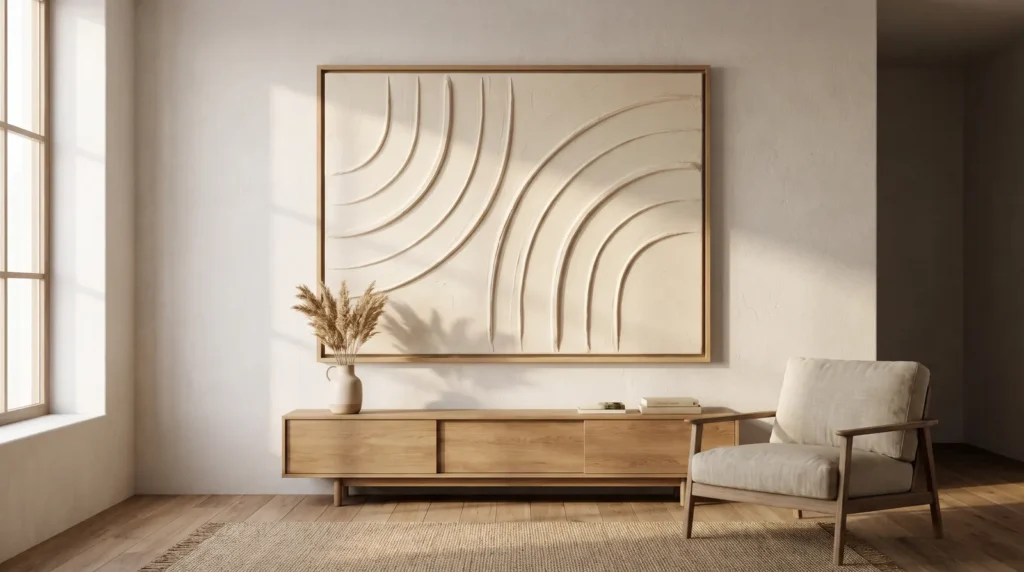
What makes canvas textured art look expensive is rarely the material. It’s the decisions around it: a confident size, a restrained neutral palette, crisp edges, a matte finish and light that grazes the surface from the side.
This guide gathers 17 of those decisions into practical steps, from priming and building texture to framing, lighting and keeping the finished piece clean.
Key Takeaways
- Avoid hardware store spackle on stretched canvas, because it tends to crack.
- Flexible acrylic modeling paste is the key to deep texture that lasts.
- Textured art requires directional grazing light to cast shadows and reveal depth.
- Applying texture in thin, cured layers prevents sagging and shrinkage.
Start With the Right Base
A high-end piece starts before you pick up a palette knife. The popular trend of spreading drywall mud onto a thin canvas often ends in disappointment, because canvas moves slightly as the humidity changes while drywall mud is completely rigid. Within a few months, textured arches made this way can crack and fall off. A few better material choices avoid that.
1. Skip the Hardware Store Spackle
Artists generally use mediums with a flexible acrylic binder, which lets the texture move with the canvas instead of cracking. If you’d like to use joint compound to save money, apply it to a rigid wooden panel rather than a stretched canvas.
2. Choose Flexible Modeling Paste
For modern minimalist textured canvas art, a good acrylic medium is your best friend. Liquitex Flexible Modeling Paste is a reliable favorite: it dries to a hard, opaque matte finish but stays flexible enough to live on a stretched canvas, and it spreads like rich buttercream.
3. Prime With a Good Gesso
Don’t apply texture straight onto raw canvas. Gesso works as a primer that gives the surface a slight tooth, so heavy modeling paste grips it firmly. Brush on two thin coats and let them dry overnight.
Texture Techniques
Now for the fun part. How you apply the paste sets the mood of the whole piece, so aim for movements that look relaxed and deliberate.
4. The Wabi-Sabi Sweep
For a calm, organic look, scoop a generous amount of paste onto a wide metal putty knife and drag it across the canvas in long, slow, sweeping arcs. Try not to overwork it; the small imperfections and raw edges the blade leaves are what give wabi-sabi texture its charm.
5. The Plaster Arch
This is the classic Japandi look. Spread a thick, even layer of paste, press the notched edge of an adhesive trowel from the flooring aisle firmly into it and pivot from your elbow in a smooth half-circle. You’ll get a deeply grooved, architectural arch.
6. Floral Impasto
For something more romantic, use a small diamond-shaped palette knife. Pick up a dollop of paste on the underside of the knife, press it flat against the canvas and pull away sharply. Each press leaves a thick, raised petal that catches the light.
7. The Linen Imprint
Texture doesn’t always mean thick peaks. Spread a smooth, medium layer of paste across the canvas, then press a piece of coarse woven linen into the wet surface and peel it back slowly. It leaves a subtle, fabric-like imprint that looks very refined.
8. The Raw Edge Border
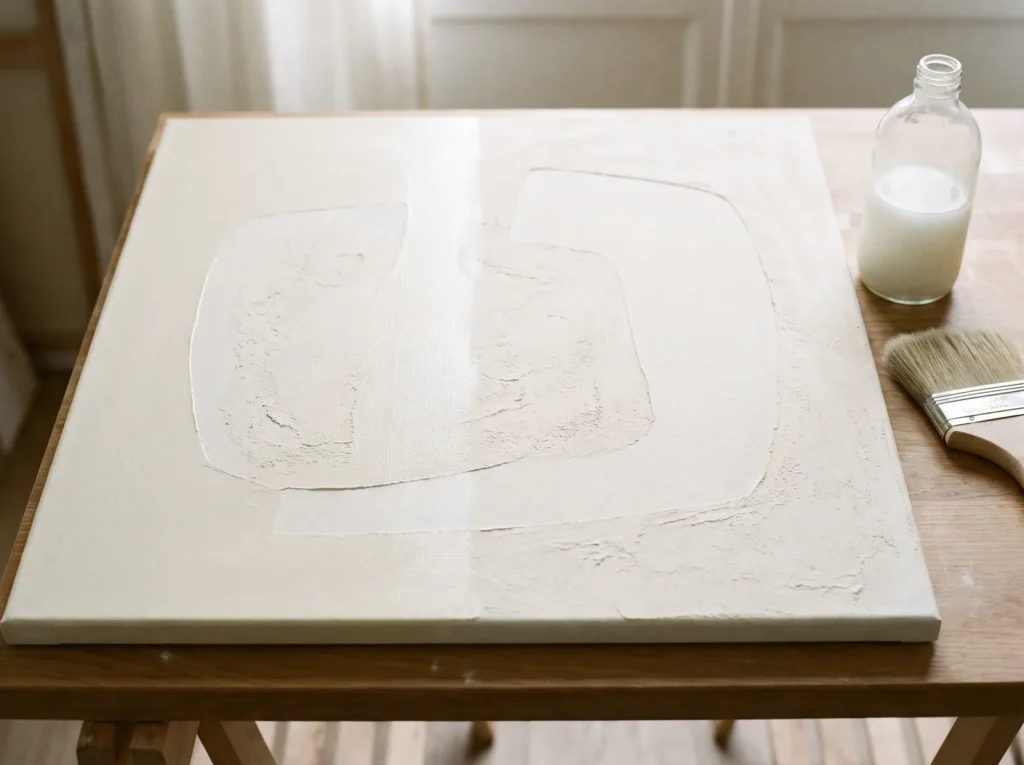
Negative space can look very high-end. Tape a two-inch border around the edge of the canvas with painter’s tape, apply your texture inside it and remove the tape while the paste is still wet. You’ll have a clean border of flat canvas framing the organic texture.

Color and Depth
Pure white texture can look beautiful, but subtle earthy tones add warmth and depth that plain white can’t.
9. Mix Paint Directly Into the Paste
Instead of painting the art after it dries, mix a few drops of heavy body acrylic paint into the wet modeling paste. Its thick consistency won’t thin the paste, and the color comes out even, like custom-tinted plaster.
10. The Tea Stain Wash
An antique wash brings out the grooves. Once the canvas is completely dry, mix a tiny drop of raw umber acrylic with water until it looks like weak tea. Brush it over the whole canvas, then wipe the surface gently with a damp rag. The pigment settles into the grooves and gives the piece a softly aged look.
11. Build in Thin Layers
If you apply a three-inch mound of paste all at once, the outside dries while the inside stays wet, and the surface can wrinkle and sag. Build big peaks in half-inch layers instead, letting each one dry for 24 hours before adding the next.
12. Matte Varnish Sealing
Gloss spoils the chalky plaster look, so keep the finish flat. Once the art is completely dry, spray it with a matte varnish such as Liquitex Matte Varnish. It stops the porous paste soaking up dust and oils while keeping its soft, chalky look.
Styling and Lighting
Your piece is finished and it looks great, but hang it in the wrong spot and the texture can look completely flat. Styling is where it really comes to life.
13. Light It From the Side
Texture needs shadow to show up. A lamp straight in front of the art washes out the peaks and valleys, so use light that skims across the surface instead. A brass picture light mounted above the canvas and pointing down casts long shadows across the texture.
14. Scale for the Space
A small canvas can look lost on a large wall, so when you’re making textured art for a living room, go bigger than you think. A 36 by 48 inch canvas above a low sofa anchors the whole space and becomes a real focal point.
15. Pair with Organic Modern Elements
Textured art looks best next to contrasting materials. Rest your canvas on a white oak console table beside a smooth ceramic vase of dried olive branches. The mix of rough matte texture, warm wood and smooth ceramic looks considered and expensive.

Care and Cleaning
The one downside of deep texture is dust. All those little ridges catch airborne particles quickly.
16. The Makeup Brush Dusting Trick
Skip wet rags on unsealed textured art, which can smear dust into the white paste. Keep a large, clean, dry makeup brush with your cleaning supplies and sweep it lightly over the texture about once a month. The soft bristles reach the grooves without chipping the peaks.
17. Avoid Direct Heat Sources
Avoid hanging the piece right above a fireplace or a strong heating vent. Big, rapid temperature changes make the canvas fibers expand and shrink, and over time that can weaken the bond between canvas and paste. A spot with steady temperature is best.
Your Questions, Answered
Can I use drywall mud on a canvas for textured art?
It’s not a good idea. Canvas flexes with changes in humidity, and drywall mud is rigid and brittle, so on a stretched canvas it usually cracks and flakes. Use a flexible acrylic modeling paste for canvas projects.
How long does thick textured canvas art take to dry?
Anywhere from 24 hours to a week, depending on how thick it is and how humid your home is. The surface may feel dry within hours, but the thickest peaks need several days to dry all the way through.
Can I add baking soda to acrylic paint to make texture?
Yes. Baking soda mixed into acrylic paint gives a gritty, chalky texture that works well on ceramic vases or flat canvases. It won’t hold tall, sculptural peaks the way modeling paste does, though.

