
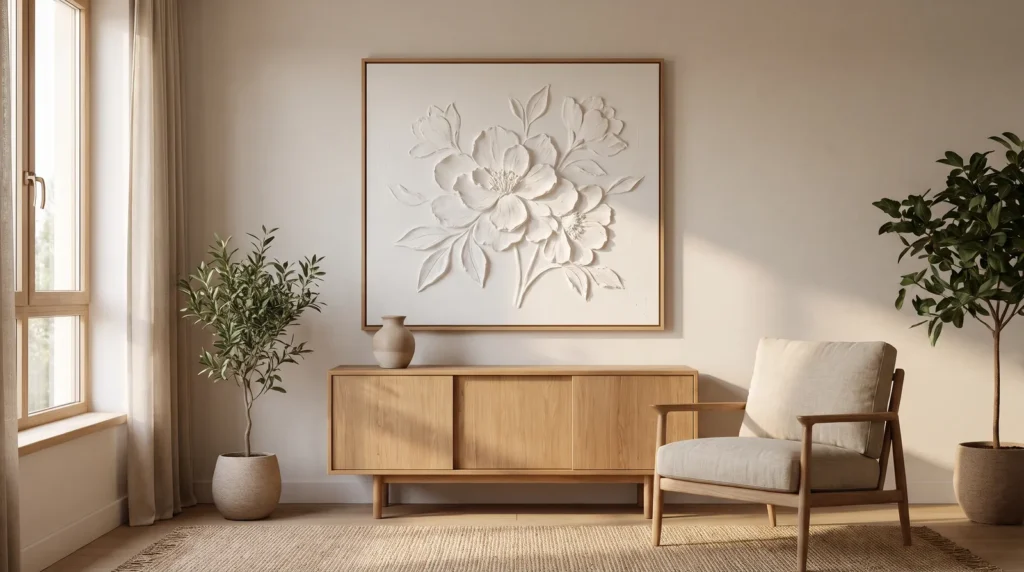
Sculpted plaster flowers have a soft, romantic look that works beautifully in neutral rooms, and they’re more achievable than they appear. Most DIY plaster flowers on canvas fail for the same simple reason: heavy plaster on a flexible, unsupported canvas. A few weeks later the petals crack or flake off.
The fix is a firm base, the right paste and a little patience. This guide covers two methods, sculpting flowers with a palette knife and dipping real-looking botanicals in plaster, plus how to color, seal, frame and hang the finished piece so it looks like a boutique find rather than a craft project.
Key Takeaways
- Support the canvas. Plaster cracks when the surface underneath flexes, so brace the back.
- Use a flexible paste. Standard spackle dries brittle. Acrylic modeling paste, or joint compound mixed with PVA, holds up much better.
- Let it dry slowly. Heat tools cause hairline cracks. A cool room and plenty of time work best.
Preparing the Base
Plaster flowers are heavy, so start with a base that can hold the weight.
1. Tighten the Canvas First
A standard store-bought canvas tends to sag under heavy mediums. Flip it over and you’ll find small wooden wedges in the inside corners; these are canvas keys. Tap them gently with a hammer to push the stretcher bars apart and pull the fabric tight as a drum.
2. Add an MDF Backing Board
Even a tight canvas flexes when you press on it. Cut a piece of rigid MDF slightly smaller than the inside of the stretcher bars and fix it snugly behind the canvas. It gives you a solid surface to sculpt against.
3. Skip Standard Spackle
Lightweight spackle doesn’t have enough binder for thick, sculpted shapes. It tends to crumble and can fall off the canvas over time.
4. Why Acrylic Modeling Paste Works Best
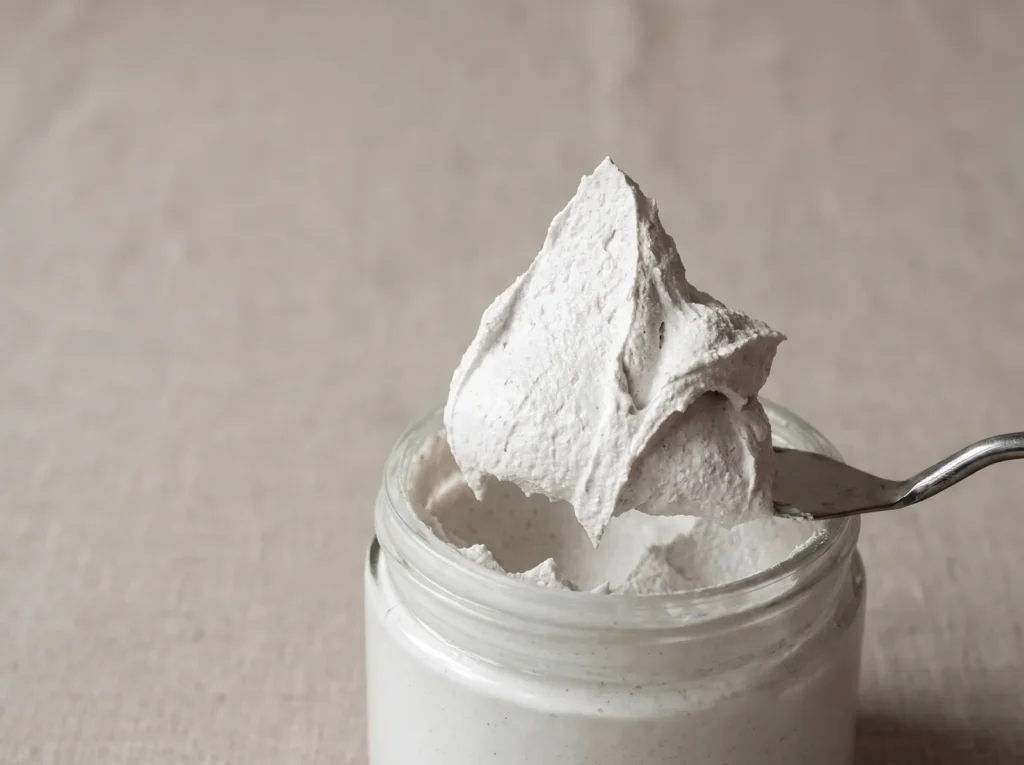
For palette knife flowers, heavy body acrylic modeling paste is the best choice. It’s marble dust held in a flexible acrylic binder, so it holds crisp petal edges and dries with a little give that resists cracking.
5. Add PVA to Joint Compound
If you’d rather use joint compound to save money, mix one part PVA glue into four parts compound. The glue adds the flexibility that drywall mud lacks on its own.
The Palette Knife Method
This method takes a steady hand, but it’s very satisfying. You’ll build each flower up a layer at a time.
6. Use a Diamond Palette Knife
The main tool is a diamond-shaped metal palette knife with an offset handle. The bend in the handle keeps your knuckles out of the wet paste, and the metal blade gives a cleaner stroke than plastic.
7. Mix to Stiff Peaks
Work the paste on a glass palette until it’s like thick buttercream. When you lift the knife straight up, the paste should form a peak that stands up without flopping over. If it droops, it’s too wet.
8. Start With a Thin Base Layer
Rather than putting thick paste straight onto raw canvas, spread a very thin layer of your medium across the whole surface first. It helps everything else stick. Let it dry completely before sculpting the flowers.
9. Sculpt the Center of the Flower
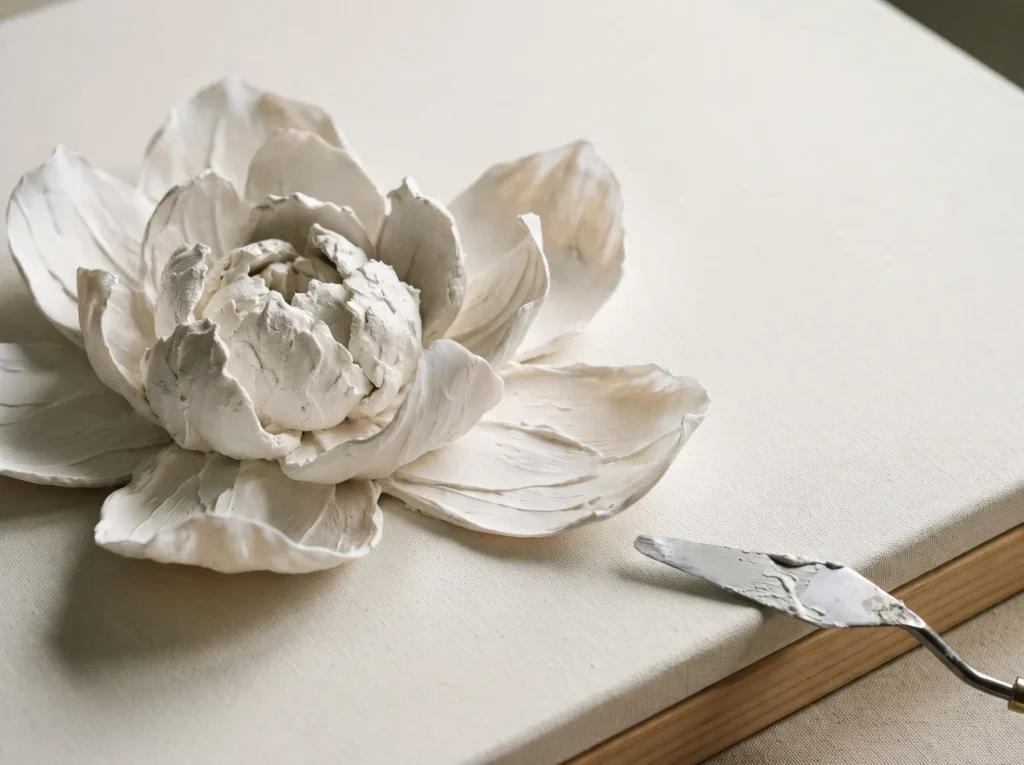
Load plenty of paste onto the bottom edge of your knife, press the blade onto the canvas and pull it round in a tight curve. This forms the dense, tightly folded center of a rose or peony.
10. Add the Outer Petals
As you work outward, ease off the pressure. Tilt the blade so only the edge touches the canvas, and drag the paste lightly to make thin outer petals that seem to lift away from the surface.
11. Mist to Slow the Drying
Thick paste dries from the outside in, and if the outside dries too quickly it can crack over the soft center. Keep a fine spray bottle nearby and mist the air above the canvas every hour or so to slow the surface down.
12. Dry It in a Cool Room
Keep the wet piece away from direct sun and heating vents. A cool, shaded room with gentle airflow is ideal.
The Plaster-Dipped Botanical Method
For a fossil-like look, you can dip artificial flowers and leaves into liquid plaster and attach them to the canvas.
13. Choose Sturdy Artificial Flowers
Silk flowers don’t work well here; the fabric soaks up water, goes limp and spoils the finish. Choose good-quality plastic flowers and leaves that keep their shape under the weight of the plaster.
14. Work Quickly With Plaster of Paris
Plaster of Paris warms up noticeably as it starts to set, and once that happens you only have a few minutes before it hardens. Mix small batches and work quickly.
15. Dip Twice
One dip usually leaves the plastic showing through. Dip the flower, shake off the excess and let it set for about ten minutes, then dip it again for a thick, chalky coating.
16. Attach the Flowers While Damp
Don’t wait until the flowers are completely dry. While the second coat is still slightly damp and tacky, press the flat side of each one onto your primed canvas.

17. Hide the Stems
Pipe a line of modeling paste over each stem with a small piping bag, then smooth it with a damp brush. It blends the flower into the canvas, so it looks as if it’s growing out of the surface.
Color and Finishing
A pure white canvas is lovely on its own, but a little finishing adds depth.
18. Tint the Paste Instead of Painting It
Paint brushed over dry plaster tends to pool in the grooves and look patchy. Instead, mix a few drops of heavy body acrylic into the wet paste before you sculpt for an even color all the way through.
19. Creating Shadow With Raw Umber
To bring out the detail, brush a very thin wash of raw umber acrylic and water over the dry white flowers, then dab it straight off with a dry linen cloth. The color stays only in the deepest folds, which makes the petals stand out.
20. Seal With a Matte Spray Varnish
Plaster is porous and collects dust, so it’s worth sealing. Use a spray-on ultra-matte acrylic varnish rather than a brush, which could snap off delicate petals. For step-by-step instructions, see my guide to 21 Tips on How to Seal Plaster Canvas Art Safely.
21. Avoid Gloss Finishes
Gloss or satin finishes reflect light unevenly on 3D texture, which shows every small flaw and can make the piece look plastic. A completely flat matte finish looks much more natural.
22. Frame It in a Raw Oak Floater
A standard frame can press on the edges of dimensional art. A raw white oak floater frame is a better fit: the quarter-inch gap between canvas and frame creates a neat shadow line around the piece.
23. Use Proper Hanging Hardware
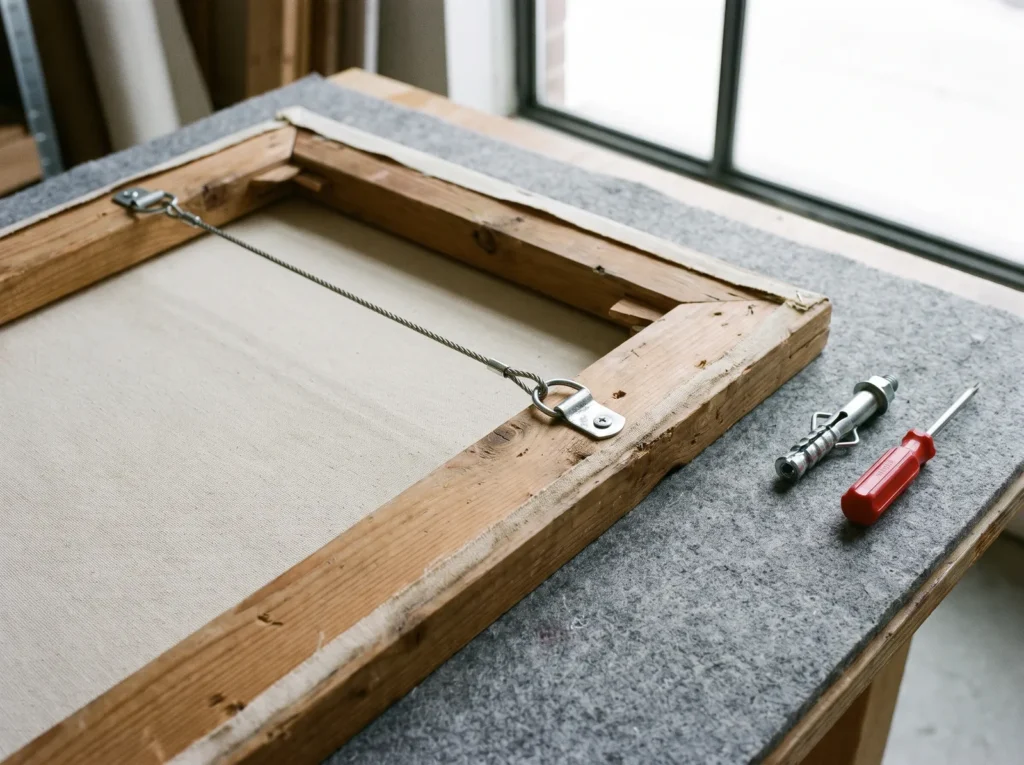
This kind of artwork is heavy, so skip the sawtooth hanger. Fit D-rings to the stretcher bars, run strong picture wire between them, and hang it on a wall anchor rated for at least fifty pounds.
Frequently Asked Questions
Can you pipe this mixture through a pastry bag?
Yes, with a slightly softer mix. Palette knife work needs stiff peaks, but piping needs a smoother paste, so stir a little acrylic gel medium into your modeling paste to help it flow. Large Russian piping tips can make full, layered petals in one squeeze.
How long does a textured canvas take to cure?
Longer than it looks. The outside of the flowers may feel dry within a day, but the thick centers stay damp much longer. Depending on humidity and thickness, allow seven to ten days before framing or varnishing.
How do you clean dust off intricate 3D plaster art?
Avoid wet cloths and feather dusters: moisture can soften unsealed plaster, and feathers can catch and snap petals. A soft, dry makeup blush brush works well for sweeping dust out of the folds every few months.

