
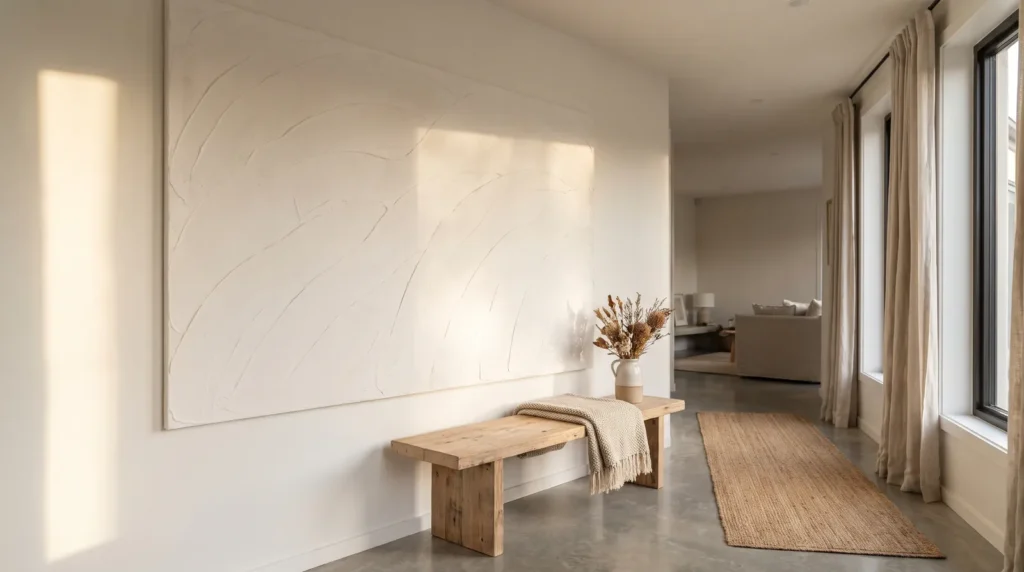
Plaster wall art murals can bring the cool, solid presence of stone into your home, but smearing cheap joint compound onto a flimsy canvas rarely ends well. It cracks, it flakes, and the heartbreak usually shows up a few weeks after you hang it. A mural that lasts starts with respecting the surface underneath it, because lime, water and air have to work together to form a permanent bond. As plaster cures it warms slightly, pulls and shrinks, so a heavy wet layer on a flexible cotton backing will almost always fail. Treat this as a craft project rather than a quick hack. Done properly, you get texture that catches the morning light and throws soft, deep shadows. The steps below show you how.
At a Glance
- Use a rigid base. Build on heavy MDF or directly on drywall, never on stretched canvas.
- Dry it slowly. Plaster needs to cure slowly to avoid fine surface cracks.
- Build depth in layers. A heavy relief applied in one thick coat is likely to crack or slump.
- Seal the finish. Unsealed plaster soaks up airborne dust and oils.
Preparing Your Base
A mural is only as good as what’s underneath it. Preparing the base properly helps it cope with the seasons and the changing humidity of a modern home.
1. Use Rigid Wood Instead of Canvas
Stretched cotton flexes, and plaster doesn’t. When the temperature drops, a canvas tightens slightly and the texture can crack. A rigid half-inch MDF board solves this, and if you rent, a large MDF panel works like a temporary wall that holds heavy plaster without moving.
2. Use a Bonding Primer
Raw wood and bare drywall soak up moisture quickly, and plaster that loses its water too fast dries weak and powdery. Roll on a good bonding primer with grit in it, which gives the heavy mud a rough surface to grip.
3. Mask the Edges Neatly
Ordinary painter’s tape lets wet mud seep under its edge, so use a sharp-edge tape designed to resist bleeding. Press it down firmly with a metal putty knife to seal it against baseboards and the ceiling.
4. Add a Mesh Layer
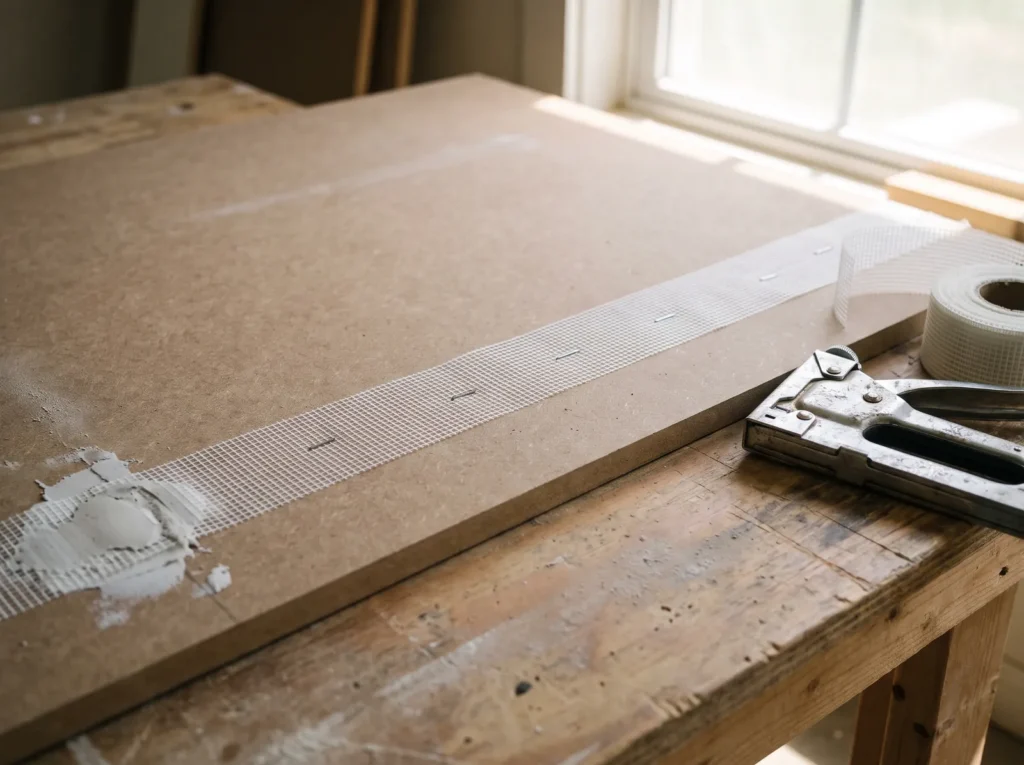
Where you plan to build very deep shapes, add some support inside. Staple fiberglass drywall mesh onto the MDF board. It works a bit like rebar in concrete, holding the heavy layers together and stopping the center from sagging while it’s wet.
Choosing Your Plaster
The plaster you choose shapes the whole character of the piece, so it’s worth choosing carefully.
5. Choose Real Lime Plaster
Standard joint compound is cheap and easy to sand, but it’s soft and can look a little flat. For a finish that feels cool to the touch like real stone, use a lime-based plaster. As lime dries, it slowly absorbs carbon dioxide from the air and hardens back into a limestone-like surface.
6. Slow Gypsum Down With a Retarder
Casting gypsum hardens in about fifteen minutes, which isn’t enough time for a large surface. Slow it down with a retarder: a few drops of citric acid dissolved in the mixing water can give you around an hour of working time.
7. Tinting With Natural Earth Oxides
Paint sits on top of the surface and can fill the fine texture you’ve worked on, so tint the mix instead. Dry earth pigments such as burnt umber, raw sienna and yellow ochre color the plaster all the way through.
8. Pick the Right Sand Size
For a rough, aged finish, add a coarser aggregate. Crushed marble dust or fine silica sand in the wet mud drags slightly under the trowel and naturally forms the small pits and pockets that make textured plaster look old.
Trowel Techniques
Applying plaster is something you learn by feel. Pay attention to the slight pull of the blade against the surface, and you’ll soon know when the mix is right.
9. Start With a Scratch Coat
The first layer isn’t meant to look good; its job is grip. Trowel on a thin, tight coat of mud and scratch it up straight away with a notched trowel, then let it dry completely. That rough, grooved layer anchors all the decorative work that follows.
10. Build a Modern Bas-Relief
Raised, three-dimensional shapes can’t be built from one big mound of wet mud, which would slide down the wall. Build each shape in thin, staggered layers, letting each one firm up before adding the next. It takes patience, but the shapes hold.
11. Pull a Sweeping Arch
For large, sweeping organic curves, use a flexible Japanese trowel. Its thin steel bends with the pressure of your hand. Load the edge with material and pull it across the wall in one continuous, confident stroke, because pausing halfway leaves small chatter marks.
12. Pull Thick Impasto With the Blade
For a dramatic, deeply shadowed finish, put the trowel down and pick up a heavy metal spackle knife. Press a thick dollop of mud against the board and flick your wrist away quickly. The wet material pulls up into sharp peaks that dry into bold ridges.

Building Depth
These techniques add the depth and detail that make a mural feel special.
13. Stipple With a Sea Sponge
Wait until the top coat is semi-firm: it shouldn’t stick to your finger, but it should still give a little. Press a slightly damp natural sea sponge firmly into the surface and pull it straight back. It lifts the lime into a porous texture that looks like weathered coral.
14. Press In Organic Shapes
Before the mud sets, press heavy linen or dried plant stems into the wet surface and roll over them with a wooden seam roller. Once the plaster is firm, peel them away carefully to leave a fossil-like impression.
15. Burnish the High Points
To make some high points of your 3D plaster wall decor shine like polished marble, burnish them. Wait until the plaster is almost completely dry, then rub the flat blade of a clean, dry Venetian trowel firmly back and forth over the raised areas. The friction polishes the lime to a soft sheen.
Curing and Protecting Your Mural
The last steps protect all your work so the mural lasts for years.
16. Cure It Slowly
Keep fans and heaters away from a freshly plastered wall. When it dries too fast, the water leaves before the plaster has fully bonded, and you get a web of fine cracks known as map-cracking. A cool room is ideal, and if the air is very dry, mist the wall lightly with a spray bottle every few hours to slow the cure.
17. Sealing With Natural Carnauba Wax
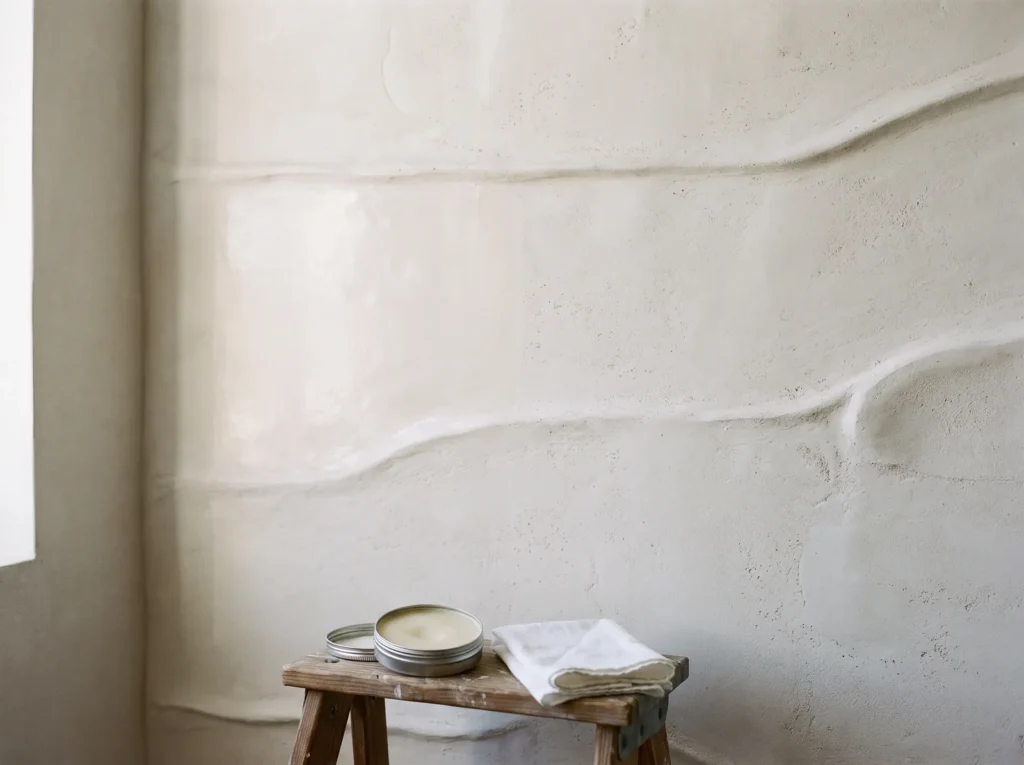
Plaster is very porous, so oily fingerprints can leave lasting marks. Seal the surface, but skip glossy polyurethane sprays that leave a plastic-looking film. A natural carnauba wax rubbed in with a lint-free cloth protects the plaster and keeps it completely matte.
Frequently Asked Questions
Can I apply this directly over heavily textured painted drywall?
You can, but you’ll need to cover the old texture first, or a heavy orange-peel pattern can show through your new work over time. Skim-coat the whole wall with a bonding primer and a flat layer of base mud, sand it smooth, and you’ll have a clean surface to build on.
Why did my thick 3D texture crack into pieces as it dried?
It probably went on too thick, too quickly. Water takes up space in the wet mix, so the plaster shrinks as it evaporates. In a thick layer, the outside dries and shrinks while the inside is still wet, and that strain cracks it. Build heavy relief in thin layers, letting each one dry fully. For other common beginner mistakes, see 25 DIY Plaster Art Canvas Mistakes and How to Fix Them.
Is this process safe for a rented apartment?
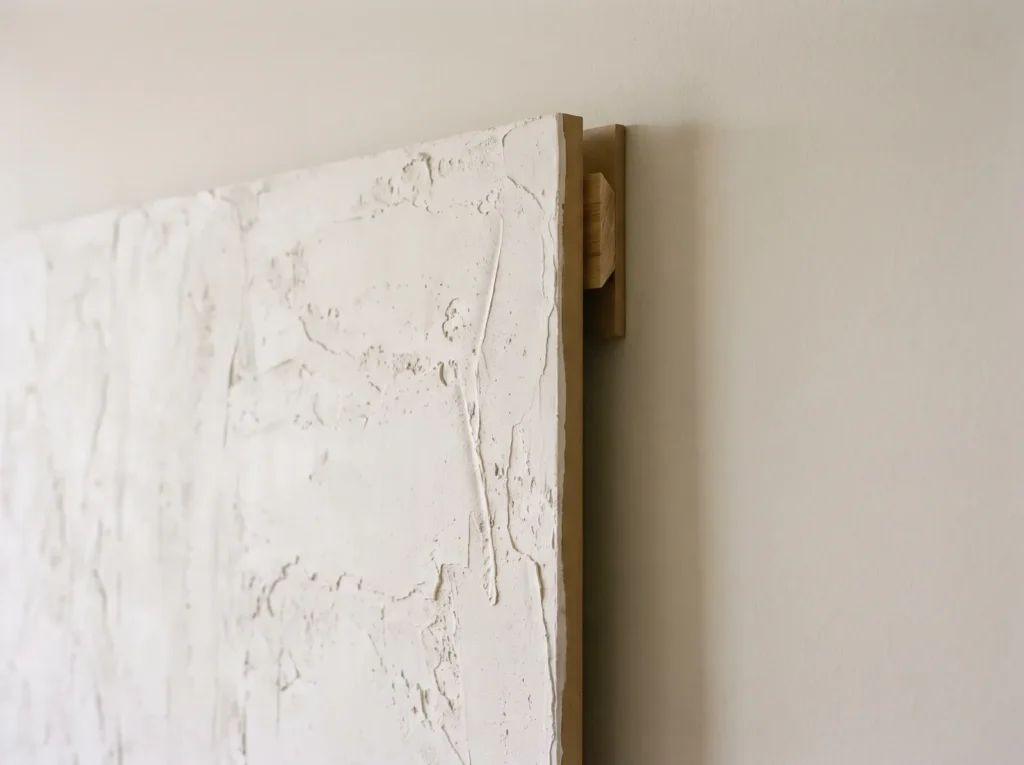
Plaster applied straight to a rental’s drywall is hard to remove and could cost you your deposit. Build the mural on a large MDF or PVC panel instead and hang it on a heavy-duty French cleat screwed into the studs, like a big mirror. When you move, lift it off and patch a few small screw holes.
A plaster mural takes time, but it rewards patience. Prepare a solid base, build the relief in thin layers and let it cure slowly, and it will add a warm, timeless character to your home for years.

