
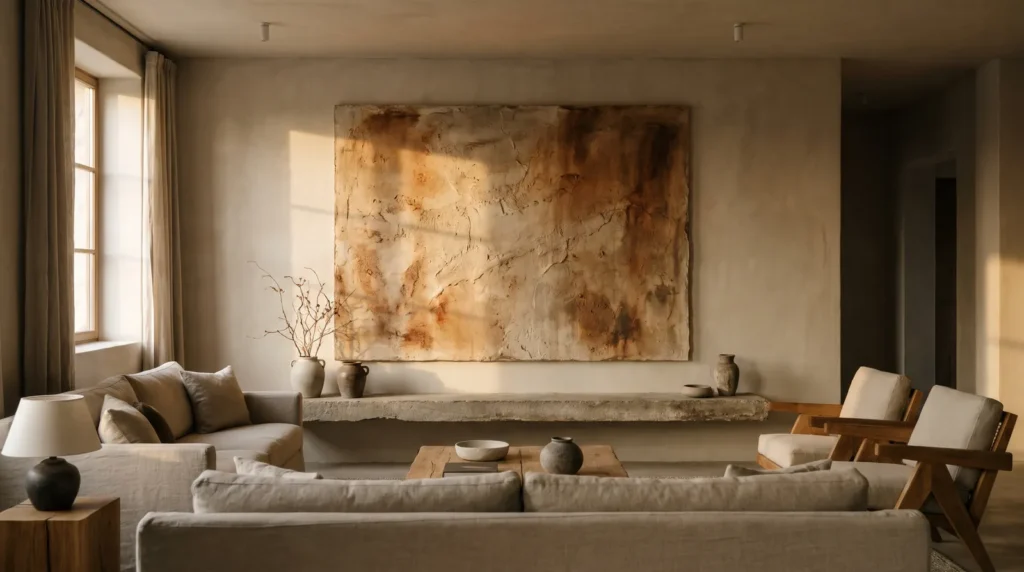
A lot of online tutorials tell you to spread wet joint compound over a stretched cotton canvas. It looks great on day one, but cotton soaks up water from the plaster, swells, then shrinks again as it dries. That movement is often enough to crack the plaster or make it flake off a few weeks later.
The good news is that a wabi sabi wall art DIY project that lasts isn’t hard. Wabi sabi celebrates imperfection, but the rough, organic surface still needs a steady base underneath it. You don’t need any art training, just a rigid board, the right mix and a little patience while it dries. These 13 ideas walk you through it in a single weekend.
Before You Start
A piece that lasts starts with the board under the plaster, so get these three things right first.
1. Use a Rigid Board, Not Canvas
Stretched canvases bend under heavy texture, so swap them for something rigid. A half-inch MDF board or a birch plywood panel barely flexes in normal indoor conditions and gives the plaster a solid surface to hold on to.
2. Seal It With Thick Acrylic Gesso
Raw wood absorbs water quickly. Plaster applied straight onto MDF loses its moisture to the board before it can cure properly, which causes tiny cracks. Seal the board first with two coats of high-build acrylic gesso. It blocks the moisture and also gives the surface a fine tooth for the plaster to grip.
3. Plan for the Weight
A 36 by 48 inch panel with half an inch of wet joint compound can weigh 40 pounds or more, which is too much for picture wire. Work out how you’ll hang it before you start. An aluminum French cleat on the back of the panel spreads the weight across the wall studs and is the safest option.
Your Weekend Plan
Here is a realistic way to fit a wabi sabi wall art project into a weekend. The making happens on Saturday and Sunday; the full cure takes a little longer, so plan to seal and hang it a few days later.
- Saturday morning: buy supplies, prime or seal your board, and let it dry for a couple of hours.
- Saturday afternoon: mix your compound or paste and apply the base layer. Keep it thin so it can dry overnight.
- Sunday: build your main texture with the trowel or palette knife, add any wash or color, then leave the piece flat to cure.
- Next few days: let thick areas dry fully, usually 48 to 72 hours, before sealing and hanging.
Choosing and Adjusting Your Compound
Not every paste behaves the same way, so it’s worth choosing yours carefully and adjusting it a little.
4. Know Spackle From Joint Compound
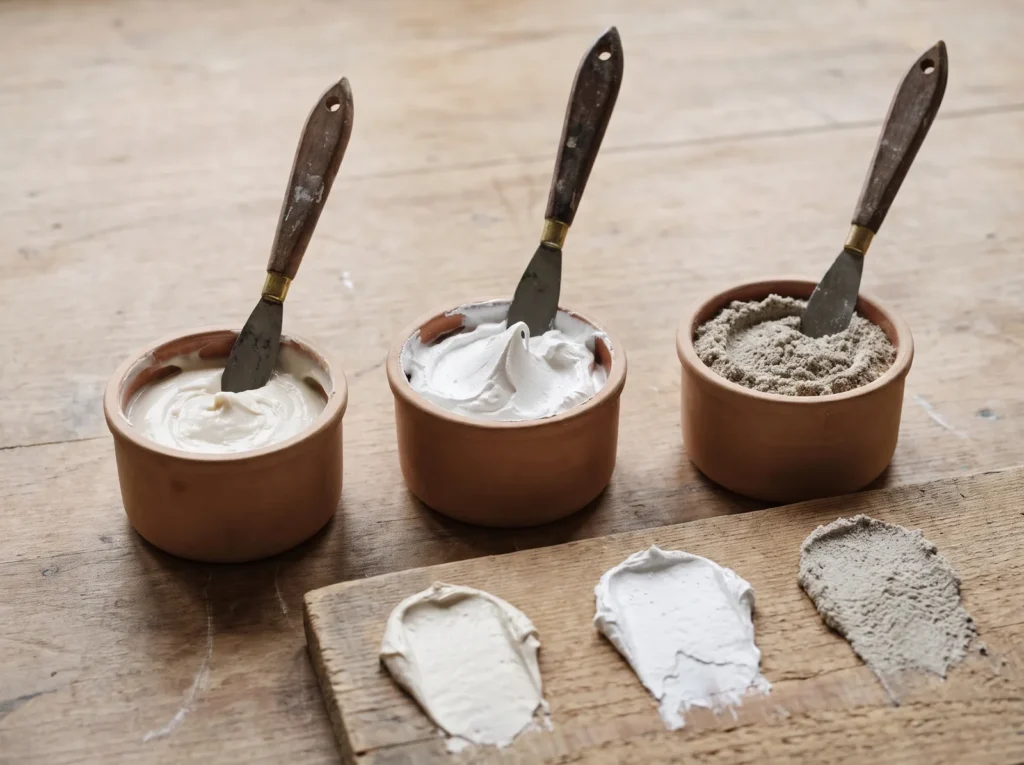
These two are easy to mix up. Lightweight spackle is fluffy, dries fast and barely shrinks, which makes it a poor choice for organic texture. Drywall joint compound is mostly calcium carbonate and holds more water, so it shrinks slightly as it dries. That small amount of shrinkage is what creates the soft, earthy hairline cracks that suit this style.
5. Mix In Fine Sand
Plain joint compound can look a little too smooth and new. To get the gritty feel of old stone, stir fine silica sand (around 60 mesh) into the wet compound, about one part sand to four parts compound. The grit makes the trowel skip and drag naturally, which gives a more organic surface.
6. Slow the Drying Down
If the panel dries in direct sun or under a ceiling fan, the surface hardens while the layers underneath stay wet, and that trapped moisture can push out and leave craters. Let it dry in a room between about 65 and 72°F, out of the sun, and allow a full 72 hours.
Trowel Techniques
How you hold the trowel makes a big difference to the final texture.
7. Change Your Trowel Angle
Joint compound spreads easily while you press on it and firms up again as soon as you lift the blade. Use that to your advantage: hold a steel taping knife at a low angle, around 15 degrees, to spread the base layer, then raise it to about 45 degrees to scrape back the excess and reveal the sandy grit.

8. Pull Up Rough Peaks
Perfectly smooth arches can look manufactured. For a more natural wabi sabi finish, press the flat face of your trowel into a thick patch of wet compound and lift it straight up. The suction pulls the plaster into rough, uneven peaks that look a bit like a relief map. If you’d like more ideas in the same style, see my guide to 21 Wabi Sabi Wall Decor DIY Ideas for a Calm, Natural Home.
9. Build It Up in Layers
Don’t try to build an inch of texture at once, because a thick wet layer will slump. Start with a thin scratch coat and let it firm up until it’s mostly hard. Then add the heavier texture on top; the fresh layer softens the surface of the first one slightly, so the two bond together well.
Color and Washes
The finish you choose can make the plaster look like raw earth or like painted plastic, so keep it soft and matte.
10. Mix a Soft Color Wash
Regular latex wall paint dries to a slightly shiny film that makes plaster look less natural. Instead, thin a flat matte acrylic paint with about three parts water. Distilled water is a good idea if your tap water is hard. The thin wash runs into the deepest grooves and darkens them, which adds natural-looking shadow.
11. Use Earthy Iron Oxide Pigments
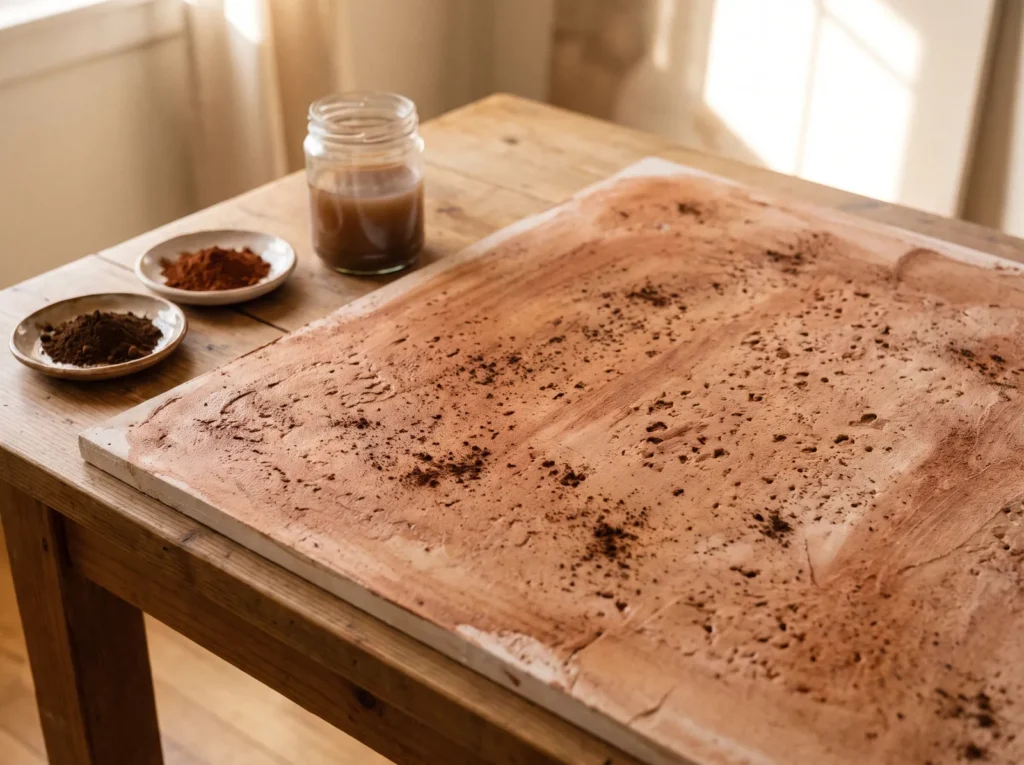
Bright synthetic dyes can look artificial on plaster, so try natural iron oxide pigments instead. They are ground earth minerals, such as raw umber or burnt sienna. Stir the powder into your diluted wash; the heavy mineral particles settle into the pores of the joint compound and give a soft, natural color.
12. Seal Before the Wash
A very watery wash brushed straight onto raw joint compound can soften the surface and blur your texture. Lock it in first with a light mist of clear matte PVA primer over the fully dried plaster. It holds the surface together but stays porous enough for the color wash to soak in.
Keeping It Stable
A few last details help the piece hold up for years.
13. Frame It With a Small Gap
Raw MDF edges dent easily, so it’s worth framing the panel. A simple oak float frame works well. Leave about a quarter-inch gap between the plaster panel and the frame, because wood moves a little with the seasons, and the gap stops the frame from pressing on the fragile plaster edges in humid weather.
Your Questions, Answered
Why does my plaster crack as it dries?
Fine cracks usually mean the plaster dried too quickly. In very dry air, below about 30 percent humidity, the water leaves the compound faster than it can set evenly. Draping a thin plastic drop cloth loosely over the panel for the first 24 hours keeps the moisture in and slows things down.

Can I use a PVC panel as the base?
PVC panels resist moisture well, but water-based gesso and joint compound struggle to stick to their slick surface. If you want to use one, for example in a bathroom, sand it first with 80-grit sandpaper and apply a bonding primer made for plastics.
Why does the color wash look chalky when it dries?
A chalky wash usually has too much water and not enough binder, so the pigment sits loosely on top. Add a few drops of liquid acrylic medium to the wash. It holds the pigment in place without making it shiny.
Wabi sabi art is meant to look relaxed and imperfect, but it lasts longest when the basics are solid: a rigid board, thin layers and slow drying. Get those right and you can be as loose and playful with the texture as you like.

