
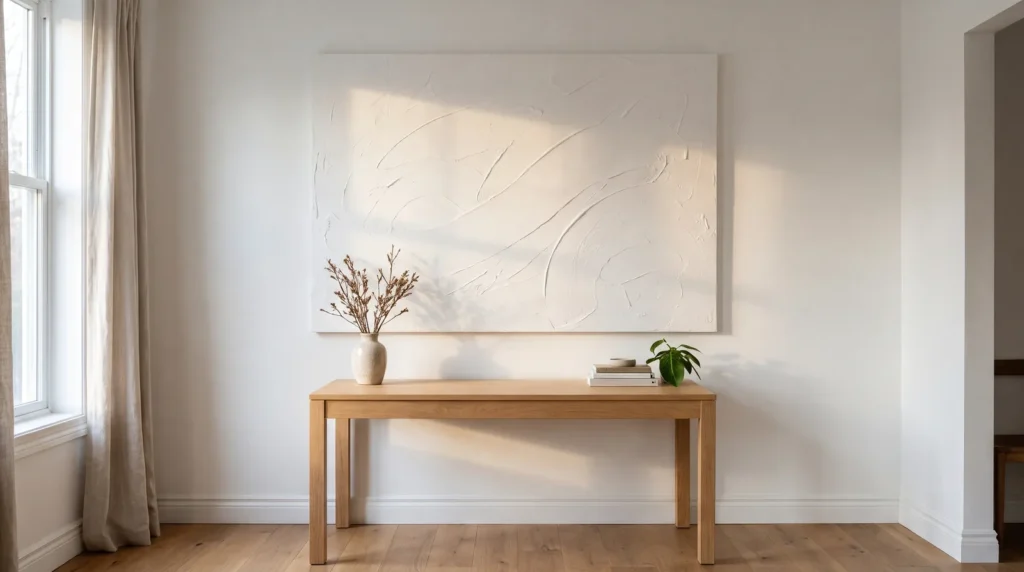
If you’ve been looking at a blank living room wall for months and wincing at the $800 price tags on large minimalist textured art online, this project is for you.
A DIY minimalist textured plaster canvas is one of the most forgiving weekend projects there is. You don’t need art training, and you don’t need to be neat: a drip of joint compound on the floor wipes up with a damp towel, and a slip of the trowel usually just becomes more texture.
Put on an old shirt and a good playlist. These 23 tips cover preparing the canvas, choosing and mixing the mud, the tools that work best, five simple textures and how to dry and seal the piece so it doesn’t crack.
Let’s start with the essentials.
Key Takeaways
Before you start, keep these three things in mind. They make the biggest difference to how the piece turns out.
- Add a little flexibility. Plain plaster is brittle, so mix in something that helps it bend, like PVA glue.
- Support the canvas. Wet mud is heavy, and a cheap canvas will sag like a hammock unless you brace it.
- Dry it slowly. Heat or direct sun makes the surface crack. Slow and steady is the way to go.
Prepping Your Canvas
Wet mud on a cheap cotton canvas tends to sag in the middle as the plaster pools and the fabric stretches. A little preparation avoids that, so start with a solid base.
1. Brace the Back With Cardboard
Turn the canvas over and cut a piece of heavy corrugated cardboard to fit inside the wooden frame. Press it snugly against the back of the fabric and tape it to the stretcher bars. It gives the canvas a firm backing to hold the weight of the wet mud.
2. Mist the Back to Tighten It
Here’s an old painter’s trick: if your canvas feels loose, mist the whole back of the raw fabric with warm water from a spray bottle. As the cotton dries, it shrinks and tightens like a drum.
3. Consider MDF Instead of Canvas
If you’re making a very large piece, you might skip stretched cotton altogether. A sheet of MDF from the hardware store, cut to size there, won’t sag and holds heavy texture beautifully. If you go with wood, see my guide to 25 Lessons for Plaster Art on Plywood, From Prep to Hanging.
4. Always Prime With Gesso
Don’t put wet joint compound straight onto raw cotton. The fabric pulls the moisture out of the mud too quickly, and that causes cracks almost right away. Paint a thick coat of acrylic gesso over the canvas first to create a barrier.
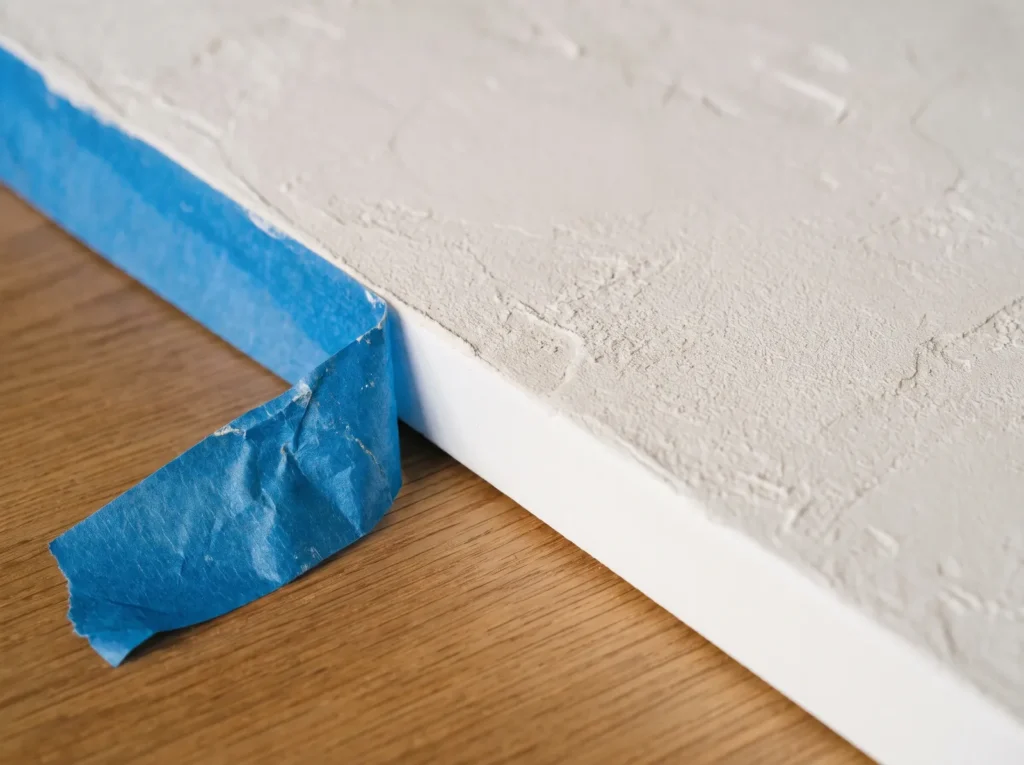
5. Tape the Edges
For clean, sharp sides on a gallery-wrapped canvas, wrap painter’s tape around the outer edges before you start. Peel it off once the texture is dry and you’ll have crisp white edges that look professional.
Choosing Your Medium
Picking the right tub of paste makes everything easier, so here’s what works best for DIY joint compound canvas art.
6. Use Pre-Mixed Joint Compound
Head to the drywall aisle and look for a tub of all-purpose premixed joint compound (often the one with the green lid). It’s cheap, creamy and stays workable for a long time, which makes it the best medium for beginners.
7. Why to Skip Plaster of Paris and Spackle
Whatever you do, skip Plaster of Paris. It’s calcium sulfate hemihydrate, which cures through a heat-producing chemical reaction and hardens in about ten minutes, so you won’t have time to work your texture. Spackle has the opposite problem: it’s too fluffy and full of air pockets. Stick to joint compound.
8. Add a Little PVA Glue
Worried about thick texture cracking? Try this trick: stir about a quarter cup of white PVA glue into your tub of joint compound. The glue makes the mud a little more flexible, so it bends slightly instead of breaking.
9. Tint It With Heavy Body Acrylics
You can color the mud before you spread it. Squeeze a generous dollop of heavy body acrylic paint into the joint compound, and either fold it in gently for a marbled look or mix it thoroughly for an even color.
10. Mix In Sand for Grit
For a gritty, organic wabi-sabi look, stir a handful of clean play sand or fine sawdust into the plaster. It gives a raw, stone-like finish that catches the light nicely.
Tools You Already Own
You don’t need expensive art supplies to make plaster art on canvas. Many of the best tools are probably already in your kitchen or garage.
11. The V-Notch Trowel
This is the tool behind the neat arches you see all over Pinterest. An inexpensive tile trowel with V-shaped notches leaves even, uniform ridges when you drag it through wet mud.
12. The Cake Scraper
A plastic cake scraper with a serrated edge is flexible enough to bend against the canvas, which makes it great for soft, sweeping waves.
13. The Silicone Bowl Scraper
For a smooth, minimalist base layer, a silicone bowl scraper glides over the canvas and leaves a lovely even finish.
14. The Trusty Putty Knife
A wide metal putty knife is the tool you’ll reach for most. Use it to scoop mud out of the tub and spread it onto the canvas.
15. Your Hands (With Gloves On)
Sometimes your hands are the best tool. Put on snug nitrile gloves, scoop up some mud and spread it with your fingers. Hand-spread plaster has a soft, organic texture that tools can’t quite copy.
Creating the Texture
Now for the fun part. With the mud mixed and the canvas ready, it’s time to experiment.
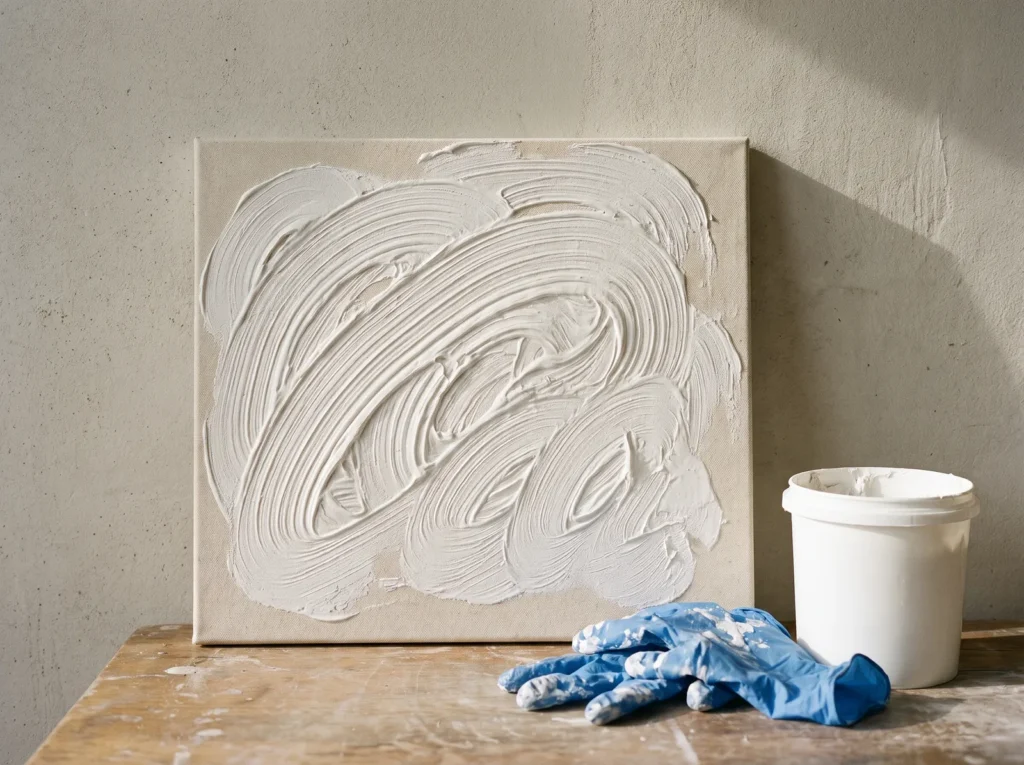
16. The Sweeping Arch
Spread a thick, even layer of mud over the whole canvas. Then set the corner of your notched trowel firmly at the bottom and pivot your wrist in a slow, steady half-circle, letting the tool do the work.
17. The Wabi-Sabi Crosshatch
Apply the mud in thin, uneven layers, then drag a stiff-bristled brush or plastic comb across it, first horizontally and then vertically. The crossing lines create a lovely linen-like texture.
18. The Raw Stone Stipple
Spread a thick layer of mud, then press a damp sea sponge or a crumpled piece of heavy paper straight into it and lift it straight up. It leaves sharp little peaks that look like rough stone.
19. The Zen Garden Wave
Using a wide, flat putty knife and light pressure, drag long, continuous S-curves from the top of the canvas to the bottom. The result looks like the raked sand in a Zen garden.
20. Loose, Random Trowel Strokes
Drop random dollops of mud onto the canvas and flatten each one slightly with your putty knife, leaving thick, raised edges. It looks a lot like the polished concrete walls in high-end boutiques.
Drying and Sealing
Take your time with this last stage. Slow drying is what keeps the texture from cracking.
21. Mist It While It Dries
Drywall mud shrinks as the water evaporates, and if the top dries faster than the bottom, it cracks. Keep a spray bottle handy and mist the canvas lightly every few hours to slow the drying down.
22. Keep It Out of Direct Sun
Don’t put your wet canvas outside in the sun or near a heater. Losing moisture that quickly can crack the texture. Leave it flat in a cool, shaded room for at least 48 hours.
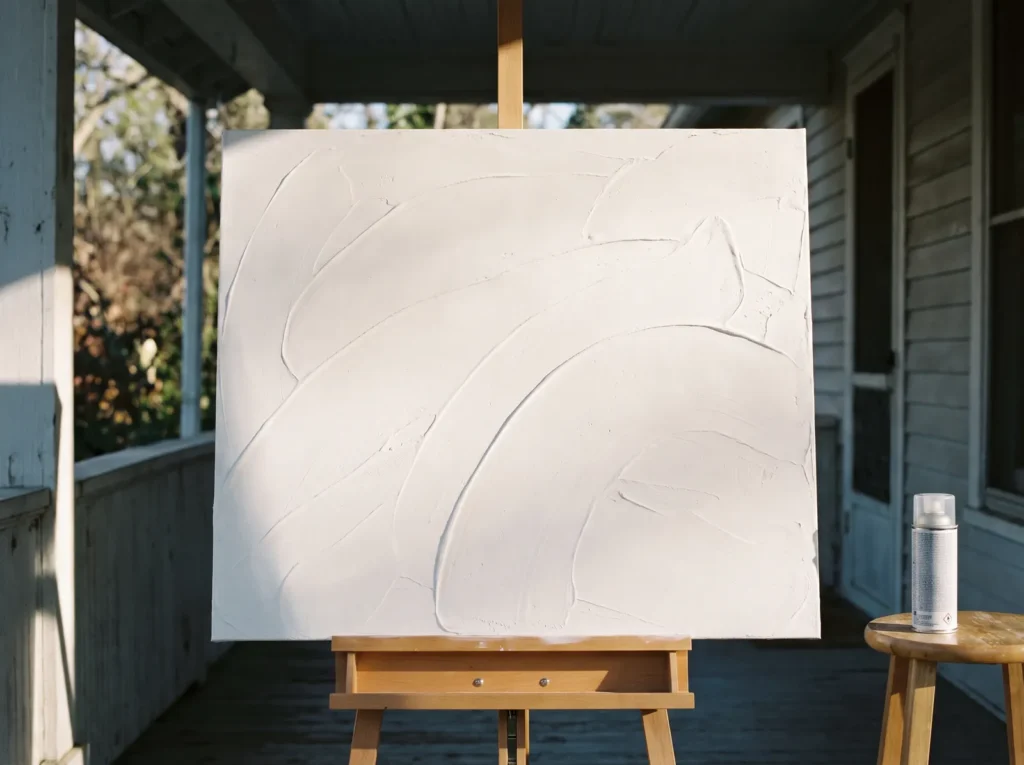
23. Seal It With Matte Polyurethane
Once it’s completely dry, the surface will be chalky and can leave white dust on your clothes if you brush against it. Seal it with a spray can of clear, water-based matte polyurethane, using three very light coats. It locks the dust in without changing the color.
Quick Answers
Here are answers to a few questions that come up a lot.
Why is my plaster cracking as it dries?
The mud was probably applied too thick. Joint compound is meant to go on in thin layers of no more than about a quarter inch. For chunky texture, build it up in several thin layers and let each one dry before adding the next. Mixing in a little PVA glue helps too.
Can I paint over the plaster once it is dry?
Yes. Wait until the canvas is completely dry and hard, then use interior latex wall paint, heavy body acrylics or even spray paint. A matte finish works best, because gloss reflects light and can make the texture look like plastic.
Is the finished canvas going to be too heavy to hang?
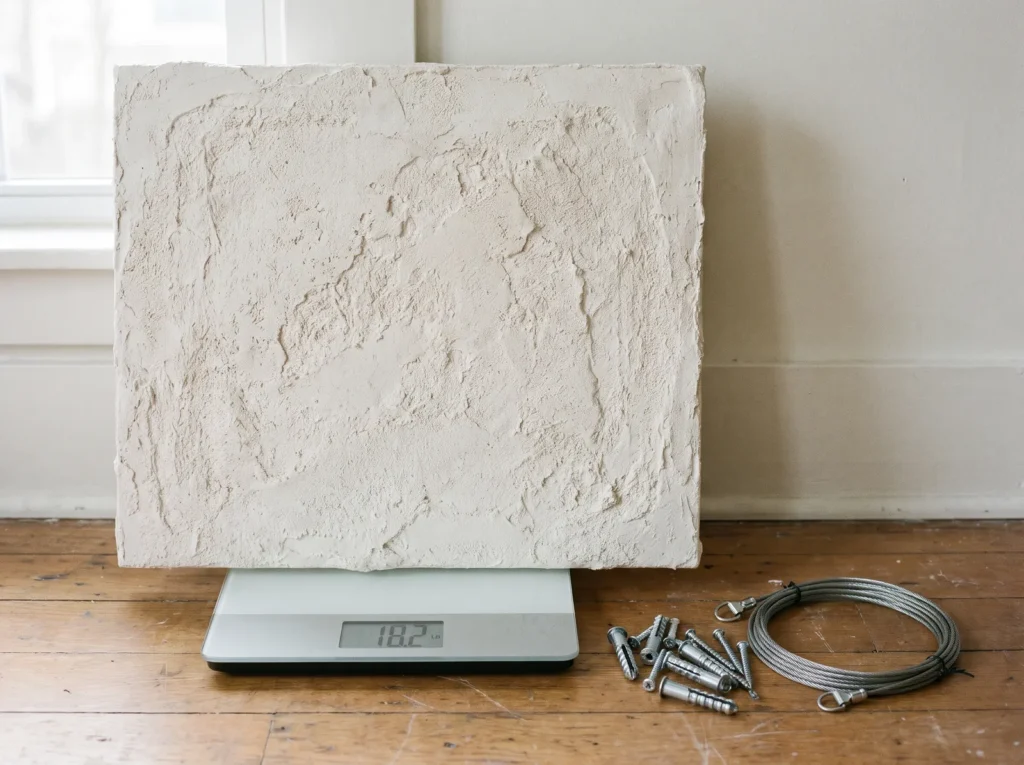
It will be heavy but manageable. A large 36 by 48 inch canvas covered in joint compound can weigh 15 to 20 pounds, so skip thumbtacks and adhesive strips. Use heavy-duty wall anchors and attach D-rings and sturdy wire to the wooden frame.
You can do this. A DIY minimalist textured plaster canvas is a lovely weekend project for a blank wall, and it won’t break the bank. Enjoy the mess and trust your hands.

