
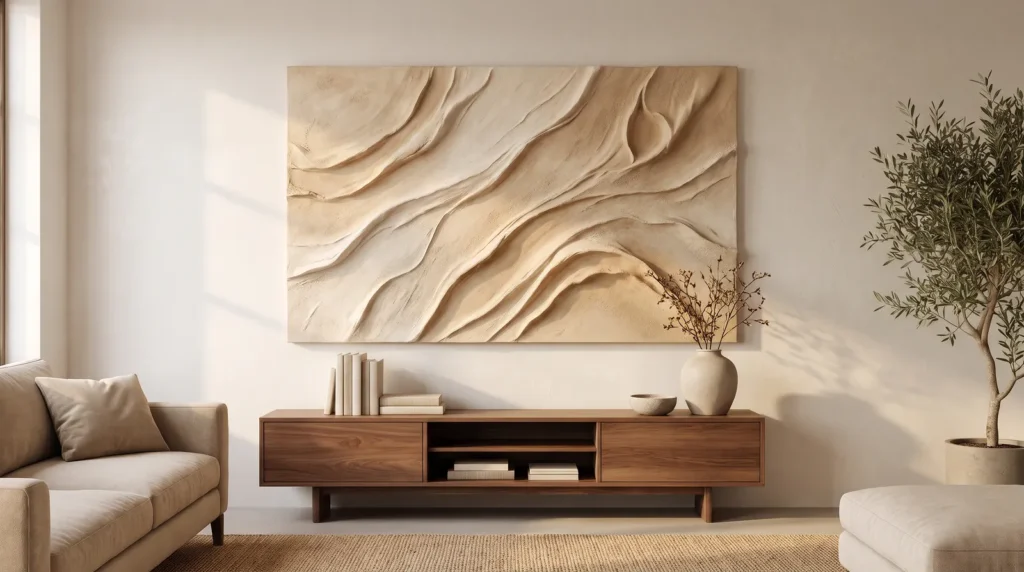
Most people who try plaster art have a story like this: the craft store canvas sagged under the wet joint compound, the surface buckled, and a chunk slid off the edge and landed on the floor.
Abstract plaster wall art is very doable, but it works best when you treat the materials with a little respect. Wet plaster is heavy, canvas moves, and drying takes time, so a solid base and some patience matter more than any special technique.
Get those basics right and the results can be beautiful: a tactile surface that catches the morning light and anchors the whole room. These 21 ideas cover preparing the canvas, creating the texture, drying it without cracks and styling the finished piece.
The Short Version
- Use a rigid backing. Stretched canvases warp and crack under wet plaster without support behind them.
- Seal the canvas first. Raw canvas soaks up water too quickly, which makes the plaster dry out and flake.
- Work with the light. Texture shows up through shadow, so think about where the light in your room comes from.
- Dry it slowly. Heat causes fine cracks that weaken the piece.
Preparing the Canvas
1. Always Use a Rigid Backing
Fabric stretches and wet plaster is heavy, which is a bad combination. A thick layer of joint compound on an ordinary hollow canvas makes the middle sag; then, as it dries, the fabric shrinks back, the plaster cracks and it can fall away in chalky sheets. The fix is to fill the hollow. Cut a piece of MDF or plywood to fit inside the frame and wedge it behind the fabric so the plaster has a solid base.
2. Seal the Canvas
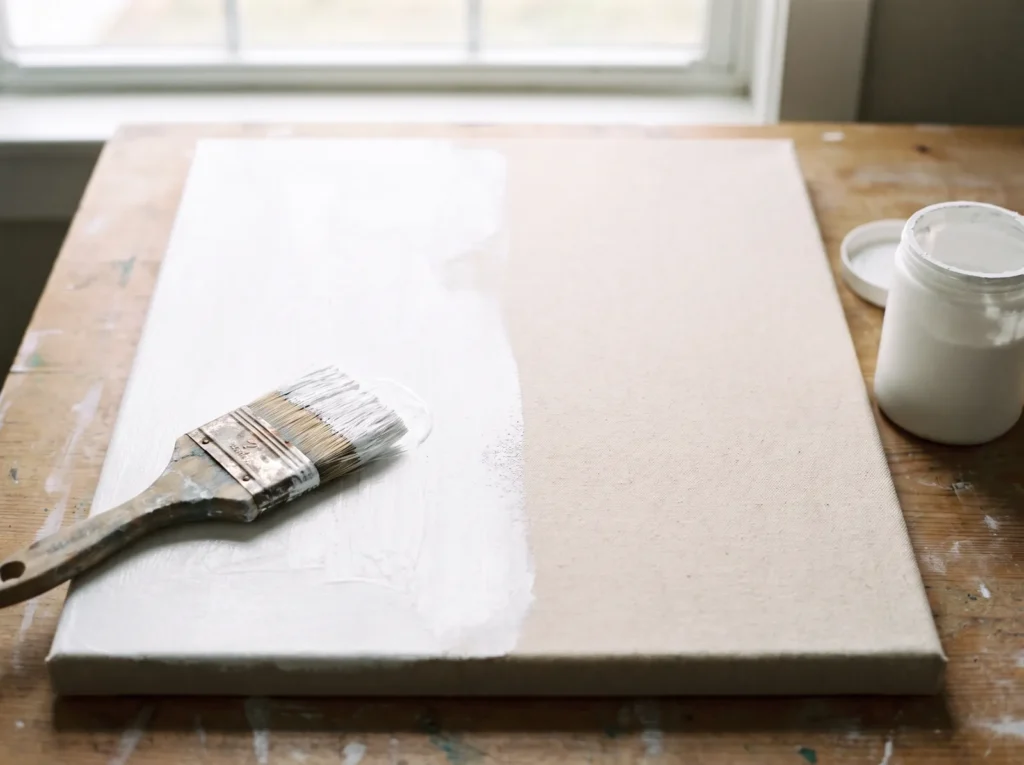
Raw cotton canvas soaks up water fast and pulls it out of your plaster before it can set properly, leaving a brittle, powdery finish. Seal the fabric first with a generous coat of PVA size or acrylic gesso and let it dry, so the plaster can dry at its own pace.
3. Choose Your Plaster
Not every product works the same way. Ready-mixed joint compound stays workable for hours, which lets you take your time on DIY textured canvas wall art, but it shrinks a little as it dries. Gypsum-based plaster sets much faster and needs quick, confident strokes, but it dries very hard with little shrinkage. Pick the one that suits how quickly you like to work.
4. Adjust the Thickness
Straight from the bucket, most compound is too stiff for delicate work; it drags and tears as you spread it. Move some onto a clean mixing board and add water a few drops at a time, folding it in with a stiff putty knife. You’re aiming for the texture of thick buttercream: it should hold a peak without slumping.
5. Keep the Room Still and Mild
Drafts make plaster dry unevenly. Warm, dry air blowing across it dries the surface while the layers underneath are still wet, and that strain can crack the piece. Work in a room with still air and a moderate temperature.
Creating the Texture
6. Work Under Side Light
Flat overhead light hides what your texture is really doing. Instead, set up one strong lamp at a low angle to the canvas while you work.

This side light, much like a low evening sun, shows every ridge and hollow and makes it easy to see where the composition needs more depth.
7. Notched Trowel Lines
For crisp, architectural lines, use a notched adhesive trowel. Hold it at about 45 degrees and pull it across the wet surface at a steady pace without stopping halfway. The parallel ridges add a calm sense of order to the organic texture.
8. Scrape Back for a Wabi-Sabi Look
Sometimes the best marks come from taking plaster away. Spread a thick, flat layer and wait until it’s firm but still slightly damp. Then scrape and lift away a few patches with a sharp tool to show the canvas beneath. It looks like an old wall that has worn away over time.
9. Palette Knife Peaks
For thick, dramatic peaks, swap the trowel for a flexible steel palette knife. Load the blade with a heavy dollop of plaster, press it to the canvas and pull it away sharply.

The suction leaves rough, natural-looking peaks. Move confidently; going back over them too much makes them look muddy.
10. Soft, Rolling Waves
For gentle waves, use a wide, flexible drywall knife. Spread the compound generously, keep your wrist relaxed and sweep the blade in long, overlapping arcs, letting the edge skip slightly. The overlapping lines catch the light beautifully.
11. The Dry Brush Stipple
Texture isn’t always about big peaks; sometimes it’s about subtle grit. Press a stiff-bristled masonry brush into a thin layer of wet plaster and pull it straight up. That leaves a dense, stippled surface that looks like aged limestone.
Curing Without Cracks
12. Let It Dry Slowly
Don’t put a fan on wet plaster or leave it in the sun. It needs time to dry evenly and harden properly. Leave the canvas in a cool, shaded room for at least 48 hours; the slower it dries, the stronger it will be.
13. Fixing Hairline Cracks
Even with careful preparation, a few fine cracks can appear, and that’s fine.

Small hairline cracks are part of the material’s nature and can even add character. If a crack looks serious, mix a very thin slurry of compound and water, rub it gently into the gap with your fingertip and wipe away the excess. Once dry, it practically disappears.
14. Seal the Plaster
Dried plaster is very porous, so it collects dust and holds on to greasy fingerprints. Sealing it keeps it looking fresh. Wait until the piece is completely dry, then brush on a good non-yellowing acrylic varnish with a light hand, since heavy pooling will blur the crisp edges of your texture.
15. Finish With Matte Varnish
A shiny finish makes plaster look like plastic. Use a completely flat matte varnish to protect your 3D plaster wall decor while keeping its chalky, stone-like look. For a step-by-step guide to sealing, see 21 Tips on How to Seal Plaster Canvas Art Safely.
Styling It at Home
16. Add a Floating Frame
A raw canvas edge can make a finished piece look incomplete. A simple floating frame in solid oak or walnut gives it a polished look.

Leave a quarter-inch gap between the canvas and the wood. The shadow line makes the heavy plaster panel look as if it’s floating.
17. Hang Large Pieces Securely
Large plaster pieces are heavy, and a single nail in drywall won’t hold them safely. Use a heavy-duty French cleat screwed into the wall studs. It spreads the weight evenly so the piece stays put for years.
18. Plan the Lighting
Light makes or breaks textured art. In a dark hallway, even a great piece looks flat. A picture light in warm brass or bronze, angled down across the surface, brings the shadows and texture to life.
19. Pairing with Natural Materials
Plaster looks best alongside other natural materials, and it can look out of place next to shiny plastic furniture.

Pair it with raw linen, aged leather and unfinished wood. These materials share the same quiet, organic feel and make the room feel grounded.
20. Give It Room to Breathe
A large textured piece has plenty of presence on its own. Rather than crowding the wall around it with small frames, let it stand alone with some empty space around it. A little restraint makes it look even better.
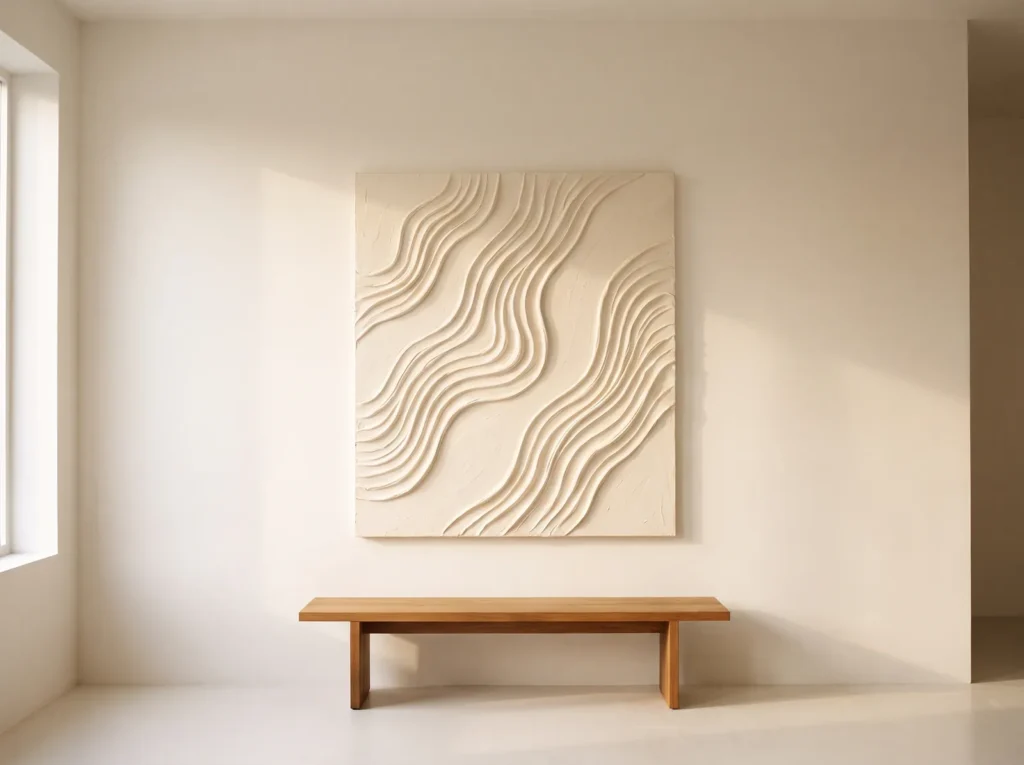
21. Let It Age Gracefully
Over the years, your art will gather a little dust and develop a soft patina. Skip harsh cleaners; just dust it gently with a soft, dry natural-bristle brush. Well-made plaster art tends to look better with age.
Common Questions
Can I use standard spackle instead of joint compound for canvas art?
Spackle is made for filling small nail holes, not for large sculpted surfaces. It’s whipped with air to keep it light, so it dries quickly and brittle, and on a big canvas it tends to drag, tear and flake off. Joint compound or Venetian plaster is a much better choice for deep, lasting texture.
How do I prevent the canvas wood frame from warping under the wet plaster?
Cheap pine stretcher bars can soak up moisture from wet plaster and twist. Before you start, brush a coat of primer or polyurethane over the back of the wooden bars to seal them. It keeps the frame square while the plaster dries.
Will the plaster crack if I live in a highly humid environment?
Unsealed plaster takes in and releases moisture from the air, so in a very humid home it can soften over time. Sealing protects it: once it’s fully dry, apply a penetrating masonry sealer, then finish with a completely flat acrylic varnish. Together they keep out most of the moisture in the air.

