
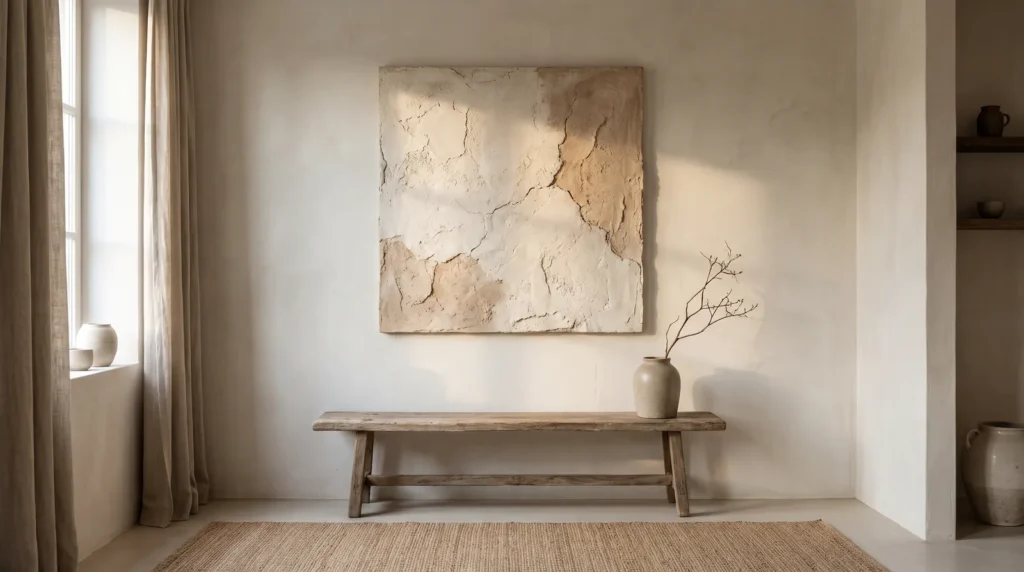
Wabi sabi plaster art celebrates surfaces that look weathered and lived-in: rough, earthy texture, soft uneven edges and quiet color, like a slice of raw limestone on the wall.
Large pieces in this style can sell for thousands of dollars in design shops, yet many are made from joint compound on a wooden board. That means you can make something very similar yourself for a fraction of the price, often under fifty dollars.
You don’t need special training, just the right materials and a little patience. The 19 tips below cover the materials, trowel work, drying, color washes and finishing touches that give wabi sabi plaster art its calm, natural character.
In a Nutshell
- Skip the flexible canvas. Stretched canvases bounce and make brittle plaster crack, so use rigid MDF boards or wood panels.
- Mix your mediums. Plain joint compound shrinks. Adding a splash of PVA glue gives it the flexibility it needs to survive the drying process.
- Expect an awkward stage. Organic plaster decor often looks a bit messy until the final sanding and color wash, so keep going.
- Light it from the side. Flat lighting hides texture; directional light makes the ridges cast shadows.
Gathering Your Materials
1. Skip the standard stretched canvas
Cheap craft store canvases are a common starting point, but they cause problems. The fabric bounces when you press a trowel into it, sags as the heavy plaster dries, and the plaster then cracks and flakes off. A rigid MDF board or birch wood panel gives you a solid base instead.
2. Joint compound or plaster?
You’ll find a few options at the hardware store. Plaster of Paris dries very fast and stone-hard, which makes it unforgiving. Pre-mixed joint compound is softer and gives you hours to play with the texture, so it’s the better choice for beginners.
3. Add a binder for strength
Joint compound is made for drywall seams, not thick sculpted texture, so on its own it can shrink and crack. Stir in about ten percent PVA glue. The glue adds a little flexibility and keeps thick ridges intact as they dry.
4. Don’t skip the gesso
Bare wood pulls moisture out of wet plaster quickly, which can make it peel. Seal your MDF or wood board with two thick coats of acrylic gesso first; it works as a primer that gives the plaster something to grip.

Using the Trowel
5. The wet-on-wet slip coat
Don’t try to build big 3D texture in the first pass. Start with a slip coat: spread a very thin, wet layer of compound over the whole board and let it dry for about twenty minutes until it’s slightly tacky. Thicker texture sticks to this damp base without sliding around.
6. Ditching the plastic putty knife
Plastic putty knives bend and leave harsh, uneven drag marks. A stainless steel Venetian trowel cuts through the compound cleanly and makes it much easier to pull smooth, sweeping arches that look professional.
7. Creating organic fissures intentionally
Wabi sabi finds beauty in natural wear, and a few cracks can add character, as long as you control them. For deliberate cracks in one area, apply a thick patch of plaster and warm it with a heat gun on low for about two minutes. The surface dries over the wet layer underneath and splits naturally, a lot like aged stone. Keep this to small areas and seal the piece well afterwards.
8. The coffee ground grit technique
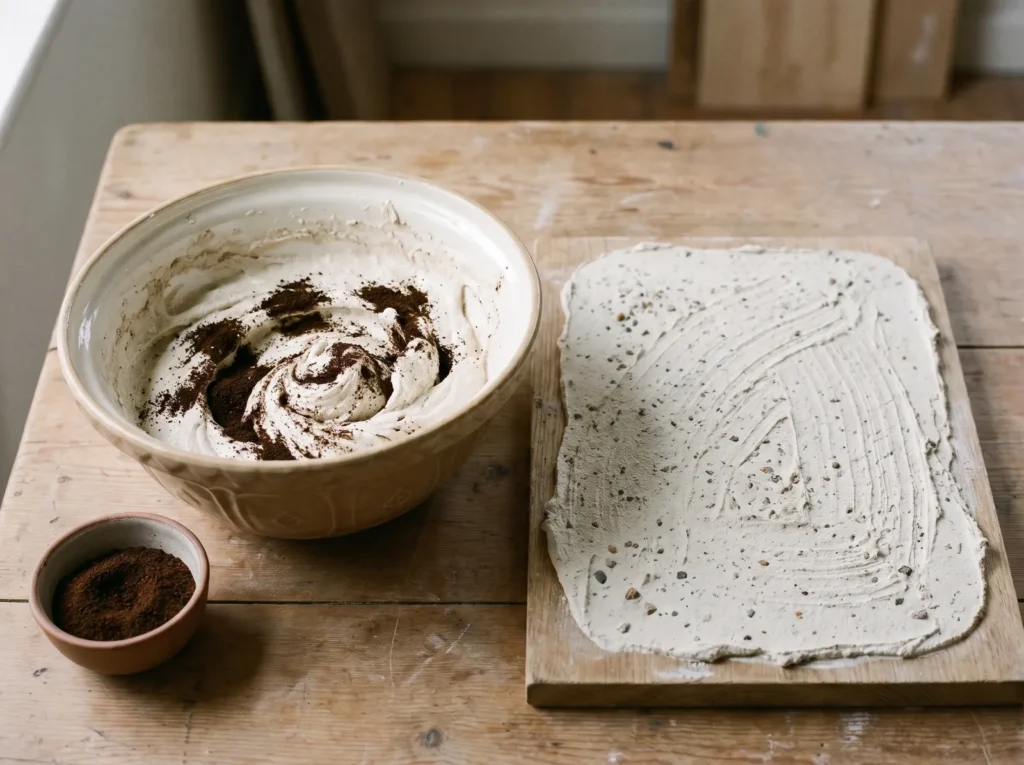
Smooth plaster can look a little like frosting, so add some earthiness. Mix a handful of dry, used coffee grounds or fine play sand into the plaster before you apply it. The grit drags under the trowel and leaves a lovely stone-like texture.
9. Embedding raw linen for structural depth
For a high-end look, add some fabric. Lay a piece of raw, frayed cheesecloth or loose linen over the wet slip coat, then trowel thick plaster over its edges, leaving a few frayed threads showing. The soft fabric and hard plaster look lovely together.
Drying and Curing
10. Why fast drying causes cracks
Be patient here. Direct sun or a space heater dries the piece too quickly and can warp it. Leave it in a cool, shaded room instead; a thick piece of textured plaster art needs at least 72 hours to dry properly.
11. Controlling the crackle effect
If you find a crack across your art, don’t worry. Mix a little joint compound with water into a thin paste and rub it gently into the crack with your finger. It fills the gap while leaving the surrounding texture intact.
12. Keep a spray bottle handy
In a very dry climate, plaster can dry too fast even in the shade. Keep a spray bottle of water nearby and mist the air above the piece lightly once a day. The extra humidity slows the drying, and slow drying makes stronger plaster.
13. Sanding for a velvet finish
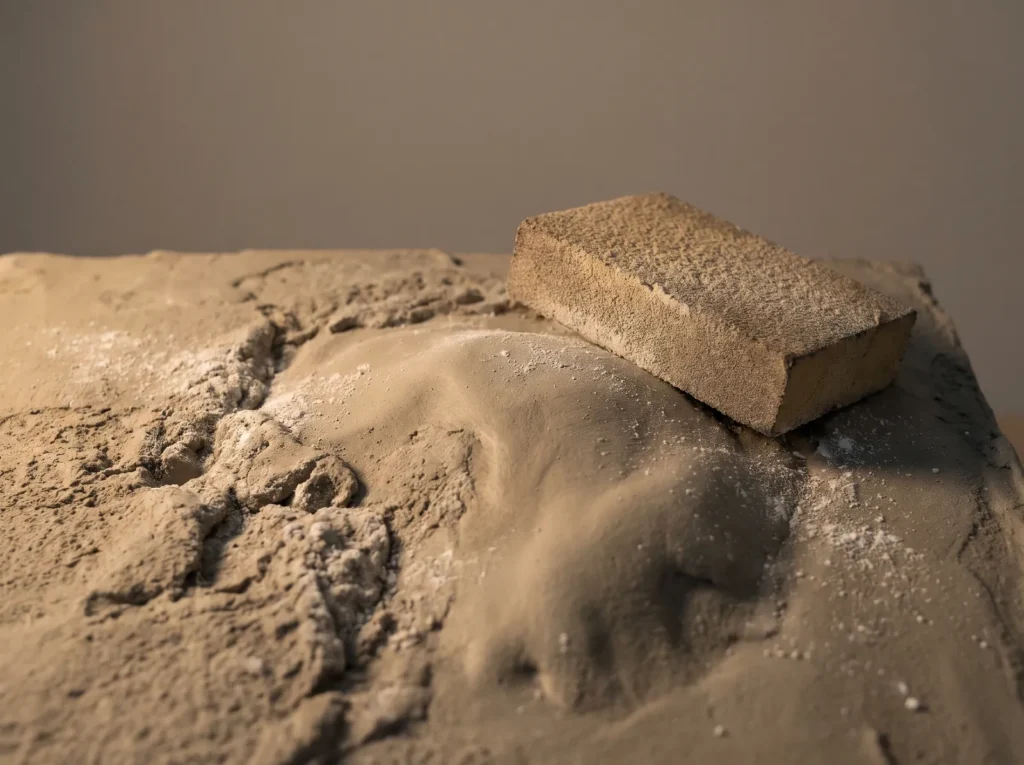
Once it’s bone dry, the surface will feel rough and chalky. Buff the highest peaks very lightly with a 220-grit sanding sponge to soften any sharp points and leave a smooth, velvety finish.
Washes, Color and Sealing
14. The limewash color wash method
Skip thick wall paint, which fills in the fine texture you’ve worked on. Make a wash instead: mix one part matte acrylic paint with three parts water and brush it over the plaster. The color pools in the grooves and fades on the peaks, adding soft depth.
15. Layering transparent acrylic glazes
Try more than one color. Wabi sabi pieces often have subtle layers that suggest age. Start with a raw umber wash and let it dry, then brush a thin, watered-down titanium white over it. The overlapping layers make the piece look as if it has weathered gently for years.
16. Matte polycrylic over standard sealers
Unsealed plaster soaks up dust, cooking oils and moisture, so seal it. Avoid standard oil-based polyurethane, which can yellow and look shiny. A water-based, dead-flat matte polycrylic sprayed on in light coats protects the art and keeps its raw, chalky look. For a step-by-step guide, see 21 Tips on How to Seal Plaster Canvas Art Safely.
17. The dry brush dusting technique
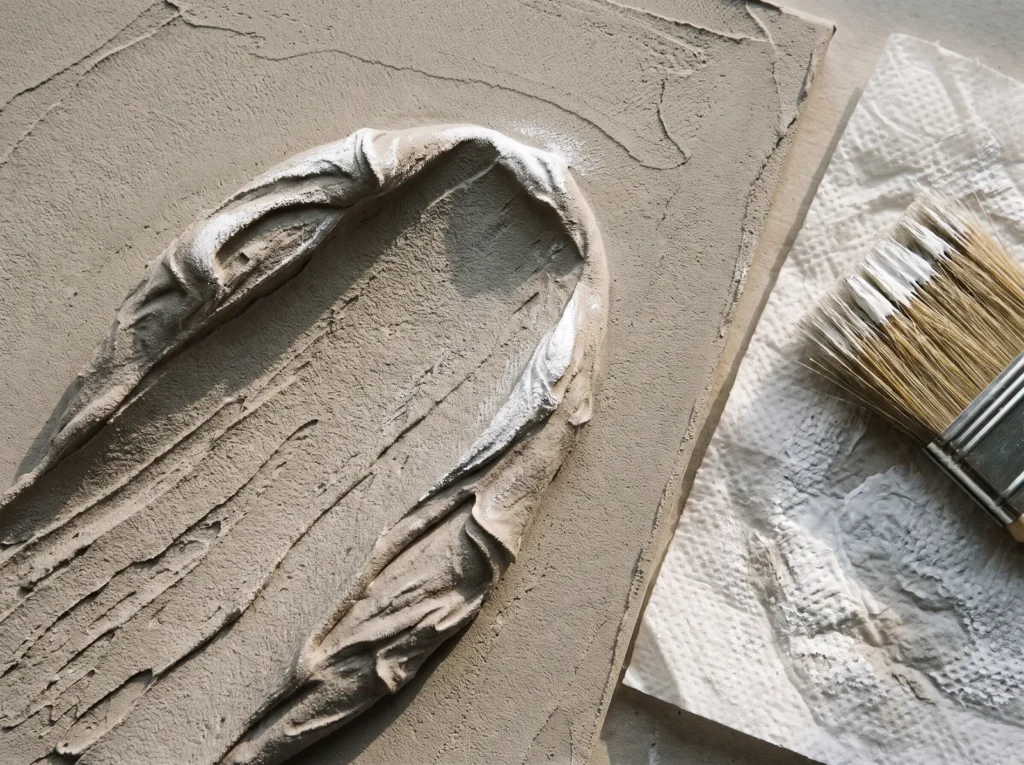
For a final touch, dip just the tips of a dry, stiff brush into a little white paint, wipe most of it off on a paper towel and brush lightly over the highest ridges. The highlights catch the texture and make the 3D shapes stand out.
Adding Natural Elements
18. Light it from the side
Once it’s finished, avoid hanging it in a dark hallway, since plaster art relies on shadow to show its depth. A spot near a window where morning light skims across it is ideal. Without natural light, a picture light or wall sconce above it does the same job.
19. Pairing with raw oak and unglazed ceramics
Your art sets a calm, grounded mood, so let the rest of the room support it. Frame it in a floating raw oak frame, place unglazed handmade ceramics on the console beneath it and add a few nubby bouclé cushions. The goal is a room that feels tactile, calm and close to nature.
Frequently Asked Questions
Why is my plaster flaking off the canvas when it dries?
Usually the base is too flexible or the surface has nothing to grip. A stretched canvas moves with temperature changes and everyday vibrations, and rigid plaster can’t bend with it, so it cracks and flakes. Use a rigid wood or MDF board and prime it with gesso so the compound has a slightly rough surface to hold on to.
Can I use joint compound for outdoor wall art?
No. Joint compound softens with water, and even sealed, outdoor humidity and temperature swings will eventually get through, turning the plaster soft until it slides off. For outdoor pieces, use an exterior-grade cement or stucco mix.
How do I clean dust out of the deep plaster grooves?
Textured art collects dust, but a wet rag can damage the sealer and turn dust into paste in the grooves. Sweep it gently with a clean, dry, soft makeup brush or paintbrush about once a month, and use compressed air for very deep grooves.

