
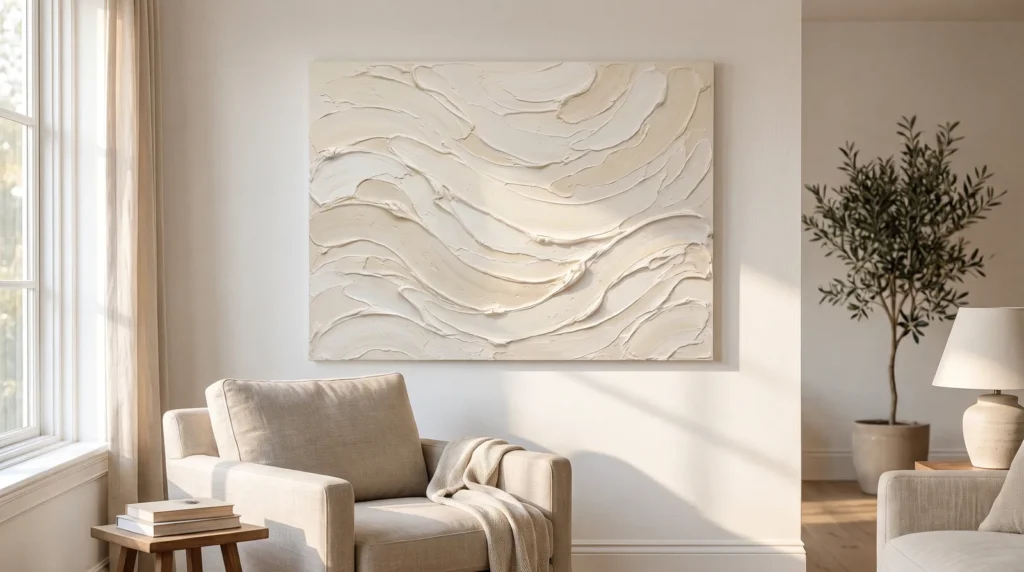
Bare walls can make a room feel unfinished, and original dimensional art from a gallery can easily cost a few thousand dollars.
Textured paintings on canvas are a lovely middle ground. They bring warmth, movement and a quiet sense of luxury to a room without overwhelming it. You’ve probably seen DIY plaster art all over social media, and you may have noticed that some of it cracks, flakes or looks a little homemade up close.
With the right materials and a few simple techniques, you can avoid all of that. These 16 tips cover materials, tools, texture techniques and styling, so your finished piece looks like something you bought rather than something you made.
Quick Summary
- Skip the baking soda. A proper modeling paste is far less likely to crack or yellow over time.
- Light it from the side. Directional light brings out the shadows in the ridges.
- Use a floater frame. Ordinary frames press on the texture; a floater frame gives a finished look.
- Go big. Small textured pieces get lost. A 36 by 48 inch canvas or larger anchors a room.
Getting the Base Right
1. Ditch the Baking Soda Hack
You’ll often see baking soda mixed with cheap acrylic paint as a quick texture trick. It’s fine for small, flat experiments, but it doesn’t age well on a statement piece: it can discolor and start to flake within months.
2. Use a Good Modeling Paste
For a gallery finish, use artist-grade materials. Golden Light Molding Paste and Liquitex Heavy Gel are reliable choices. They hold stiff peaks, dry fairly quickly and stay flexible enough to move with the canvas without cracking. They cost more up front, but they save you from a ruined piece later.
3. Tighten the Canvas Before You Start
Store-bought canvases are often too loose to carry heavy wet paste. Before you add texture, mist the back of the raw canvas lightly with warm water. As it dries, the fibers shrink and pull the surface tight. For more on canvas prep and materials, see my guide to 23 Myths About Textured Canvas Acrylic Paint.
4. Choose the Right Canvas Depth
A thin canvas can look mass-produced. Choose a gallery-wrapped canvas at least 1.5 inches deep; the thicker edge makes the piece look solid and deliberate on the wall.

Tools for Organic Texture
5. Switch to a Taping Knife
Plastic paint spreaders are too flimsy for this. A 10-inch stainless steel drywall taping knife from the hardware store gives you far more control and lets you pull long, clean, sweeping lines.
6. Use a Notched Trowel for Even Ridges
If you want that perfectly spaced, ribbed texture you see in high-end boutiques, you need a notched trowel. A 1/4-inch square notch trowel works beautifully. You simply drag it through a thick layer of wet paste to reveal the canvas underneath in perfect, uniform stripes.
7. Use Gel Medium for Deeper Colors
Standard modeling paste is opaque white, so any paint you mix into it turns pastel. For a deep charcoal or rich olive green, mix your paint into a heavy gel medium instead. It dries clear, so the color stays true.
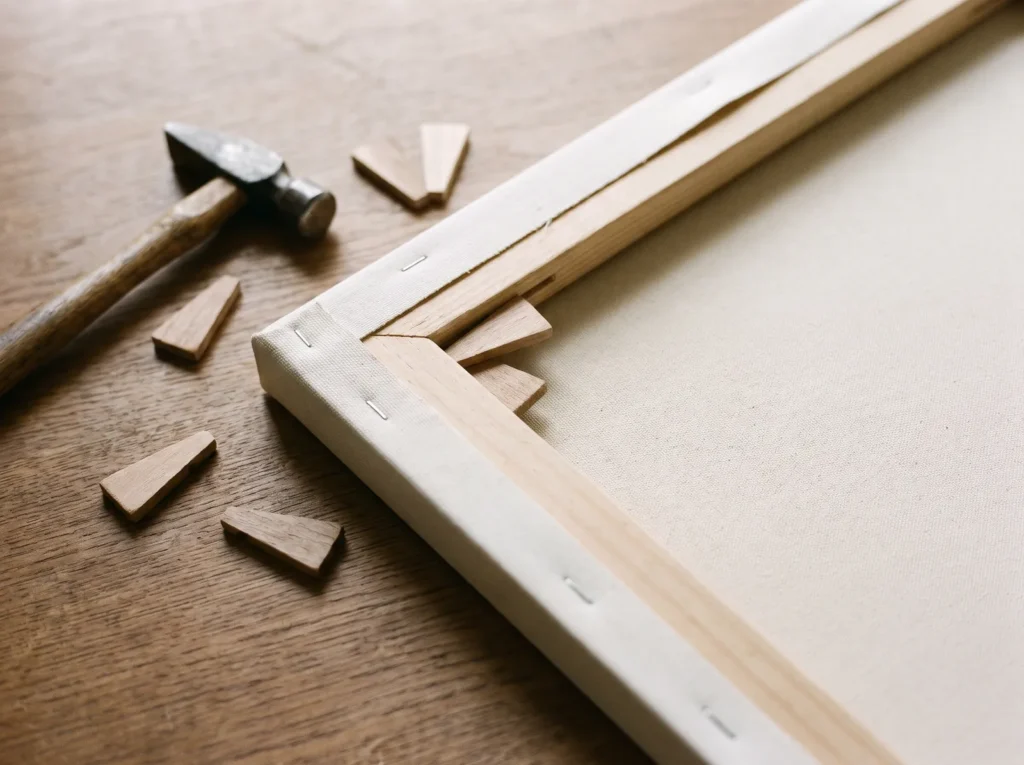
8. Use Canvas Keys to Keep It Tight
Look inside the plastic wrapper of your new canvas and you’ll find a few tiny wooden wedges called canvas keys. Tap them gently into the slots at the inside corners of the frame with a hammer. They push the frame outward and keep the canvas taut under the weight of your 3D design.
Texture Techniques
9. The Sweeping Arch
This is the most popular technique for a minimalist white textured painting. Load your taping knife with a generous amount of paste, start at the bottom left corner, press firmly and sweep your arm in one smooth arc toward the top right. Try not to pause halfway; one confident movement leaves the cleanest, most natural ridge.
10. Minimalist Stippling
For a subtle, concrete-like finish, spread a thin layer of paste over the whole canvas, then press a large, dry natural sea sponge into it again and again. It leaves a fine, varied texture that catches the light without being overwhelming.
11. Sharp Little Peaks
Load a small diamond-shaped palette knife with paste, press it flat against the canvas and lift it straight up to leave a sharp little peak. Repeat it across the canvas, or across one area, for a very tactile, spiky surface.
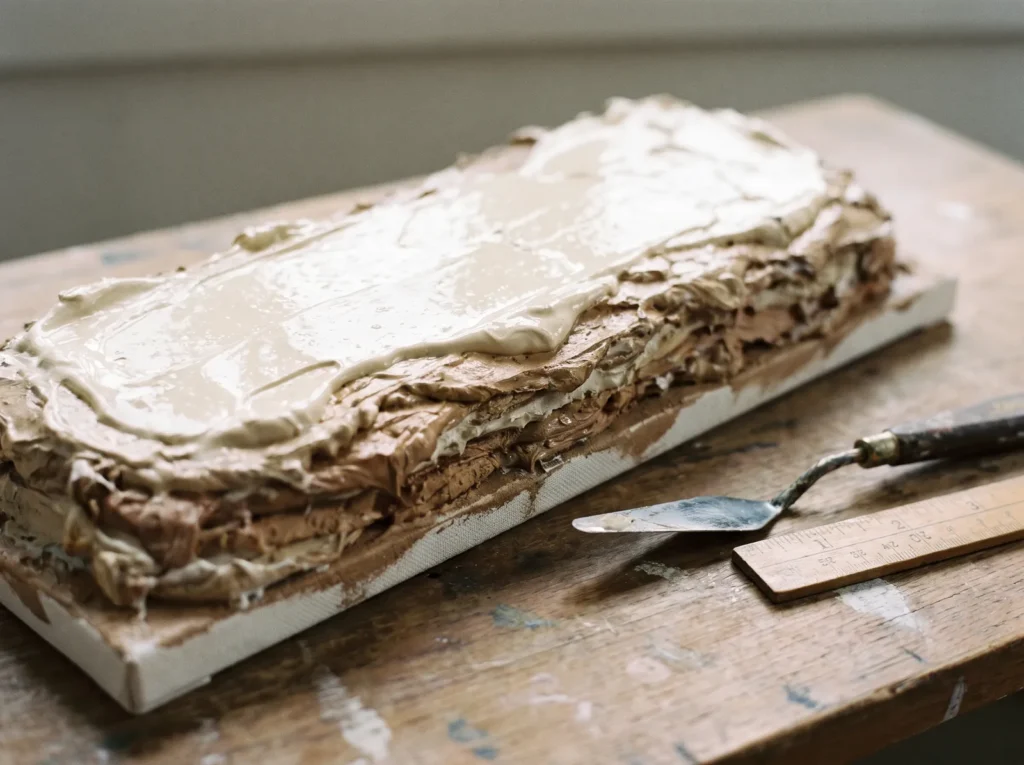
12. Layered Impasto
Deep texture takes patience. An inch of paste applied in one day can take weeks to dry and may slump. Build the design in layers about a quarter inch thick instead, and let each one dry for 24 hours before adding the next.
Styling and Lighting Your 3D Wall Art
13. Light It From the Side
Under flat, even light, a textured painting can almost disappear, because the effect depends on light and shadow. Directional light fixes that: a brass picture light mounted just above the frame sends long shadows down the ridges.
14. Add a Floating Frame
Keep 3D canvases out from behind glass, which would press on the peaks and hide the texture. A wood floater frame is a better choice. It leaves a small gap of about a quarter inch around the canvas, so the piece looks as if it’s floating.
15. Size It for the Room
Size makes a big difference. A small 8 by 10 canvas above a large sofa tends to look lost. In most living rooms, a 36 by 48 inch or 48 by 60 inch canvas is the sweet spot for large textured abstract art; it fills the wall and gives the room a clear focal point.
16. How to Dust It
Over time, dust settles into the grooves of textured canvas art. A wet cloth can soften unsealed paste, so use a large, very soft makeup brush instead and sweep it lightly over the surface about once a month to keep the white finish bright.

Your Questions, Answered
How long does modeling paste take to dry on canvas?
It depends on how thick the paste is and how humid your room is. A thin layer is dry to the touch in about two hours, while heavy peaks can take three to seven days to dry all the way through.
Do I need to seal a textured painting?
Yes. Unsealed modeling paste is porous and will absorb dust, grease, and moisture from the air. Once your painting is completely dry, spray it with a high-quality, non-yellowing matte acrylic varnish. This protects the bright white finish while keeping the glare to a minimum.
Can I use joint compound on canvas?
You can, but it isn’t recommended for art you want to keep. Joint compound is very rigid and made for solid drywall, while canvas flexes. A small knock or a change in temperature can make it crack and fall off in pieces.

